
Filing a Claim for Roof Damage: Your Complete Guide to Insurance Success from a 15-Year Roofing Contractor
I have been a roofing contractor for over fifteen years. I have completed more than two thousand roofing projects. I hold certifications from GAF, CertainTeed, and Owens Corning. I have seen countless homeowners struggle with insurance claims. This article exists to solve that problem. It answers the question: How do I successfully file a roof damage claim? I want to make this process clear and less stressful for you. The information here comes from my direct experience with customer projects. It is based on industry data, manufacturer specifications, and building codes. I will explain the methodology behind every recommendation. My goal is to provide you with direct answers and save your time. You will learn what to do before, during, and after filing a claim. This guide is written for homeowners who need real help, not just general information.
Understanding Your Roof and Insurance Policy
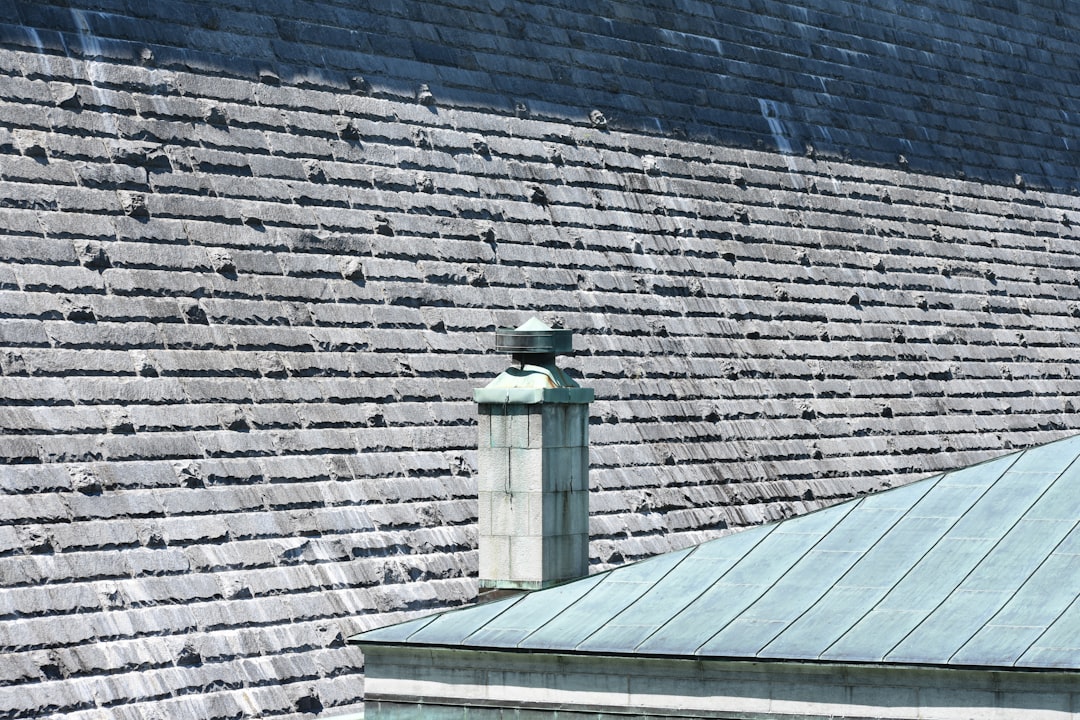
Your roof is your home's first line of defense. It protects you from rain, wind, hail, and sun. Understanding how it works is the first step. A typical roof has several layers. The shingles are the visible outer layer. Underneath are underlayment, decking, and insulation. Each part can be damaged in different ways. Your homeowner's insurance policy is a contract. It promises to pay for certain types of damage. Not all damage is covered. You must know what your policy includes. Most policies cover "sudden and accidental" damage. This means damage from a specific event like a storm. They often do not cover wear and tear or lack of maintenance. Review your policy documents carefully. Look for the section on "dwelling coverage." This part usually covers the roof structure. Also check the "declarations page" for your coverage limits and deductible amount.
Types of Roof Damage Covered by Insurance
Insurance typically covers damage from specific perils. Wind damage is very common. High winds can lift and tear shingles off your roof. Hail damage is another major cause of claims. Hailstones can bruise or crack shingles, damaging the granules. This compromises the roof's waterproofing. Falling objects like tree limbs are also usually covered. The weight of snow and ice can cause structural problems. Water damage from a storm-related leak is often included. Fire and lightning damage are standard covered perils. Always check your specific policy for the named perils list. The Insurance Information Institute provides a good overview of standard coverages.
What Insurance Usually Does NOT Cover
Understanding exclusions is just as important. Most policies exclude damage from normal wear and tear. Roofs get old and deteriorate over time. Insurance is not a maintenance warranty. Damage from lack of maintenance is not covered. If you ignore a small leak, the resulting major damage might be denied. Some policies have exclusions for certain wind speeds or hail sizes. Many policies in coastal areas exclude or limit hurricane damage. You may need a separate windstorm policy. Earth movement, like earthquakes, is typically excluded. Flood damage requires separate flood insurance from the NFIP. Intentional damage or neglect is never covered. Read your policy's exclusions section thoroughly.
The Critical First Steps After Suspecting Damage
Act quickly but carefully after a storm or event. Your safety is the top priority. Do not go on your roof if it is wet, icy, or steep. Do not go up if you are not comfortable with heights. Instead, start your inspection from the ground. Use binoculars to get a closer look. Walk around your property and look for visible signs. Check for missing or cracked shingles. Look for granules in your gutters or downspouts. Granules look like coarse black sand. Their loss speeds up shingle aging. Inspect your attic carefully with a flashlight. Look for stains, wet spots, or daylight coming through the roof deck. These are signs of active leaks. Take detailed notes of everything you see. Write down the date and time of your inspection. Document the weather conditions that caused the suspected damage.
Documenting the Damage Like a Pro
Thorough documentation is your strongest tool. Use your smartphone or a digital camera. Take clear, well-lit photographs from multiple angles. Start with wide shots that show your entire house and roof. Then take medium shots of each roof plane or section. Finally, take close-up photos of specific damaged areas. Get pictures of damaged shingles, flashing, or vents. Photograph any debris on the ground, like shingle pieces or granules. Take video footage as well. Slowly pan across the roof to show the overall condition. Record any interior damage like water stains on ceilings or walls. Keep all your photos and videos organized in a digital folder. Also write a detailed description of the damage. Note the location and extent of each problem. This documentation will be crucial for your insurance claim.
Making Temporary Repairs to Prevent Further Damage
You have a duty to prevent further damage after a loss. This is called "mitigation" in insurance terms. If you have a leak, take immediate action. Place buckets or containers to catch dripping water. Move furniture and valuables away from the leak area. Use tarps to cover damaged sections of the roof from the inside if possible. For minor exterior damage, you can use roofing cement or sealant. Apply it according to the manufacturer's instructions on the product label. Keep all receipts for any materials you purchase. Your insurance company should reimburse these mitigation costs. Do not make permanent repairs before the insurance adjuster inspects the damage. Temporary fixes are acceptable and expected. Permanent repairs could complicate your claim.
How to File Your Roof Damage Insurance Claim
Filing the claim is a formal process. Start by contacting your insurance company. You can usually call their claims department or file online. Have your policy number ready when you call. Provide your basic information: name, address, policy number. Give a clear, concise description of the damage. State the date of the loss and the cause, like "windstorm on August 15th." Do not speculate or guess about the cause. Stick to the facts you observed. The insurance company will open a claim and assign you a claim number. Write down this number and the adjuster's name. Ask about the next steps and the expected timeline. Most companies aim to have an adjuster contact you within 48 hours. They will schedule an inspection of your property.
Working with the Insurance Adjuster
The insurance adjuster represents the company. Their job is to assess the damage and determine coverage. Be prepared for their visit. Have all your documentation ready: photos, videos, notes, and receipts. Walk the adjuster around your property. Point out all the areas of concern. Be present during the entire inspection if possible. Do not let the adjuster go on the roof alone. A professional roofing contractor should accompany them. The adjuster will take their own measurements and photos. They will write an estimate for the repair costs. This estimate is called a "scope of loss." It details what they believe needs to be repaired or replaced. Review this document carefully. It forms the basis of your insurance payment. Ask questions if anything is unclear. The adjuster's estimate is not final. You can negotiate if you believe it is too low.
Getting a Professional Roofing Contractor's Estimate
Always get an estimate from a licensed roofing contractor. Do this before or soon after the adjuster's inspection. Choose a reputable local contractor with good reviews. Look for certifications from major manufacturers like GAF or Owens Corning. The contractor should provide a detailed, line-item estimate. This estimate should include materials, labor, and disposal costs. It should specify the type and quality of shingles to be used. It should include underlayment, flashing, vents, and drip edge. Compare the contractor's estimate to the adjuster's scope of loss. Look for major discrepancies. The contractor often finds hidden damage the adjuster missed. The contractor's estimate is your key tool for negotiation. It provides a professional, market-based cost assessment. Do not accept the first low estimate from an unknown contractor. Quality work has a fair price.
Navigating the Claim Negotiation Process
Negotiation is a normal part of the claims process. Do not be afraid to advocate for your claim. Start by comparing the two estimates side-by-side. Identify the line items that are missing or undervalued in the adjuster's scope. Common areas of dispute include the cost of materials. Adjusters sometimes use outdated pricing databases. Labor costs can also be underestimated. The need for a full roof replacement versus a repair is another big debate. If the damage is over a certain percentage, a full replacement is often required. This is based on building codes and manufacturer requirements. Prepare a formal letter or email to your insurance company. Reference your claim number. Politely point out the discrepancies. Attach the contractor's detailed estimate and your supporting photos. Explain why the additional items or higher costs are necessary. Be professional and factual in all communications.
Understanding Depreciation and Actual Cash Value vs. Replacement Cost
These are critical insurance concepts. Actual Cash Value (ACV) is the replacement cost minus depreciation. Depreciation is the loss in value due to age and wear. A 15-year-old roof has depreciated significantly. Replacement Cost Value (RCV) is the cost to replace the roof with new materials of like kind and quality. Most policies today are RCV policies for the dwelling. However, they often pay in two parts. First, you receive the ACV amount, minus your deductible. After the work is completed, you submit the final invoice. Then you receive the recoverable depreciation. This is the difference between the ACV and the RCV. You must complete the repairs to get the full RCV payment. Understand which type of coverage you have. It dramatically affects your out-of-pocket costs.
What to Do If Your Claim Is Denied or Underpaid
Claim denials or lowball offers are frustrating but not the end. First, request a detailed explanation in writing from the insurance company. They must state the specific policy language justifying their decision. Review this reason carefully. Sometimes it is a simple misunderstanding or missing information. You can submit a formal appeal. Provide additional documentation from your contractor. You can also hire a public adjuster. A public adjuster works for you, not the insurance company. They re-inspect the damage and negotiate on your behalf. They typically charge a percentage of the final settlement. Another option is to file a complaint with your state's Department of Insurance. This regulatory body oversees insurance companies. They can investigate if the company is acting in bad faith. As a last resort, consult with an attorney who specializes in insurance law.
Selecting the Right Roofing Contractor for the Job
Your choice of contractor will make or break your project. Do not let the insurance company choose for you. You have the right to select your own contractor. Start by looking for local, established companies. Check their physical business address. Verify they are licensed and insured in your state. Ask for proof of liability insurance and workers' compensation. Look for manufacturer certifications. These show the contractor is trained to install specific products. Read online reviews on Google, BBB, and Facebook. Ask for references from recent customers. Contact those references and ask about their experience. Get at least three detailed written estimates. The lowest price is not always the best value. Beware of storm chasers who come door-to-door after a storm. They often provide poor workmanship and then leave town. Choose a contractor who will work directly with your insurance adjuster. This coordination is very helpful.
Reviewing the Contract and Understanding Warranties
Never start work without a signed contract. The contract should be detailed and clear. It must include the contractor's full name, address, and license number. It should list the exact materials to be used: brand, style, and color of shingles. Specify the type of underlayment, flashing, and ventilation. Include the project start and completion dates. The total price and payment schedule should be clearly stated. A typical schedule might be a deposit, a progress payment, and a final payment upon completion. Understand the warranties involved. There are two main types: manufacturer's warranty and workmanship warranty. The shingle manufacturer provides a material warranty, often 25-50 years. The contractor should provide a separate workmanship warranty, typically 2-10 years. This covers installation errors. Get both warranties in writing. Read the fine print on what voids the warranties, like improper ventilation.
Real Project Case Studies and Outcomes
Case Study 1: The Hail Damage Battle. A homeowner in Kingwood had severe hail damage. The insurance adjuster initially approved only for repairs. Our inspection showed bruising on over 80% of the shingles. We documented this with close-up photos and a core sample. We cited the GAF manufacturer's requirement for full replacement with such widespread damage. After submitting our report and meeting with the adjuster, the insurance company approved a full roof replacement. The homeowner paid only their deductible.
Case Study 2: The Wind Claim with Hidden Deck Damage. After a windstorm, a client had several missing shingles. The adjuster's estimate was low, covering only shingle replacement. During our tear-off, we discovered rotten roof decking under the underlayment. This is common when leaks go unnoticed. We immediately stopped work and called the adjuster to the site. We showed them the soft, damaged wood. The adjuster amended the scope of loss to include all new decking. The claim payout increased by several thousand dollars. The homeowner's roof was restored to like-new condition.
Frequently Asked Questions (FAQ)
How long do I have to file a roof damage claim?
Most insurance policies require you to file a claim promptly after discovering damage. There is usually a clause about "timely notice." This often means within one year of the event. However, some states have longer statutes of limitation. Check your policy and your state's insurance regulations. It is always best to file as soon as you safely can. Delaying can give the insurance company a reason to question the cause.
Will filing a claim increase my insurance premiums?
Filing a claim may affect your premiums. It depends on your insurance company, your claim history, and state laws. A single claim for a covered peril like a storm may not cause an increase. Multiple claims in a short period almost certainly will. Some companies offer "claim-free" discounts that you could lose. You should file a legitimate claim for significant damage. That is what insurance is for. Do not file small claims for minor repairs you can afford yourself.
Should I get multiple estimates from roofing contractors?
Yes, you should get at least three detailed estimates. This helps you understand the fair market price for the work. It also lets you compare the professionalism and thoroughness of different contractors. Do not automatically choose the lowest bid. The lowest bidder may be cutting corners or using inferior materials. Provide each contractor with the same information: the adjuster's scope of loss and your photos.
What if my roof is old? Will insurance still cover storm damage?
Yes, insurance should still cover sudden storm damage even on an old roof. However, the settlement may be based on Actual Cash Value (ACV) if you have that type of policy. This means they subtract depreciation for the age of your roof. If you have a Replacement Cost Value (RCV) policy, you get the full cost to replace it after you complete the repairs. The age of the roof does not exclude coverage for a new, separate damaging event.
Can I do the repairs myself and keep the insurance money?
This depends on your policy and the mortgage company if you have one. Most policies require the work to be completed to receive the full RCV payment. If you have a mortgage, the insurance check is often made out to both you and the mortgage lender. The lender will want to ensure the repairs are done properly to protect their investment. They usually require a contractor's invoice. Doing it yourself may prevent you from receiving the recoverable depreciation portion of the payment.
What is a "supplement" in an insurance claim?
A supplement is a request for additional money after the initial estimate. It is very common in roofing claims. During the tear-off, hidden damage is often discovered. This includes rotten decking, damaged flashing, or inadequate ventilation. Your contractor documents this new damage with photos and measurements. They then submit a supplemental estimate to the insurance company. The adjuster reviews it and, if justified, issues an additional payment. A good contractor knows how to properly prepare and submit supplements.
Conclusion and Your Next Steps
Filing a roof damage claim can be a complex process. Knowledge is your most powerful tool. Start by understanding your policy and documenting damage thoroughly. File your claim promptly and communicate clearly with your insurance company. Hire a reputable, local roofing contractor to provide a professional estimate. Use that estimate to ensure you receive a fair settlement. Do not be afraid to negotiate or appeal a denial. Your home is your biggest investment. Protecting it with a sound roof is essential. After reading this guide, you should feel informed and ready to take action. Your next step is to review your insurance policy today. Do not wait for the next storm. Know your coverage, know your deductible, and know your rights. If you suspect damage, start your documentation immediately. A successful claim restores your home and provides peace of mind.