
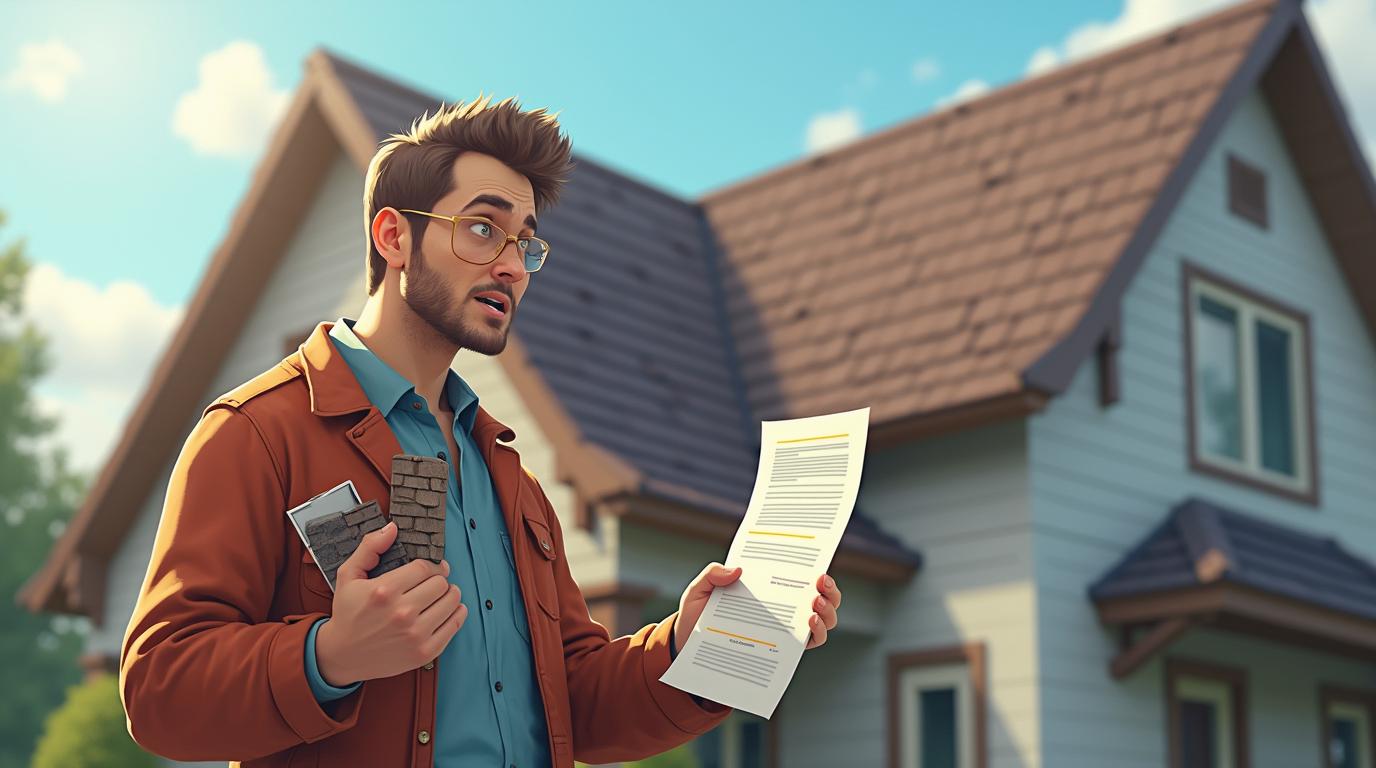
Getting Roof Replaced by Insurance: A Complete Guide from a Texas Roofing Contractor
I've been installing and replacing roofs across Texas for over 15 years. During that time, I've completed more than 2,500 roofing projects. I hold certifications from major manufacturers like GAF and Owens Corning. I've worked directly with hundreds of homeowners navigating insurance claims after storms. This article exists because I've seen too many good people struggle with this process. Homeowners often feel confused and overwhelmed when dealing with insurance companies. They don't know what questions to ask or what steps to take. This guide solves that problem by giving you clear, actionable information from someone who's been through this process countless times. I gathered this information from real customer projects, industry data from the National Roofing Contractors Association, manufacturer specifications, and Texas building codes. My methodology is simple: share what actually works in the real world, not just theory. I'll explain the exact process we use with our customers to get their roofs replaced through insurance successfully.
Understanding Insurance Coverage for Roof Replacement
Most homeowners insurance policies cover roof damage from specific causes. These causes are typically called "covered perils." Common covered perils include hail, wind, falling trees, and fire. However, insurance does not cover normal wear and tear or lack of maintenance. Understanding your policy's specifics is crucial before you begin the claims process. Insurance policies have different coverage levels and deductibles that affect your out-of-pocket costs.
What Types of Damage Are Typically Covered
Storm damage is the most common reason for insurance-covered roof replacements. Hail damage creates circular dents on shingles that compromise their integrity. Wind damage often lifts or tears shingles from the roof deck. Falling tree limbs can puncture the roof surface and underlying materials. Fire damage, while less common, is almost always covered. Water damage from storms may also be covered if it resulted from a covered peril. However, gradual leaks from aging materials typically aren't covered. Always check your specific policy language for exact coverage details.
Policy Types and Their Impact on Claims
There are two main types of homeowners insurance policies for roof coverage. Actual Cash Value (ACV) policies pay the current value of your roof minus depreciation. Replacement Cost Value (RCV) policies pay the full cost to replace your roof with similar materials. RCV policies are generally better for homeowners but cost more. Many policies have a separate, higher deductible for wind and hail damage. This deductible might be a percentage of your home's insured value rather than a fixed dollar amount. Understanding your policy type helps set realistic expectations for your claim settlement.
The Step-by-Step Insurance Claim Process
The insurance claim process follows a predictable sequence when handled correctly. Missing steps or rushing through them can reduce your settlement amount. Following this proven method ensures you get the full replacement value you're entitled to under your policy.
Step 1: Initial Damage Assessment and Documentation
Start by safely documenting all visible damage after a storm. Take clear photographs from ground level showing the overall roof condition. Capture close-up shots of damaged shingles, gutters, and siding. Document any interior water stains on ceilings or walls. Make temporary repairs to prevent further damage, like placing tarps over leaks. Keep all receipts for these emergency repairs as they may be reimbursable. Contact a reputable roofing contractor for a professional inspection before filing your claim. Many contractors offer free inspections and can help identify all damage.
Step 2: Filing the Insurance Claim Properly
Contact your insurance company to start the claim process. Provide your policy number and basic information about the damage. Be factual and avoid speculation about causes or repair costs. Request that they send an adjuster to inspect the damage. Ask about their preferred method for submitting documentation. Some companies use online portals while others accept email or fax. Keep detailed records of all communications including dates, times, and representative names. Request a claim number and confirmation of your deductible amount.
Step 3: The Insurance Adjuster Inspection
The insurance adjuster will visit your property to assess the damage. Have your roofing contractor present during this inspection if possible. The contractor can point out damage the adjuster might miss. They can also explain why certain repairs are necessary for proper installation. Take notes during the inspection and ask questions about anything unclear. The adjuster will create an estimate using software like Xactimate. This estimate determines how much the insurance company will pay for repairs. Review this estimate carefully with your contractor before accepting it.
Step 4: Understanding and Negotiating the Settlement
Insurance estimates often miss necessary items or underestimate costs. Common omissions include proper ventilation upgrades, ice and water shield requirements, or full deck replacement when needed. Your contractor can help identify these gaps and prepare a supplement request. This is a formal request for additional funds to complete the roof properly. Supplement requests are normal and expected in the roofing industry. They ensure your roof meets current building codes and manufacturer requirements. Don't accept a settlement that won't cover a complete, code-compliant installation.
Working with Roofing Contractors on Insurance Claims
Choosing the right contractor significantly impacts your claim outcome. An experienced insurance restoration contractor understands the claims process intimately. They know how to document damage properly and negotiate with adjusters. They also ensure the final installation meets all requirements for warranty coverage.
How to Choose the Right Contractor
Look for contractors with specific insurance restoration experience. Verify they're properly licensed in your state. In Texas, check their license status through the Texas Department of Licensing and Regulation. Ensure they carry adequate liability insurance and workers' compensation coverage. Ask for references from recent insurance claim projects. Check their ratings with the Better Business Bureau and review sites. Look for manufacturer certifications like GAF Master Elite or Owens Corning Platinum. These certifications indicate higher training standards and better warranty options.
What to Expect from Your Contractor
A good insurance restoration contractor will handle much of the claims process for you. They should provide a detailed inspection report with photographs. They should be present for the adjuster's inspection. They should review the insurance estimate and identify any deficiencies. They should handle supplement requests and negotiations with the insurance company. They should provide a detailed contract outlining exactly what work will be performed. They should obtain all necessary permits for the work. They should coordinate with you regarding scheduling and material selections.
Roofing Materials and Insurance Considerations
Insurance settlements typically cover "like kind and quality" replacement materials. This means you'll generally get shingles similar to what you currently have. However, you may have options to upgrade materials by paying the difference yourself.
Asphalt Shingle Options and Warranties
Most Texas homes use asphalt shingles due to their cost-effectiveness and durability. Basic 3-tab shingles are the most economical option but have shorter lifespans. Architectural or dimensional shingles offer better wind resistance and longer warranties. Premium laminated shingles provide the best appearance and longest warranties, often 50 years. Manufacturer warranties vary significantly between product lines. Some warranties are non-prorated while others decrease in value over time. Proper installation by certified contractors is usually required for warranty validation. Review manufacturer specifications at GAF and Owens Corning for detailed information.
Additional Components Covered by Insurance
Your roof replacement includes more than just shingles. Insurance should cover all necessary components for a complete system. This includes synthetic underlayment for better moisture protection. Ice and water shield in critical areas like valleys and eaves is essential. Proper ventilation components help prevent heat and moisture buildup. Flashing around chimneys, vents, and walls must be replaced. Drip edge along roof edges improves water shedding. Gutters and downspouts damaged during the storm may also be covered. Ridge cap shingles complete the roof's appearance and function.
Cost Considerations and Financial Aspects
Understanding the financial aspects of insurance roof replacements prevents surprises. While insurance covers most costs, you'll likely have some out-of-pocket expenses.
Understanding Your Deductible
Your deductible is the amount you pay before insurance coverage begins. This is your financial responsibility for the claim. Deductibles typically range from $500 to $5,000 depending on your policy. Some policies have separate, higher deductibles for wind and hail damage. These might be 1-5% of your home's insured value rather than a fixed amount. For a $300,000 home with a 2% wind/hail deductible, you'd pay $6,000 out of pocket. Know your deductible amount before starting the claims process. This helps you budget appropriately for your portion of the costs.
Depreciation and Recoverable Costs
Replacement Cost Value policies often pay claims in two parts. The first check covers the Actual Cash Value (ACV) of your roof. This is the replacement cost minus depreciation for age and wear. The second payment covers the recoverable depreciation. You receive this after the work is completed and proven satisfactory. The total of both payments equals the full replacement cost minus your deductible. Some contractors offer to work with just the ACV payment initially. They wait for the recoverable depreciation payment after completion. This arrangement reduces your upfront financial burden.
Common Pitfalls and How to Avoid Them
Many homeowners encounter similar problems during insurance roof replacements. Being aware of these issues helps you avoid them.
Underestimating the Full Scope of Damage
Insurance adjusters sometimes miss hidden damage during inspections. Water intrusion can damage roof decking that isn't visible from the exterior. Soffit, fascia, and gutter damage often accompanies roof damage. Interior damage from leaks may require drywall repair and painting. A thorough inspection by your contractor identifies all related damage. Documenting everything initially leads to a more complete settlement. Don't settle for a partial repair when full replacement is warranted. Partial repairs often fail sooner and may void manufacturer warranties.
Accepting Low-Quality Repairs or Materials
Some contractors cut corners to increase their profit margins. They might use fewer nails per shingle than required. They might skip important components like ice and water shield. They might install inadequate ventilation that reduces roof lifespan. Always verify materials meet or exceed manufacturer specifications. Ensure installation follows International Residential Code requirements. Request documentation of all materials used. Get copies of manufacturer warranties for your records. A slightly higher quality installation costs little more but lasts much longer.
Real Project Case Studies and Outcomes
These real examples from our projects illustrate how the insurance process works in practice. Names and specific locations have been changed for privacy, but the situations are accurate.
Case Study 1: Hail Damage in Kingwood
A homeowner in Kingwood experienced significant hail damage during a spring storm. The insurance adjuster initially approved only repairs to damaged sections. Our inspection revealed widespread granule loss across the entire roof. We documented this with close-up photographs and granule collection tests. We explained that partial repairs would create visible color mismatches. The insurance company eventually approved full roof replacement. The homeowner paid their $1,000 deductible. They received a complete GAF Timberline HDZ roof with 50-year warranty. The project completed in three days with no issues.
Case Study 2: Wind Damage in The Woodlands
High winds tore multiple shingles from a 15-year-old roof in The Woodlands. The insurance company's first estimate used basic 3-tab shingles. The homeowner wanted architectural shingles to match neighborhood standards. We submitted a supplement request for the upgrade cost difference. The insurance approved an additional $2,800 for better materials. The homeowner paid their $2,500 deductible plus $300 for the upgrade difference. They received Owens Corning Duration shingles with enhanced wind warranty. The project included new synthetic underlayment and improved ventilation.
Frequently Asked Questions
How long does the entire insurance roof replacement process take?
The timeline varies based on several factors. Initial inspection and claim filing typically take 1-3 days. Insurance adjuster inspection usually occurs within 1-2 weeks of filing. Estimate review and supplement negotiations can take another 1-2 weeks. Material ordering and delivery typically require 1-2 weeks. Actual installation usually takes 2-5 days depending on roof size and complexity. The entire process from storm to completed roof averages 4-8 weeks. Major storms causing widespread damage can extend timelines due to high demand.
Will filing a roof claim increase my insurance premiums?
Filing a claim may affect your premiums, but not always. Insurance companies consider multiple factors when determining rate changes. These include your claims history, the claim amount, and your location's risk profile. A single claim for legitimate storm damage might not increase rates. Multiple claims within a short period almost certainly will. Some states have regulations limiting premium increases for weather-related claims. Discuss potential impacts with your insurance agent before filing if concerned.
Can I choose any roofing contractor I want?
Yes, you have the right to choose your own contractor. Insurance companies cannot require you to use their preferred vendors. However, some insurers offer incentives for using their network contractors. These might include extended warranties or streamlined processes. Always vet any contractor thoroughly regardless of who recommends them. Check licenses, insurance, references, and certifications. Your choice of contractor significantly impacts the quality and longevity of your roof.
What if my insurance denies my claim?
Claim denials happen for various reasons. The most common is the insurance company determining damage resulted from wear rather than a covered peril. If your claim is denied, request a detailed explanation in writing. Review your policy to understand the specific exclusion cited. Consider hiring a public adjuster to review your case independently. Public adjusters work for you, not the insurance company. They typically charge a percentage of any additional settlement they obtain. You can also file a complaint with your state's insurance department if you believe the denial is unfair.
Should I get multiple estimates from roofing contractors?
Getting multiple estimates is generally wise, but approach this carefully. Reputable contractors provide free inspections and estimates. However, beware of contractors offering to cover your deductible or pay you to choose them. These practices are illegal in many states including Texas. They often indicate contractors who will cut corners elsewhere. Focus on comparing the quality of materials, workmanship warranties, and company reputation rather than just price. The lowest bid often becomes the most expensive choice long-term through premature failures.
What documentation should I keep throughout the process?
Maintain thorough records from start to finish. Keep copies of your insurance policy and declarations page. Document all damage with dated photographs before any repairs. Save all correspondence with your insurance company. Keep notes from phone calls including dates, times, and representative names. Retain copies of the insurance estimate and any supplements. Save your contractor's proposal and final contract. Keep receipts for any out-of-pocket expenses. Maintain copies of all warranties and permits. This documentation protects you if disputes arise later.
How do I know if I need repairs versus full replacement?
Several factors determine whether repair or replacement is appropriate. Age of the existing roof is a major consideration. Most asphalt shingle roofs last 15-25 years depending on quality and maintenance. If your roof is near the end of its lifespan, replacement often makes more sense. The extent and pattern of damage matters too. Isolated damage in small areas may be repairable. Widespread or randomly distributed damage usually requires replacement. Matching existing materials can be difficult on older roofs, making repairs visibly obvious. A professional inspection provides the best guidance for this decision.
Industry Statistics and Important Data
Understanding industry data helps set realistic expectations for your project. The National Roofing Contractors Association provides valuable statistics about roofing trends and costs. According to their data, the average roof replacement cost in Texas ranges from $8,000 to $15,000. This varies based on roof size, pitch, materials, and location. Insurance claims for roof damage have increased significantly in recent years. Severe weather events are becoming more frequent and intense. Proper installation by certified contractors reduces callbacks by over 80%. Manufacturer warranties require specific installation methods for validation. Following building codes and manufacturer specifications ensures your investment lasts.
Conclusion and Next Steps
Getting your roof replaced through insurance doesn't need to be stressful. Following the proper process with experienced professionals leads to successful outcomes. Start by documenting all damage thoroughly with photographs. Contact a reputable roofing contractor for a professional inspection. File your insurance claim with accurate information about the damage. Have your contractor present during the adjuster's inspection. Review the insurance estimate carefully before accepting it. Ensure your contractor uses quality materials and follows proper installation methods. Maintain good documentation throughout the entire process. Your roof protects everything inside your home. A proper insurance replacement restores that protection for years to come. If you're facing potential roof damage, take the first step today with a professional inspection. Knowledge and preparation make all the difference in navigating insurance claims successfully.