
Ice Dam Damage Insurance Claim: Your Complete Guide from a 20-Year Roofing Contractor
I have been a licensed roofing contractor for over twenty years. I have completed more than three thousand roofing projects across Texas. I hold certifications from major shingle manufacturers like GAF and Owens Corning. I have seen firsthand how ice dams destroy roofs and homes. This article exists to solve a real problem for homeowners. Many people face ice dam damage and insurance claims. They feel confused and overwhelmed by the process. This guide answers all your questions clearly. It gives you the knowledge to protect your home and your wallet. The information here comes from real customer projects. It is based on industry data from the National Roofing Contractors Association. It references manufacturer specifications and building codes. My recommendations come from fixing hundreds of ice dam claims. I will explain the methodology behind every tip. This is not generic advice. This is field-tested wisdom from the roof itself.
What Are Ice Dams and Why Are They So Destructive?
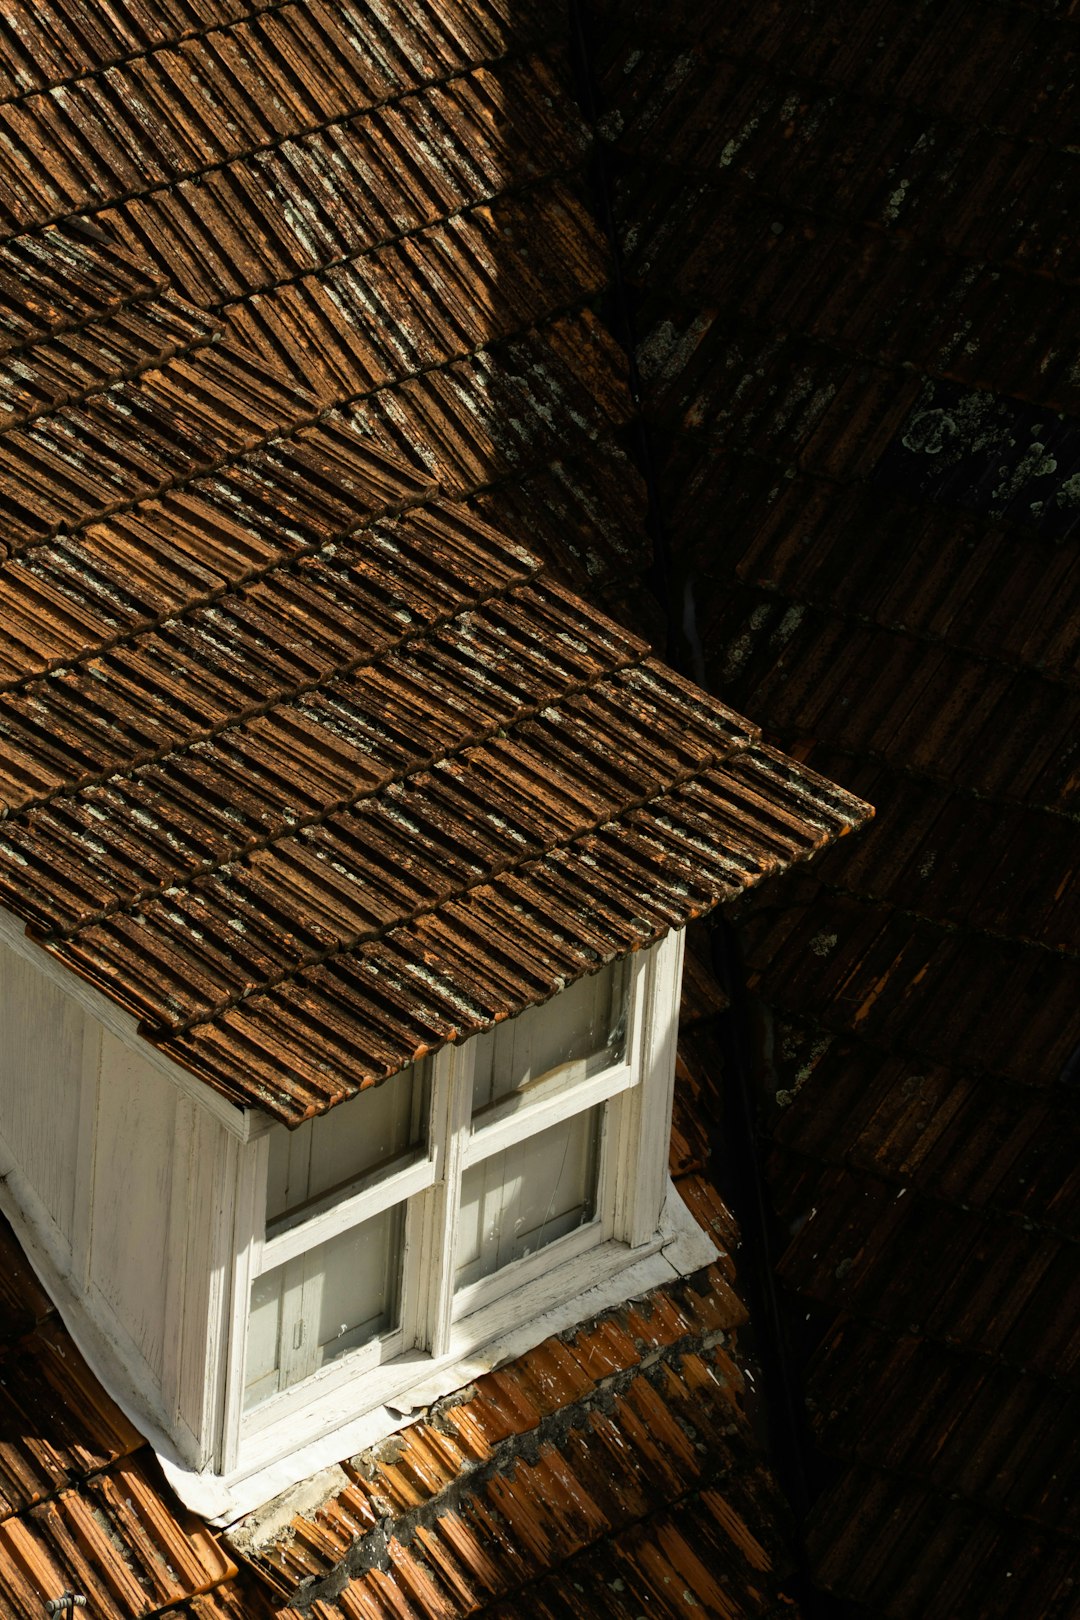
Ice dams are ridges of ice that form at the edge of your roof. They prevent melting snow from draining off. This trapped water can back up under the shingles. It then leaks into your attic, walls, and ceilings. The damage is often hidden until it becomes severe. The process starts with an uneven roof temperature. The upper part of your roof is warm enough to melt snow. The lower part, especially the eaves, stays cold. The melted snow runs down to the cold edge and refreezes. This cycle repeats, building a dam of ice. The water behind the dam has nowhere to go but inside your home.
The Science Behind Ice Dam Formation
Three key factors create ice dams. First, you need snow cover on the roof. Second, heat loss from the house warms the roof deck. This often comes from poor attic insulation or air leaks. Third, outside temperatures must stay below freezing. The National Roofing Contractors Association (NRCA) provides detailed technical bulletins on this. The main culprit is usually inadequate attic ventilation and insulation. When warm air from your living space escapes into the attic, it heats the roof. This melts the bottom layer of snow. The water runs down until it hits the cold overhang and freezes.
Immediate Signs of Ice Dam Damage
Homeowners often notice the problem inside first. You might see water stains on your ceilings or walls. These stains often appear at the exterior walls. You may see icicles hanging from your gutters. While icicles look pretty, they are a warning sign. Large, thick icicles often mean an ice dam is forming above. Outside, you can see the dam itself. Look for a thick ridge of clear ice along the roof edge. The gutters may be overflowing with ice. Shingles may look lifted or damaged near the eaves. In severe cases, you can see sagging gutters or fascia boards.
Does Homeowners Insurance Cover Ice Dam Damage?
This is the most critical question. The answer is usually yes, but with important conditions. Most standard homeowners insurance policies cover sudden and accidental water damage. Damage from ice dams often falls under this category. However, insurance does not cover the lack of maintenance. If the ice dam formed because you neglected your roof, they may deny the claim. The key is proving the damage was sudden and unforeseen. Insurance typically covers the resulting interior water damage. It also covers repairs to the roof structure damaged by the water. It may not cover the cost to remove the ice dam itself. Always check your specific policy language.
Understanding Your Policy's Language
You must read your policy's "Perils Insured Against" section. Look for terms like "weight of ice, snow, or sleet" and "water damage." Some policies have specific endorsements for ice dam removal. The Insurance Information Institute is a great resource for understanding coverage. Know your deductible amount. Ice dam claims can be expensive, so ensure the repair cost exceeds your deductible. Be aware of policy limits for certain types of property. For example, there may be a lower limit for damage to fences or detached structures.
What Insurance Typically Excludes
Insurance will not cover damage due to wear and tear or lack of maintenance. If your roof was already old and failing, they may argue the ice dam was a result of that. They do not cover the cost to upgrade your attic insulation to prevent future dams. That is considered a home improvement. They also may not cover damage to the roof surface if it was already at the end of its life. Most policies exclude damage that occurs over a long period, like a slow leak you ignored. Prompt reporting is essential.
The Step-by-Step Insurance Claim Process for Ice Dam Damage
Filing a claim can feel daunting. Following a clear process reduces stress and improves your outcome. Do not delay. The longer you wait, the worse the damage can get. Mold can begin to grow within 24-48 hours of water intrusion. Your first priority is to prevent further damage. This is also a requirement of your insurance policy. You have a duty to mitigate losses.
- Document Everything Immediately: Take clear photos and videos of the damage. Get shots of the exterior ice dam, the interior water stains, and any damaged personal property. Create a list of damaged items.
- Perform Emergency Mitigation: Safely remove water if possible. Place buckets under active leaks. Move furniture and valuables out of the way. You can call a water mitigation company for help. Save all receipts for this work; insurance should reimburse you.
- Contact Your Insurance Company: Call your agent or the claims department. Report the damage clearly. Provide your policy number and a brief description. They will assign you a claim number and an adjuster.
- Schedule the Adjuster Inspection: The insurance adjuster will visit your home to assess the damage. Be present for this inspection. Have your documentation ready. Point out all areas of concern.
- Get a Professional Roofing Estimate: Hire a licensed, reputable roofing contractor to provide a detailed repair estimate. Do not rely solely on the adjuster's assessment. A roofer knows the full scope of hidden damage.
- Review the Insurance Settlement: The insurance company will send you a claim settlement offer. Compare it line-by-line with your contractor's estimate. If there are discrepancies, discuss them with your adjuster. You have the right to negotiate.
- Complete the Repairs: Once the settlement is agreed upon, hire your contractor to do the work. Provide the insurance company with the final invoice. Some companies pay the contractor directly; others issue payment to you.
Working with Roofing Contractors and Insurance Adjusters
This relationship is crucial for a successful claim. A good contractor acts as your advocate. They understand insurance language and repair scopes. Be wary of contractors who knock on your door after a storm. These "storm chasers" may not have your best interest at heart. Choose a local, established company with good reviews. Your contractor should communicate clearly with the adjuster. They should be present during the adjuster's inspection if possible. They can point out damage the adjuster might miss, like compromised decking or ventilation issues.
What Your Roofer Should Provide
A professional estimate should be detailed and itemized. It should include:
- Full roof replacement or repair scope.
- Line items for tear-off, disposal, and new materials.
- Costs for repairing damaged roof decking (plywood/OSB).
- Costs for replacing ice and water shield, underlayment, and shingles.
- Costs for repairing gutters, fascia, and soffits.
- Labor costs and project timeline.
- Manufacturer warranties for materials used.
Navigating Disputes with the Adjuster
Sometimes the adjuster's estimate is lower than the contractor's. This is common. The adjuster may use software that estimates regional average costs. Your contractor's estimate reflects actual local material and labor prices. If there's a dispute, ask your contractor to prepare a detailed comparison. They can provide manufacturer spec sheets showing required materials. For example, local building codes may require specific ice and water shield products. Reference the International Residential Code (IRC) for requirements. You can request a re-inspection with your contractor present. As a last resort, you can hire a public adjuster to represent you.
Repairing the Damage: Materials and Methods That Last
Simply replacing shingles is not enough. A proper repair addresses the root cause to prevent recurrence. The repair must follow building codes and manufacturer instructions. The key areas are the roof edge, the deck, and the attic.
Critical Roof Edge Protection
The first line of defense is a self-adhering ice and water shield. This is a rubberized asphalt membrane. It seals around nails and provides a watertight barrier. Building codes, like the IRC, require it in specific climates. It should be installed along the eaves. It should extend up the roof at least 24 inches from the interior wall line. In areas with severe ice dams, we often install it 36 inches or more. Leading manufacturers include GAF WeatherWatch and Owens Corning WeatherLock.
Addressing Attic Ventilation and Insulation
This is the most important long-term fix. Without proper attic conditions, ice dams will return. The goal is to create a cold, uniform roof temperature. Ensure you have adequate insulation on the attic floor. The U.S. Department of Energy recommends levels based on your climate zone. Seal all air leaks from the house into the attic. This includes gaps around pipes, wires, and light fixtures. Install proper ventilation. You need a balanced system of intake (soffit vents) and exhaust (ridge or roof vents). This allows cold air to flow under the roof deck, keeping it cold.
Real Project Case Studies and Outcomes
Let me share two real examples from my work. These show how the process actually unfolds.
Case Study 1: The Hidden Leak. A homeowner noticed a small water stain on a bedroom ceiling. They ignored it for weeks. After a heavy snow, the stain grew rapidly. They called us. We found a massive ice dam on the back roof slope. The water had soaked the roof decking and leaked down an interior wall. The insurance adjuster initially only wanted to patch the roof. Our inspection found 15 sheets of rotten plywood decking. We documented it with moisture meters and photos. We provided the adjuster with the IRC code requiring deck replacement for safety. The insurer approved a full roof replacement and interior drywall repair. Total claim: $18,500. Outcome: Homeowner got a new, code-compliant roof with a warranty.
Case Study 2: The Preventable Repeat. A customer had an ice dam claim two years prior. A different company just replaced shingles. The ice dam returned this winter. We inspected and found zero attic insulation and blocked soffit vents. The previous repair did nothing to address the cause. We worked with the homeowner and their insurer. We argued that the new damage was a direct result of the incomplete prior repair. The insurance company covered the new water damage. The homeowner paid for the attic insulation and ventilation upgrade. This investment stopped the cycle for good.
Practical Homeowner Tips from the Field
Here is actionable advice you can use today.
- Use a Roof Rake Safely: After heavy snow, use a long-handled roof rake to remove snow from the eaves. Stand on the ground, not a ladder. Do not scrape the shingles; you can damage them.
- Inspect Your Attic: On a cold day, go into your attic. Look for daylight shining through the roof boards. That indicates holes. Feel for damp insulation. Look for frost on nails; that means warm air is escaping.
- Clean Your Gutters: Clogged gutters contribute to ice dams. Clean them in the fall to ensure proper drainage.
- Consider Heat Cables: As a temporary measure, you can install UL-listed heat cables in a zig-zag pattern along the eaves. They melt channels for water to drain. They are not a permanent fix but can help in a pinch.
- Know Your Roof's Age: Keep records of when your roof was installed. An older roof is more susceptible to damage. Insurance companies know this.
Frequently Asked Questions (FAQ)
1. Will filing an ice dam claim raise my insurance rates?
It might, but not always. One claim may not affect your premium. Multiple claims in a short period likely will. Rates are based on risk. If your home has proven vulnerable to ice dams, you are a higher risk. Preventing future dams is the best way to keep rates stable.
2. Can I remove an ice dam myself?
I do not recommend it. It is extremely dangerous. Climbing on an icy roof risks serious falls. Using tools like hammers or chisels can severely damage your shingles and roof structure. Hosing with water can create more ice. The safest method is to hire professionals with steam removal equipment.
3. How long does the entire insurance claim process take?
From filing to final payment, it typically takes 4 to 8 weeks. Emergency mitigation happens within days. The adjuster inspection occurs within a week or two. The review and settlement process can take another week. Scheduling the repair depends on contractor availability, especially after a widespread storm.
4. What if my insurance company denies my claim?
First, ask for a detailed explanation in writing. Review the denial against your policy. If you believe it's wrong, you can appeal. Provide additional documentation from your contractor. You can also file a complaint with your state's department of insurance. Consulting a public adjuster or an attorney specializing in insurance law is an option.
5. Are some roof types better at preventing ice dams?
Yes. Metal roofs with a standing seam design shed snow and ice very well. They also have integrated ice and water protection. However, the attic condition underneath is still the most critical factor. A well-ventilated attic is more important than the roof covering material.
6. Should I get a separate estimate for the interior damage?
Yes. A water mitigation and restoration company should assess the interior damage. This includes drywall, insulation, flooring, and potential mold remediation. Your roofing contractor typically handles only the roof. The insurance adjuster should coordinate both scopes of work.
Conclusion: Protect Your Home and Your Peace of Mind
Ice dam damage is stressful but manageable. Understanding the process gives you control. Remember, your insurance policy is a contract for protection. You pay premiums for this coverage. Do not be afraid to use it for a legitimate, sudden loss. The key steps are documentation, mitigation, and professional help. Invest in a proper repair that fixes the cause, not just the symptom. Upgrade your attic insulation and ventilation. This protects your home for years to come. It also makes your home more energy-efficient. If you are facing ice dam damage, start by calling your insurance company. Then, call a trusted local roofing contractor. Let them be your guide and advocate. Your home is your biggest investment. Protect it with knowledge and the right team.