
Insurance Adjuster Roof Wind Damage: Your Complete Guide from a 15-Year Roofing Contractor
I have been a licensed roofing contractor for over fifteen years. Our team has completed more than 2,500 roofing projects across Texas. We hold certifications from major manufacturers like GAF and Owens Corning. This experience gives me a unique view of the insurance claim process. I have worked alongside hundreds of insurance adjusters after storms. I want to share that real-world knowledge with you today.
This article exists to solve a specific problem. Homeowners often feel lost after wind damages their roof. The insurance process can be confusing and stressful. You might wonder what damage your adjuster will actually cover. You may worry about getting a fair settlement for proper repairs. This guide answers those critical questions with clear, actionable advice.
I gathered this information from real customer projects and industry data. The advice comes from handling claims with companies like State Farm and Allstate. It references manufacturer installation instructions and building codes. My methodology is based on what actually works to get claims approved. I will show you how to prepare for your adjuster's visit. You will learn how to document damage effectively. Let's make this complex process simple and manageable for you.
Understanding Wind Damage: What Your Adjuster Actually Looks For
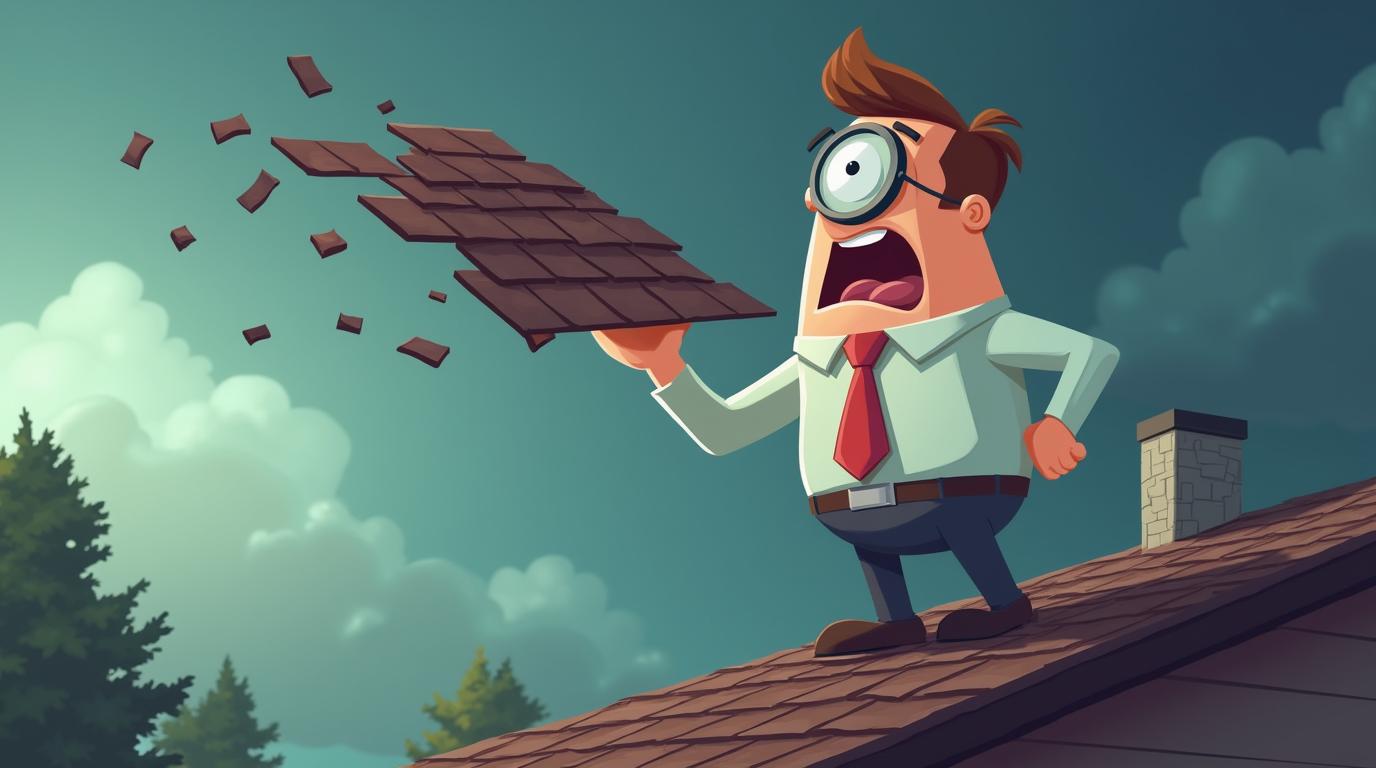
Wind damage is not always obvious like a tree through your roof. Subtle damage is very common and often missed. Adjusters are trained to identify specific, covered types of damage. Knowing what they look for helps you before their inspection.
Common Types of Wind Damage on Different Roofs
Asphalt shingle roofs show specific wind damage patterns. Look for creased or torn shingles. Missing shingles are the most obvious sign. You might also see lifted shingles where the seal is broken. Granule loss in specific patterns can indicate wind uplift. Metal roofs may show lifted seams or fasteners. Tile roofs can have cracked or completely dislodged tiles.
The wind's direction matters greatly for damage patterns. Damage often starts at roof edges and corners. These areas experience the highest wind pressure. Valleys and ridges are also vulnerable spots. Adjusters map wind patterns to verify storm-related damage. They distinguish it from wear and tear or poor installation.
How Wind Speed Correlates to Roof Damage
Most residential shingles are rated for 60-110 mph winds. You can check your shingle's wind rating on the manufacturer's website. For example, GAF offers Timberline HDZ shingles with a 130 mph wind warranty. Damage often occurs below these ratings due to installation issues or aging materials.
Adjusters use official weather data from sources like the National Weather Service. They match reported wind speeds with your policy's wind deductible. Texas building codes, like those from the International Code Council, reference wind zones. Your adjuster will determine if the storm's winds were strong enough to cause the damage they see.
The Insurance Adjuster's Inspection: A Step-by-Step Breakdown
The adjuster's inspection is the most critical part of your claim. Being prepared can significantly impact the outcome. Here is what happens during a typical wind damage inspection.
Documentation and Evidence Collection
The adjuster will take extensive photographs of your entire roof. They photograph overall views and close-ups of specific damage. They document the condition of gutters, vents, and flashing. They look for collateral damage to siding, windows, and fences. This creates a visual record for the insurance company's file.
They also take detailed measurements of your roof. They calculate the total square footage. They note the roof's pitch and complexity. This data is used to generate the repair estimate. They will sketch the roof plan showing all slopes and features.
Assessment of Damage Cause and Origin
The adjuster must determine the cause of damage. They distinguish between sudden wind damage and long-term wear. They look for evidence of previous repairs or installations. They check for proper installation per manufacturer specifications. For example, they might check shingle nailing patterns against GAF's application instructions.
They assess whether repairs or a full replacement are needed. Insurance follows the concept of "matching." If damage affects a certain percentage of the roof, they may approve full replacement. This varies by policy and state law. They also check for damage to the roof decking underneath the shingles.
How to Prepare for the Insurance Adjuster's Visit
Your preparation directly influences your claim's success. Follow these steps before the adjuster arrives to ensure nothing is missed.
Conduct Your Own Preliminary Inspection Safely
Safety is your absolute first priority. Do not climb onto your roof. Use binoculars to view your roof from the ground. Walk around your entire property. Look for visible damage from different angles. Take clear photographs of anything you see from the ground.
Check your yard for debris from your roof. Look for shingle granules in gutters and downspouts. Granules protect shingles from UV rays. Heavy granule loss indicates significant shingle wear. Document all findings with date-stamped photos. This creates your own independent record.
Gather Essential Documentation
Create a dedicated file for your claim. Include your homeowner's insurance policy documents. Have your mortgage information ready. Find any previous inspection reports. Locate receipts for recent roof maintenance or repairs.
If you know your roof's age, write it down. Note the brand and type of roofing material if possible. This information helps the adjuster understand your roof's condition. Prepare a list of all damaged areas you observed. Be ready to point these out during the inspection.
Reading and Understanding the Adjuster's Estimate
The adjuster's estimate, often called a scope of loss, is a technical document. Understanding its components is crucial to ensuring you get what you need for proper repairs.
Line-Item Details and Pricing
The estimate will list every repair item separately. It includes material quantities measured in "squares" (100 square feet). It lists specific materials like shingles, underlayment, and flashing. Labor costs are typically included for each task. The prices are based on regional pricing databases like Xactimate.
Pay close attention to the waste factor included. Roofing materials require cutting and fitting. A standard waste factor is 10-15%. Check that all necessary materials are listed. This includes ice and water shield in critical areas. It includes proper ventilation components if needed.
Depreciation and Actual Cash Value vs. Replacement Cost
This is a critical distinction in insurance claims. Actual Cash Value (ACV) pays for the roof's current value minus depreciation. Replacement Cost Value (RCV) pays to replace the roof with new materials. Most policies are RCV, but they pay ACV first.
You receive the recoverable depreciation after repairs are complete. The adjuster's estimate shows both ACV and RCV amounts. Depreciation is based on your roof's age and expected lifespan. A 15-year-old roof with a 25-year warranty has significant depreciation. Understand which type of coverage your policy provides.
Working with Your Roofing Contractor Through the Claim Process
A reputable roofing contractor is your greatest ally. They provide the technical expertise the adjuster may lack. Here is how to work effectively with both parties.
The Contractor's Role in Supplementing Claims
Your contractor should perform a detailed inspection. They often find damage the adjuster missed. They document this with photos and measurements. They then prepare a "supplement" request for the insurance company. This asks for additional funds for necessary repairs.
Common supplement items include damaged decking, ventilation, and flashing. They also include code upgrades required by local building departments. For example, current International Residential Code may require different fastening than when your roof was built. Your contractor knows these requirements and can document them.
Selecting the Right Contractor for Insurance Work
Choose a contractor experienced with insurance claims. They should be licensed and insured in your state. Look for manufacturer certifications like GAF Master Elite. These contractors receive special training on proper installation. They often offer enhanced warranties.
Avoid contractors who ask you to sign over your insurance benefits. This is called an "assignment of benefits" and can cause problems. Get everything in writing with a detailed contract. The contract should match the insurance scope of work. Never pay the full amount upfront before work begins.
Real Project Case Studies: Wind Damage Claims in Action
These real examples from our project files show how the process works. Names and specific locations are changed for privacy.
Case Study 1: Partial Repair vs. Full Replacement
A homeowner in Kingwood had wind damage from a spring storm. The adjuster initially approved only 12 squares of repair on a 40-square roof. Our inspection found widespread creasing and broken seals. The shingles were 18 years old and discontinued. We documented the matching issue for the insurance company.
We provided photos showing color variation between old and new shingles. We cited the manufacturer's installation guidelines on blending. The insurance company approved a full roof replacement. The key was detailed documentation and understanding policy language about matching.
Case Study 2: Hidden Damage Discovery
After a hailstorm with high winds, an adjuster saw only minor shingle damage. The homeowner hired us for a second opinion. We found lifted shingles along the entire ridge. Further investigation revealed compromised roof decking at multiple points.
We used moisture meters to document water intrusion. We provided a detailed report with infrared images. The supplement request added decking replacement and proper ventilation. The final settlement increased by 60% to cover all necessary repairs. The homeowner avoided future leaks and structural issues.
Frequently Asked Questions About Roof Wind Damage Claims
What if my insurance adjuster denies my wind damage claim?
First, request a detailed explanation in writing. Review your policy's specific wind damage coverage. Hire a licensed roofing contractor for a second inspection. They can provide documentation to support an appeal. You can also request a re-inspection with a different adjuster. As a last resort, contact your state's department of insurance for assistance.
How long do I have to file a wind damage claim?
Most policies require prompt notification of damage. Texas law typically gives one year from the date of loss to file a claim. However, you should report damage immediately. Delays can complicate the investigation. The adjuster needs to see the damage as soon as possible. Check your specific policy for exact time requirements.
Will filing a wind damage claim increase my insurance rates?
It might, but not always. Insurance companies consider many factors. These include your claim history and regional storm frequency. A single wind claim may have less impact than other claims. Discuss potential rate changes with your agent before filing. Sometimes repairs cost less than long-term premium increases.
What is a wind deductible, and how does it work?
A wind deductible is separate from your standard deductible. It is usually a percentage of your home's insured value. Common percentages are 1-5% in wind-prone areas like Texas. If your home is insured for $300,000 with a 2% wind deductible, you pay $6,000. The insurance pays the remaining covered costs. Check your policy declarations page for your specific deductible.
Can I repair the damage myself and get reimbursed?
You can, but I do not recommend it. Insurance companies require proper documentation before payment. They need proof of damage and repair costs. Permanent repairs before inspection can lead to claim denial. Make only temporary repairs to prevent further damage. Keep all receipts for materials used in temporary protection.
What if my roof is old and already had some wear?
Insurance covers sudden, accidental damage from covered events. It does not cover pre-existing wear and tear. The adjuster will apportion damage between old wear and new storm damage. You are only compensated for the storm-related portion. This is where contractor documentation becomes especially valuable.
How do I handle disagreements about repair methods?
Request the insurance company's required repair specifications. Compare these with manufacturer instructions and building codes. Your contractor can provide technical documentation supporting proper methods. Most disagreements involve code upgrades or material matching. Professional mediation through your contractor often resolves these issues.
Industry Statistics and Data on Wind Damage Claims
Understanding broader trends helps contextualize your situation. The Insurance Information Institute reports wind and hail account for 39.1% of all homeowners insurance losses. That is the largest category of loss. The average wind/hail claim payment was $11,695 in recent years.
Texas leads the nation in wind and hail insurance claims. This is due to its size and weather patterns. According to the Texas Department of Insurance, windstorm and hail claims represented 68% of residential claims in one recent year. Proper documentation and professional help are essential in this competitive environment.
Step-by-Step Guide to Navigating Your Wind Damage Claim
- Document the damage immediately. Take clear photos from the ground. Note the date and time of the storm.
- Contact your insurance company. File your claim promptly. Get your claim number and adjuster's contact information.
- Make temporary repairs only. Use tarps to prevent further water intrusion. Keep all receipts for reimbursement.
- Research local roofing contractors. Look for insurance claim experience. Check licenses, insurance, and certifications.
- Meet with the insurance adjuster. Have your contractor present if possible. Point out all areas of concern.
- Review the adjuster's estimate carefully. Compare it with your contractor's assessment. Identify any missing items or discrepancies.
- Submit supplements if necessary. Your contractor should handle this process. Provide all supporting documentation.
- Receive your insurance payment. Understand the difference between ACV and RCV payments. Know when you'll receive depreciation.
- Schedule the repairs. Ensure your contract matches the approved scope. Never pay in full upfront.
- Complete the work and final inspection. Your contractor should handle municipal inspections. Submit completion paperwork to your insurer for final payment.
Conclusion: Protecting Your Home and Investment
Dealing with roof wind damage is stressful but manageable. Knowledge transforms you from a vulnerable homeowner to an informed participant. You now understand what adjusters look for and how to prepare. You know how to read estimates and work with contractors effectively.
Your roof protects everything underneath it. Proper repairs maintain your home's value and safety. Do not settle for quick fixes that lead to future problems. Use this guide to advocate for complete, code-compliant repairs. Your home deserves nothing less.
Take the next step today. If you suspect wind damage, start documenting now. Contact reputable professionals for assessments. Move forward with confidence knowing you understand the process. Your home is your most important investment—protect it wisely with proper knowledge and action.