
Insurance Claim Roof Damage Wind: Your Complete Guide from a Texas Roofer
I have been installing and repairing roofs in the Kingwood area for over fifteen years. During that time, I have personally managed thousands of projects. I hold certifications from major manufacturers like GAF and Owens Corning. I have seen firsthand how wind damage can devastate a roof. This article exists to solve a very real problem. Many homeowners feel lost after a storm. They see missing shingles or suspect damage. They do not know how to navigate the insurance claim process. This guide answers your most pressing questions. It provides a clear, step-by-step path forward. I wrote this based on my direct experience with hundreds of customer insurance claims. The information comes from real project files, manufacturer installation specifications, and Texas building codes. My goal is not to sell you anything. My goal is to give you the knowledge you need. I want you to feel confident and prepared. You will learn how to identify damage, work with your insurance company, and ensure a quality repair.
Understanding Wind Damage: What Insurance Companies Look For
Wind damage is not always obvious. A missing shingle is easy to spot. But subtle damage can be just as serious. Insurance adjusters are trained to look for specific signs. As a contractor, I see these patterns repeatedly. Understanding them helps you advocate for your claim.
Common Types of Wind Damage to Roofs
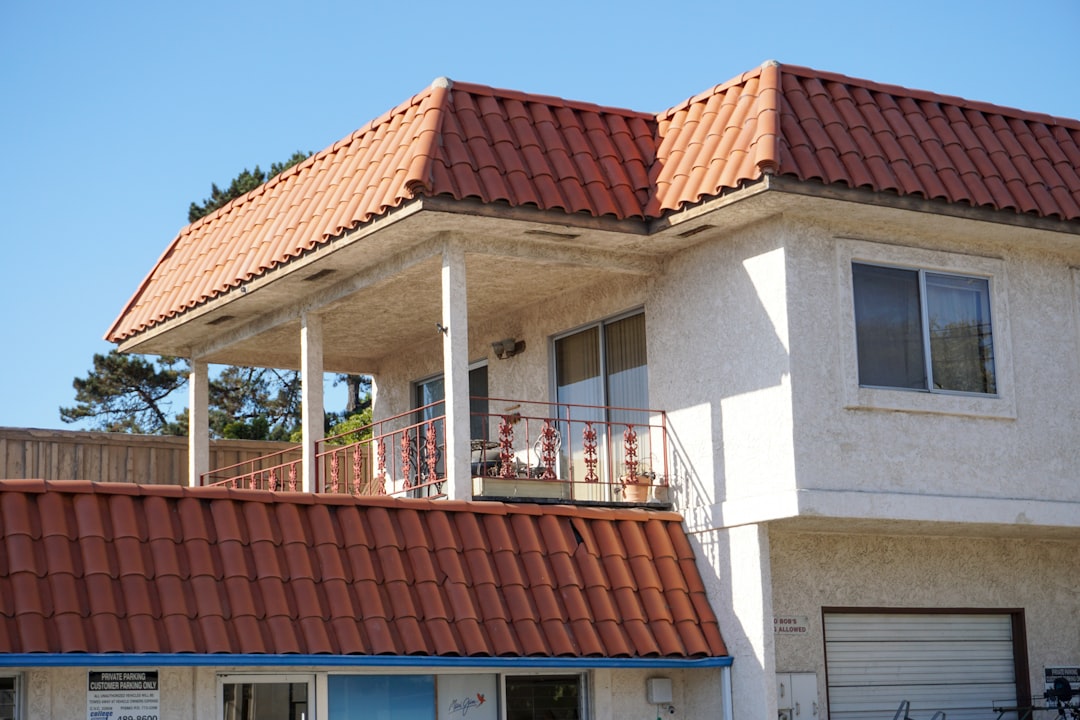
Wind causes several distinct types of damage. Creased or fractured shingles are very common. High winds lift the shingle tab. The adhesive strip fails. Then the wind slams it back down. This creates a visible crease. Over time, this crease will crack and lead to leaks. Another sign is granule loss in specific patterns. Look for bare spots where granules have been scoured away by wind-driven rain. This exposes the asphalt mat to UV rays. The shingle will deteriorate rapidly. Missing shingles are the most obvious damage. But even one missing shingle compromises your roof's water-shedding ability. Finally, check for lifted or damaged flashing. Flashing seals the joints around chimneys, vents, and walls. Wind can pry it loose, creating direct pathways for water.
How Wind Speed Correlates to Damage
Most asphalt shingle roofs are rated to withstand winds up to a certain speed. Common ratings are 60 mph, 90 mph, or 110 mph. These are ASTM D7158 test standards. A storm with 50-60 mph winds can lift shingle tabs. Winds of 70-90 mph can cause widespread creasing and tear-offs. Winds over 100 mph often cause structural sheathing damage. It is important to know your shingle's wind rating. You can find this on the manufacturer's website or your original paperwork. For example, GAF Timberline HDZ shingles carry a WindProven™ rating for winds up to 130 mph. This information is crucial for your insurance claim. It establishes what your roof was designed to handle.
The Homeowner's Step-by-Step Guide to Filing a Wind Damage Claim
Do not panic after a storm. Follow a systematic process. This protects your safety and strengthens your claim. I advise my customers to take these exact steps. They are based on successful outcomes.
Step 1: Initial Safety and Documentation
First, ensure everyone is safe. Do not go on your roof immediately after a storm. Wait for calm weather. From the ground, use binoculars to look for obvious damage. Take wide-angle photos of your entire house. Take close-up photos of any visible damage. Take photos of debris in your yard, like tree branches or shingle pieces. Document the date and time of the storm. Save local weather reports that confirm high winds. This creates a timeline. Contact a reputable, local roofing contractor for a professional inspection. A good contractor will provide a detailed, written report with photos. This report is your evidence. Do not rely solely on the insurance adjuster's initial inspection.
Step 2: Contacting Your Insurance Company
Call your insurance agent or company to start a claim. Do this as soon as you have your contractor's report. Be polite but firm. Provide your policy number and the date of loss. Describe the damage briefly. They will assign you a claim number and an adjuster. Write down the adjuster's name and contact information. Ask when you can expect them to visit. Do not make permanent repairs before the adjuster's inspection. However, you must make temporary repairs to prevent further damage. This is called "mitigating further loss." Cover any holes with a tarp. Save all receipts for tarping materials or emergency service. Your policy should cover these costs.
Step 3: The Adjuster Meeting and Scope of Loss
This is the most critical meeting. Be present when the adjuster inspects your roof. Have your contractor present if possible. The adjuster will write a "scope of loss." This document lists all damaged items and the repair cost. Review it carefully. It often misses hidden damage. For example, it may pay for 10 damaged shingles but not for the surrounding felt underlayment that was exposed. It may not include code upgrades required by your local building department. In Texas, if a certain percentage of your roof is damaged, you must bring the entire roof up to current code. This can include new underlayment, ice and water shield, or fastener requirements. Your contractor can help you identify these missing items. You have the right to dispute the scope. Provide your contractor's report as supporting evidence.
Navigating the Insurance Estimate: Line Items and Depreciation
Insurance estimates can be confusing. They use software like Xactimate. They include line items for materials, labor, and overhead. Understanding two key terms is essential: Replacement Cost Value (RCV) and Actual Cash Value (ACV).
Replacement Cost Value vs. Actual Cash Value
Most policies are Replacement Cost Value policies. The insurance company first pays you the Actual Cash Value. ACV is the RCV minus depreciation. Depreciation is a reduction for the age and wear of your roof. For example, if your 15-year-old roof has a 20-year lifespan, it might be depreciated 75%. You receive a check for the ACV amount. After the repairs are complete, you submit the final invoice to the insurance company. They then release the "recoverable depreciation" to bring your payment up to the full RCV. This is why you must complete the repairs to get the full amount. Some policies, especially older ones, may be ACV-only. They never pay the depreciation. Know which policy you have.
Commonly Disputed Line Items in Roofing Claims
Adjusters often write minimal estimates. As a contractor, I frequently supplement claims for missing items. Common supplements include:
- Dump Fees and Debris Removal: The estimate may not account for the actual cost of dumping old roofing materials.
- Starter Shingles: These are required along the eaves and rakes. They are not standard field shingles.
- Ice and Water Shield: This is a self-adhering membrane required by code in critical areas. It is more expensive than standard underlayment.
- Ventilation Upgrades: If code requires improved ventilation, it must be included.
- Overhead and Profit (O&P): This is a standard 20% fee for the general contractor to manage the project. It is often omitted initially.
Choosing Materials and a Contractor for Your Insurance Repair
You have the right to choose your contractor. The insurance company cannot force you to use their "preferred" vendor. This is a crucial decision. A quality repair protects your home for decades.
What to Look for in a Roofing Contractor
Choose a local, established company. Verify they are licensed and insured in Texas. Ask for proof of both general liability and workers' compensation insurance. Check for manufacturer certifications. A GAF Master Elite® or Owens Corning Platinum Contractor has passed rigorous standards. Read online reviews on Google and the Better Business Bureau. Get at least three detailed, written estimates. The lowest price is often the most expensive choice in the long run. The contractor should be willing to meet with your insurance adjuster. They should provide a detailed scope of work that matches or exceeds the insurance estimate. Avoid contractors who ask you to sign over your insurance check. Payment should be made directly to you, the homeowner.
Material Upgrades and Your Options
Your insurance will pay to replace your roof with "like kind and quality." If you had a standard 3-tab shingle, they will pay for a new 3-tab shingle. However, you can often upgrade. You pay the difference in cost. This is an excellent opportunity. Consider upgrading to architectural shingles. They are thicker, more durable, and have better wind ratings. They also improve curb appeal. Discuss upgraded synthetic underlayment instead of felt paper. It provides a superior secondary water barrier. You can also upgrade your ventilation system. Proper ventilation extends roof life and improves energy efficiency. Your contractor can explain the cost-benefit of each option.
Real Project Case Studies: Wind Damage Claims in Kingwood
Let me share two real examples from my work. Names and specific addresses are changed for privacy. The outcomes illustrate the process.
Case Study 1: The Subtle Crease
A homeowner on Willow Creek called after a spring storm. From the ground, the roof looked fine. My inspection revealed widespread creasing on the south-facing slope. The insurance adjuster initially denied the claim. He called it "normal wear." We provided close-up photos, a diagram of the wind direction, and the manufacturer's specification stating creasing is a manufacturing defect OR wind damage. We cited the ASTM wind test standard. The adjuster requested a second opinion from a staff engineer. The engineer agreed with our assessment. The claim was approved for a full roof replacement. The key was detailed documentation and technical knowledge.
Case Study 2: The Code Upgrade Supplement
A family on Forest Garden had hail and wind damage. The initial insurance estimate was for a repair of about 30% of the roof. However, the Kingwood building code required that if over 25% of the roof is repaired in a 12-month period, the entire roof must be brought to current code. This meant installing ice and water shield in the valleys and at the eaves. It also required upgraded attic ventilation. We submitted the specific code section to the insurance company. We also provided a letter from the local building department. The insurance company revised the scope to cover a full roof replacement with all code upgrades. The homeowner paid only their deductible.
Frequently Asked Questions About Wind Damage Claims
How long do I have to file a claim after wind damage?
Most insurance policies require you to file a claim promptly after discovering damage. There is typically a clause about "timely notice." Do not wait. File as soon as you suspect damage. Waiting months can give the insurer grounds to deny your claim. They may argue the damage happened later or was not storm-related.
Will filing a claim make my insurance rates go up?
It might, but not always. A wind or hail claim is typically considered an "act of God" or catastrophic event. These are often treated differently than a claim for negligence, like a water leak from a failed repair. However, if you file multiple claims in a short period, your insurer may non-renew your policy. Discuss the potential impact with your agent before filing, if you have minor damage.
What if my insurance claim is denied?
Do not accept the first denial. Request a detailed explanation in writing. Ask for a re-inspection with your contractor present. If that fails, you can file a complaint with the Texas Department of Insurance. You can also hire a public adjuster. A public adjuster works for you, not the insurance company. They charge a percentage of the final settlement (usually 10-20%). For large claims, this can be worthwhile.
Can I repair just the damaged section?
Sometimes, but often not. Asphalt shingles are produced in lots. Color varies between lots. A patch repair will likely not match the color of your aging roof. This hurts curb appeal and can affect resale value. Most reputable contractors will not guarantee a color match on a partial repair. Furthermore, if the undamaged shingles are near the end of their life, a full replacement is more economical.
What is my responsibility during the process?
Your responsibilities are outlined in your policy. They usually include mitigating further damage (tarping), cooperating with the investigation, providing documentation, and protecting your property from further loss. You are also responsible for paying your deductible. It is illegal for a contractor to waive your deductible. That is insurance fraud.
How long does the entire process take?
From filing to completed repair, a typical wind damage claim takes 4 to 8 weeks. The timeline depends on the severity of the storm, your insurance company's workload, material availability, and weather. Major storms that affect thousands of homes can cause significant delays. Be patient but persistent.
Conclusion: Protecting Your Home and Your Investment
Dealing with wind damage is stressful. But with the right knowledge, you can navigate it successfully. Remember these key points. Document everything from the very beginning. Get a professional inspection from a trusted local contractor. Understand your policy's terms, especially RCV vs. ACV. Be present for the adjuster's inspection. Do not be afraid to question the scope of loss with evidence. Choose your contractor based on credentials, not just price. Your roof is your home's first line of defense. A proper, insurance-funded repair restores that protection. It also maintains your property's value. If you are in the Kingwood area and have questions after a storm, reach out to a professional. A good roofer will give you honest advice, even if it means you do not need a new roof. Your peace of mind is the ultimate goal.