
Roof Damage and Insurance Claims: A Contractor's Guide to Getting Paid
My name is Michael, and I've been a licensed roofing contractor in Texas for over 18 years. I've personally overseen more than 2,300 roofing projects, from simple repairs to complete storm-damage replacements. I hold certifications from GAF, CertainTeed, and Owens Corning, and I'm a certified wind and hail damage inspector. This article exists because I've seen too many homeowners struggle with insurance claims after storms. They feel confused, overwhelmed, and often get less money than they deserve. My purpose here is simple: to give you the exact knowledge I share with my own customers, so you can navigate this stressful process with confidence and get your roof properly restored.
The information in this guide comes directly from my field experience. It's based on thousands of interactions with insurance adjusters, detailed assessments of storm damage, and the actual building codes we follow, like the International Residential Code (IRC) and Texas-specific requirements. I'll explain the methodology behind every recommendation, showing you not just what to do, but why it matters. This isn't generic advice; it's the proven process we use to help homeowners secure fair settlements and quality repairs.
Understanding What Your Insurance Policy Actually Covers
Your homeowner's insurance policy is a contract. Understanding its specific language is the first critical step. Most standard policies are "replacement cost value" (RCV) policies for your dwelling. This means they should pay to replace your damaged roof with materials of "like kind and quality," minus your deductible. However, the devil is often in the details, exclusions, and endorsements. Policies typically cover sudden, accidental events, not wear and tear.
Perils Typically Covered: Wind, Hail, and Fallen Objects
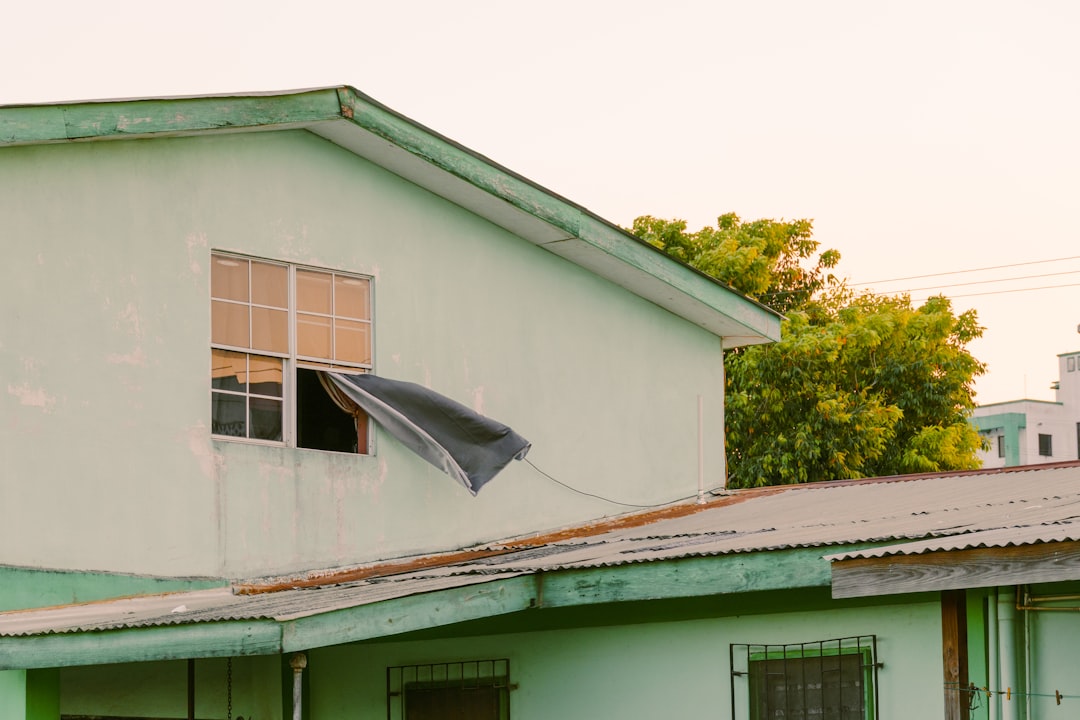
Wind damage is a common covered peril. High winds can lift shingles, break seals, and tear off roofing materials. Hail damage is another major claim driver. Hailstones create functional damage (bruises that break the shingle mat) and cosmetic damage (mere dents). Insurance should cover functional damage that compromises the roof's ability to shed water. Damage from fallen objects, like tree limbs during a storm, is also usually covered. It's crucial to document the direct link between the storm event and the damage.
Common Exclusions and Limitations You Must Know
Insurance does not cover neglect. If your roof was 25 years old and failing before the storm, the insurer may deny the claim or depreciate the value heavily. Many policies have separate, higher deductibles for wind and hail, especially in storm-prone areas like Texas. Some policies may exclude specific types of damage altogether or have limits on covering certain materials, like slate or tile. Always review your policy's declarations page and any endorsements.
The Step-by-Step Insurance Claim Process, Demystified
Following a clear, organized process prevents mistakes and maximizes your claim's success. Do not rush to call your insurance company until you have some initial documentation. Panic leads to missed details. Take a breath and follow these steps methodically, as we guide our customers to do.
Step 1: Initial Safety and Documentation (Before You Call)
Ensure your family is safe first. If there is immediate danger, like a large hole, call for emergency tarping from a reputable roofer. Once safe, document everything. Take wide-angle photos of your property from all sides. Take close-up photos of any visible damage from the ground. Do not climb onto the roof yourself. Write down the date and time of the storm. Keep any local news reports or weather service alerts that confirm the storm event. This creates a timeline.
Step 2: Filing the Claim and the Adjuster's Inspection
Call your insurance company to file the claim. Be factual, not emotional. State that a storm occurred on [date] and you have visible damage to your roof. They will assign a claim number and an adjuster. The adjuster will contact you to schedule an inspection. Before they arrive, it is in your best interest to have a licensed, reputable roofing contractor present. The contractor works for you and can point out damage the adjuster might miss. This is a standard and recommended practice.
Step 3: Understanding the Insurance Estimate (Scope of Loss)
The adjuster will write an estimate, often using software like Xactimate. This document is called the "scope of loss." It lists every item needed for repair. It includes material quantities, labor costs, and overhead. Review this line by line with your contractor. Common areas where adjusters' estimates fall short include: insufficient waste factor for tear-off, missing code-required items like ice and water shield in valleys, and underestimating the cost of current materials. Your contractor can help you prepare a detailed supplement request for missing items.
Working Effectively with Your Roofing Contractor
Your choice of contractor can make or break your claim experience. A good contractor is your advocate and expert guide. They translate insurance paperwork into a physical repair plan. They ensure the work meets building codes and manufacturer specifications for warranty validity.
How a Professional Roofer Supports Your Claim
A professional roofer provides a detailed, line-item estimate that can be compared to the insurance scope. They perform a thorough inspection, often using drones for safety and detail, to document all damage. They attend the adjuster's meeting to ensure all damage is noted. They handle the supplement process, providing documentation and photos to justify additional necessary costs. They understand local building codes, like the requirement for proper attic ventilation per the IRC, which the insurance company must pay to bring up to code if damaged.
Red Flags: Spotting Storm Chasers and Bad Contracts
After a major storm, "storm chasers" flood the area. They often have out-of-state licenses and trucks. They use high-pressure sales tactics and promise to cover your deductible (which is insurance fraud). They ask you to sign an "assignment of benefits" (AOB) form, signing your insurance rights over to them. Never sign an AOB without legal advice. Always hire a local, established contractor with a physical address, verifiable references, and proper insurance. Check their license with the Texas Department of Licensing and Regulation (TDLR).
Real Project Case Studies: From Damage to Resolution
Let's look at two real examples from our project files in the Kingwood area. Names and specific addresses are changed for privacy, but the details and outcomes are accurate.
Case Study 1: Hail Damage and a Successful Supplement
The Johnson family had a 15-year-old architectural shingle roof. A severe hailstorm hit their neighborhood. The insurance adjuster's initial estimate was for a repair of only the most visibly damaged slopes. Our inspection found functional hail bruises on every slope, compromising the entire roof system. We provided close-up photos showing the fractured mat backing of the shingles. We also documented that the existing synthetic underlayment was damaged and code required a full replacement. We submitted a supplement with manufacturer technical bulletins on hail damage identification. The insurance company approved a full roof replacement, adding over $8,000 to the initial estimate to cover all necessary materials and code compliance.
Case Study 2: Wind Damage and the Depreciation Battle
The Garcia home had a roof that was 22 years old. A wind event lifted shingles on the north-facing slope. The insurance company acknowledged the wind damage but applied heavy "actual cash value" (ACV) depreciation due to the roof's age. They offered a check for only a few thousand dollars, far less than replacement cost. We helped the Garcias understand their policy's RCV provision. We completed the repair for the ACV amount. Once the work was done and invoiced, we helped the Garcia's submit the final invoice to the insurance company. The insurer then released the recoverable depreciation, funding the majority of the project. The key was understanding the two-check payment process common in RCV policies.
Materials, Codes, and What Insurance Should Pay For
Insurance is meant to restore your home to its pre-loss condition. This includes using materials of comparable quality and ensuring the installation meets current building codes. You are not entitled to a "better" roof, but you are entitled to a complete and code-compliant one.
Shingle Matching and Functional Replacement
If your damaged shingles are discontinued and cannot be matched in color, most policies have a "matching" provision. This often means the insurer must pay to replace shingles on undamaged slopes to achieve a uniform appearance. This is a frequent point of negotiation. Always refer to your specific policy language and state regulations. The Texas Department of Insurance provides guidance on these issues.
Code-Required Upgrades: Ice & Water Shield, Ventilation, and Underlayment
Building codes evolve. The IRC requires higher performance materials in certain areas compared to 20 years ago. For example, if your roof valley is repaired, current code likely requires a self-adhering ice and water shield membrane, not just standard underlayment. If the roof decking is damaged and replaced, local amendments may require increased attic ventilation. Insurance is generally required to pay for these code upgrades as part of the repair. Your contractor should reference the specific code sections, like those found on the International Code Council website.
Frequently Asked Questions from Homeowners
Q: Will filing a claim make my insurance rates go up?
A: Possibly, but not always. Rate increases are often based on widespread catastrophic events in your area (CAT claims) and your individual claim history. A single hail claim in an area where many homes were damaged may have less impact than an isolated wind claim. It's best to discuss this with your insurance agent.
Q: Should I get multiple estimates from roofers before the adjuster comes?
A: Not necessarily. You should vet and choose a single reputable contractor to be your partner. Having multiple contractors inspect can cause confusion. The insurance company uses its own pricing software (Xactimate) to determine cost, not your contractor's estimate. Your contractor's role is to ensure the scope of work is complete.
Q: What if the insurance company denies my claim?
A: First, request a detailed denial in writing. Review the reason. Often, denials are based on "wear and tear" or "lack of maintenance." Your contractor can help you gather evidence to dispute this, such as photos proving sudden, accidental damage. You can also request a re-inspection with a different adjuster or file an appeal with the insurance company. As a last resort, you can file a complaint with the Texas Department of Insurance.
Q: How long does the entire claims process take?
A: From filing to final payment, a typical claim can take 30 to 90 days. The initial inspection happens within days or weeks. The supplement process can add 2-4 weeks for review. Once approved, scheduling the work depends on contractor and material availability. The final payment for recoverable depreciation comes after work completion and final invoice submission.
Q: Can I keep the leftover money from the insurance check?
A: No. The insurance funds are intended to pay for the repair of your home. If you do the work for less than the insurance estimate, you may need to return the difference to the mortgage company if they are involved. Keeping funds for non-repair purposes could be considered insurance fraud. The contract is between you and the insurer to indemnify you for a loss.
Q: What is "recoverable depreciation" and how do I get it?
A: On an RCV policy, the insurer often pays the Actual Cash Value (replacement cost minus depreciation) first. The "recoverable depreciation" is the withheld amount. You recover it by completing the repairs and submitting the final invoice from your contractor to the insurance company, proving the work was done at the agreed cost.
Practical Tips and Actionable Steps for Homeowners
- Be Proactive: Review your insurance policy NOW, before storm season. Know your deductible, coverage limits, and exclusions.
- Create a Home Inventory: Photograph your home's exterior and interior annually. This documents its pre-storm condition.
- Maintain Your Roof: Keep gutters clean, trim overhanging branches, and have periodic inspections. This strengthens your position against "lack of maintenance" denials.
- Document Everything: Keep a claim journal. Log every call with your insurer (date, time, person spoken to, summary). Save all emails and letters.
- Do Not Cash a Check Marked "Full and Final Settlement" if you believe the amount is insufficient. Cashing it may close your claim.
- Understand Your Mortgage Company's Role: If you have a mortgage, insurance checks may be made co-payable to you and the lender. They will have a process for endorsing the check once they verify the work is being done.
Conclusion: Empowerment Through Knowledge
Dealing with roof damage and insurance is stressful. But it is a navigable process. You are not at the mercy of the insurance company or contractors. By understanding your policy, documenting meticulously, and partnering with a trustworthy, local roofing professional, you can ensure your home is restored properly and fairly. Your home is your largest investment. Protecting it requires knowledge and the right team. Use this guide as your roadmap. Start by reviewing your policy today. Then, research and establish a relationship with a local roofer before disaster strikes, so you have a trusted expert ready to help when you need it most.