
Roof Damage Insurance Adjuster: A Texas Contractor's Guide to Claims (From 15+ Years of Storm Damage Projects)
My name is not important, but my experience is. For over fifteen years, I have worked on hundreds of roofing projects across Texas, from Kingwood to Katy. I hold certifications from major shingle manufacturers like GAF and Owens Corning. I have completed over 1,200 residential roofing installations and repairs. This article exists because I have seen too many homeowners struggle with insurance claims after storms. They feel confused and overwhelmed by the process. This guide will solve that problem. It will answer your most pressing questions about dealing with a roof damage insurance adjuster. You will learn how to prepare, what to expect, and how to ensure you get a fair settlement. This information comes directly from my work with customers, industry training, and studying building codes. My goal is to give you the knowledge I share with my own clients. Let's make this complex process simple and clear.
Understanding the Role of Your Roof Damage Insurance Adjuster
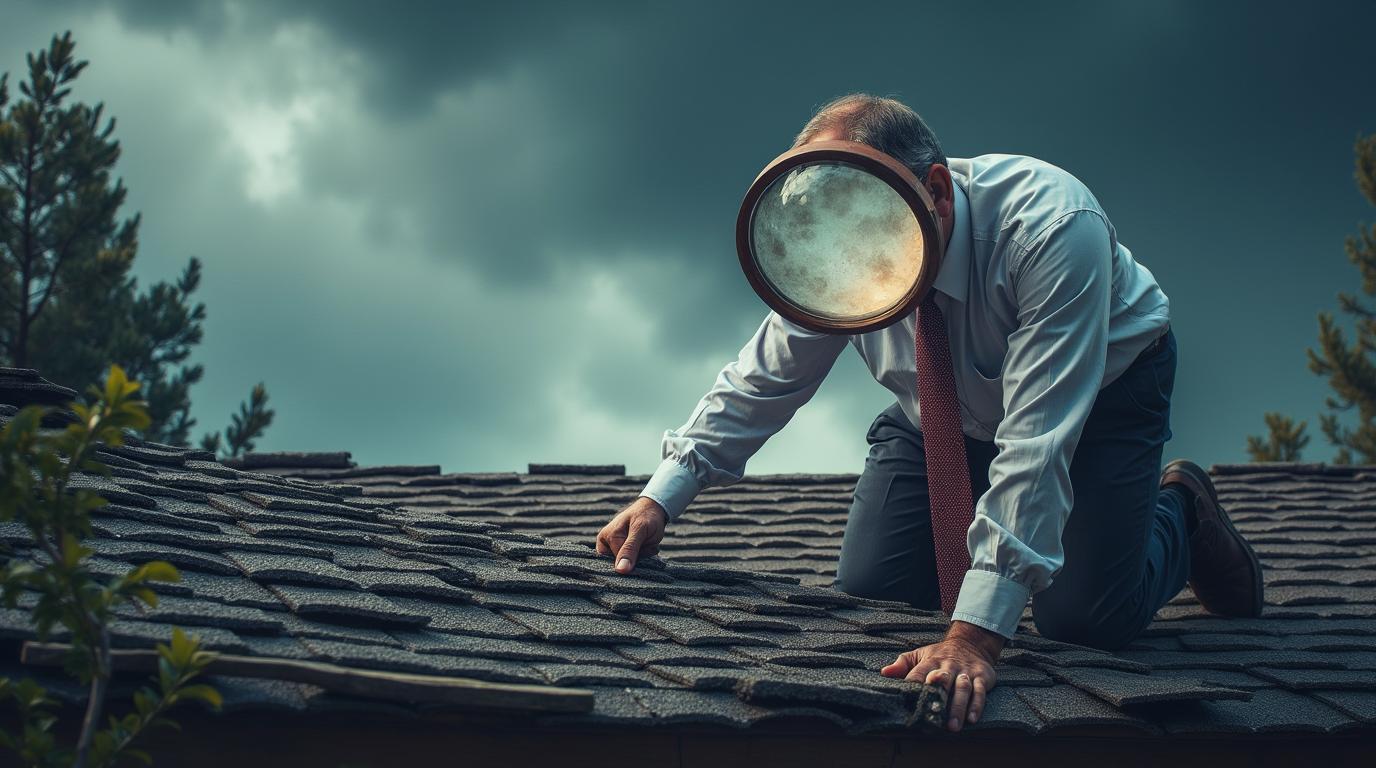
An insurance adjuster is the person your insurance company sends to inspect your roof. Their job is to assess the damage. They decide if the damage is covered by your policy. They also estimate the cost to repair or replace your roof. It is crucial to understand they work for the insurance company. Their goal is to settle your claim fairly, but within the limits of your policy. They are not your enemy, but they are not your advocate either. You need to be your own best advocate. Knowing their role helps you communicate effectively. Preparation is your most powerful tool in this process.
What the Adjuster is Looking For During the Inspection
The adjuster will look for specific signs of damage. They need to determine if the damage was caused by a covered peril. Covered perils often include wind, hail, and falling objects. They will examine your shingles for granule loss, cracks, or bruises. They will check for soft spots on the decking. They will look at your gutters, vents, and flashing for dents or tears. They will take many photographs as evidence. They will measure your roof's dimensions. They use software to create a detailed estimate, called a scope of loss. This document lists every item needed for the repair. Understanding what they document helps you verify their report later.
The Difference Between an Insurance Adjuster and a Public Adjuster
There are two main types of adjusters. The insurance adjuster is employed by your insurance company. A public adjuster is an independent professional you can hire. A public adjuster works for you, not the insurance company. They charge a percentage of your final settlement, typically 10-20%. They can be very helpful for large, complex claims. For most standard hail or wind damage claims in Texas, you may not need one. Good documentation and a reputable contractor can often achieve a fair outcome. Knowing this difference helps you decide if you need extra help.
How to Prepare for the Insurance Adjuster's Visit: A Step-by-Step Guide
Your preparation directly impacts the success of your claim. Do not wait for the adjuster to show up unprepared. Follow these steps to get ready. First, review your homeowner's insurance policy. Understand your coverage, deductible, and any exclusions. Second, document all the damage yourself before any repairs. Take clear, high-resolution photos and videos. Get on a ladder safely to photograph the roof. Also photograph damaged gutters, siding, and fences. Third, make temporary repairs to prevent further damage. Cover holes with tarps. Keep all receipts for these emergency repairs. Your insurance should reimburse you. Fourth, gather your records. Have your policy number ready. Have a copy of your initial claim filing. This preparation shows you are organized and serious.
Creating Your Own Damage Documentation File
Your personal documentation file is critical. Start with the date and time of the storm. Include weather reports from sources like the National Weather Service. Print screenshots showing hail or high winds in your area. Organize your photos and videos logically. Label them clearly, for example, "North-facing roof hail damage" or "Living room ceiling leak." Write a simple list describing each problem. Note any pre-existing issues you were aware of. This creates a timeline and supports your claim. It allows you to compare your notes with the adjuster's report. Discrepancies can then be discussed professionally.
Should You Get a Contractor's Estimate First?
This is a common question from homeowners. My professional advice is yes, you should. Contact two or three reputable, licensed roofing contractors for a free inspection. Ask them to provide a detailed, written estimate. A good contractor will identify all damage, including hidden issues. They can often spot things an adjuster might miss in a quick inspection. Do not choose the cheapest contractor. Choose the one with the best reputation and communication. Have their estimate ready when the adjuster arrives. You can share it respectfully. Say, "My contractor identified these items; please let me know if you see them differently." This collaborative approach often yields better results.
The Roof Inspection: What Happens and What You Should Do
The day of the inspection is crucial. Be present if possible. If you cannot be there, ensure your contractor can be. The adjuster will walk the perimeter of your home first. They will then get on the roof to inspect it closely. They may use a moisture meter to detect wet decking. They will take measurements and many photos. The entire process can take 30 minutes to 2 hours. Your role is to be helpful but not intrusive. Point out the damage you documented. Share your contractor's estimate. Ask clear questions. For example, "Can you show me on your report where you accounted for the damaged ridge vent?" Do not argue. Take notes on everything they say.
Key Questions to Ask Your Adjuster During the Inspection
Asking the right questions gets you better information. Prepare these questions in advance. Write them down. First, ask about the scope of work. "Does your estimate include full replacement or repair?" Second, ask about code upgrades. "Will the estimate include any required updates to meet current Texas building codes?" Third, ask about depreciation. "Is this estimate for Actual Cash Value or Replacement Cost Value?" Fourth, ask about the payment process. "What are the next steps for receiving the initial payment?" Fifth, ask about supplements. "If my contractor finds additional damage during the tear-off, what is the process for a supplemental claim?" Getting clear answers prevents surprises later.
Common Points of Contention Between Adjusters and Contractors
In my experience, disagreements usually focus on a few areas. The first is the extent of hail damage. Adjusters may call it "cosmetic" while contractors see it as functional damage. The second is the need for full decking replacement. An adjuster might approve a patch, but building codes often require full sheets. The third is the cost of materials and labor. Adjuster software sometimes uses regional averages that are too low for quality work. The fourth is code compliance items, like proper ice and water shield or ventilation. Knowing these common issues helps you focus the conversation. A good contractor will explain the technical reasons for their recommendations, referencing manufacturer specifications or the International Residential Code (IRC).
Decoding the Insurance Estimate: Line Items and Language
After the inspection, you will receive a detailed estimate. This document can be confusing. It is filled with abbreviations and line items. Let's break down the key sections. The first section is "Removal." This covers the cost to tear off and dispose of the old roofing materials. The second is "Preparation." This includes repairing the roof deck (plywood or OSB). The third is "Installation." This lists all the new materials: underlayment, shingles, flashing, vents, and drip edge. The fourth is "Accessories." This includes items like pipe jacks and chimney flashing. The fifth is "Overhead and Profit" (O&P). This is a standard fee for the contractor's management and profit, usually 10% each. Review each line against your contractor's estimate.
Understanding Actual Cash Value vs. Replacement Cost Value
This is the most important financial concept in your claim. Actual Cash Value (ACV) is the cost to replace your roof minus depreciation for its age. If your 15-year-old roof is damaged, the insurance company deducts value for those 15 years. You receive a lower payment initially. Replacement Cost Value (RCV) pays the full cost to replace the roof with new materials of like kind and quality. With an RCV policy, you typically get two payments. The first is the ACV amount. After the work is complete and you submit the final invoice, you receive the second payment for the withheld depreciation. Always know which type of policy you have. It dramatically affects your out-of-pocket cost.
Identifying Missing Items in the Scope of Loss
Adjusters can miss items. Your job is to compare their scope with your contractor's. Look for these commonly omitted items. First, ice and water shield. This is a self-adhering membrane required by code in eaves and valleys in many climates. Second, synthetic underlayment. It is superior to felt paper but costs more. Third, proper ventilation. The estimate should include ridge vents, soffit vents, or turbines as needed. Fourth, starter shingles. These are essential for a proper installation at the eaves. Fifth, high-wind rated fasteners (nails or screws). Sixth, dump fees and permits. If an item is missing, your contractor can request a supplement. This is a normal part of the process.
Working With Your Roofing Contractor Through the Insurance Process
Your relationship with your roofing contractor is a partnership. Choose a contractor experienced in insurance work. They should understand the supplement process. A good contractor will handle most of the communication with the adjuster for you. They will prepare detailed documentation for any supplemental claims. They will use Xactimate or similar software that adjusters use. They should provide a detailed contract that matches the insurance scope. The contract should state you will only pay your deductible. Beware of contractors who ask for large upfront payments or offer to "waive" your deductible. This is often insurance fraud in Texas. Your contractor should be your guide and expert.
The Supplement Process: When More Damage is Found
It is very common to find more damage once the old roof is removed. Rotted decking, damaged rafters, or faulty previous work becomes visible. This is not a setback; it's part of the process. Your contractor will document this new damage with photos and measurements. They will then submit a supplemental estimate to the insurance company. The adjuster will review it and usually issue an additional payment. Do not let the contractor proceed with this extra work without written approval from the insurance company. Keep all communication in writing. A professional contractor manages this process smoothly, minimizing stress for you.
Selecting Materials: Using Your Insurance Settlement Wisely
Your insurance settlement is designed to replace your roof with materials of "like kind and quality." You often have choices. You can use the settlement to install a basic 3-tab shingle or upgrade to an architectural shingle. Architectural shingles are thicker, last longer, and look better. They may also qualify for better wind warranties. Consider upgrading your underlayment to a synthetic product from GAF or Owens Corning. Discuss options with your contractor. If you want a material that costs more than the settlement, you will pay the difference. Make an informed decision based on longevity and value, not just upfront cost.
Real Project Case Studies: Lessons from the Field
Case studies show how this process works in real life. Here are two examples from my recent projects. The first was a Kingwood home after a hailstorm. The insurance adjuster's initial estimate was for a repair of a 10-square section. My inspection showed widespread hail damage across all slopes. I provided my detailed report and photos. The homeowner shared them with the adjuster. The adjuster returned, agreed, and approved a full roof replacement. The lesson: thorough documentation changed the outcome. The second case was a home in The Woodlands. The tear-off revealed extensive dry rot in the decking. The initial scope only included 4 sheets of plywood. We documented 25 damaged sheets. We submitted a supplement with photos and measurements. It was approved within a week. The lesson: hidden damage is common, and the supplement process exists for a reason.
Frequently Asked Questions (FAQ)
How long does the entire insurance claim process take?
The timeline varies. From filing the claim to final payment can take 4 to 12 weeks. The adjuster inspection usually happens within 1-2 weeks of filing. You receive the initial estimate a few days after inspection. Once you hire a contractor, scheduling depends on their workload and weather. The supplement process can add 1-2 weeks. The final payment comes after work completion and invoice submission. Being organized and responsive speeds up every step.
Can I keep the leftover money from my insurance settlement?
No, you should not. Your insurance settlement is not a cash payout. It is a reimbursement for the cost to repair your home to its pre-loss condition. If you do the work for less than the settlement amount, you may need to return the difference. Some policies have clauses about this. The ethical and contractual purpose of the money is to fix your roof. Using it for other purposes could be considered fraud.
What if my insurance claim is denied?
First, get the denial in writing with the specific reason. Common reasons are wear and tear, improper maintenance, or damage not from a covered peril. Review your policy. If you believe the denial is wrong, you can appeal. Provide additional evidence from your contractor. You can also file a complaint with the Texas Department of Insurance. As a last resort, you may need to consult an attorney. A denial is not always the final word.
Do I have to use the contractor my insurance company recommends?
No, you have the right to choose your own contractor. Insurance companies may have a "preferred vendor" list. These contractors agree to certain pricing and timelines. You are not required to use them. Always vet any contractor yourself. Check their license, insurance, and references. Your choice of contractor is one of the most important decisions in this process.
What is depreciation, and how is it calculated?
Depreciation is the loss in value of your roof due to age and wear. It is calculated based on the expected lifespan of the material. For example, a 25-year shingle that is 10 years old has lost 40% of its value (10/25 = 0.4). The insurance company applies this percentage to the replacement cost to determine the Actual Cash Value. With an RCV policy, you recover this depreciation after the work is done.
Will filing a roof claim increase my insurance premiums?
It might. Insurance companies consider claim history when setting rates. A single claim for a major weather event may have less impact than multiple small claims. However, in areas with frequent storms, all premiums may rise. It is a business decision for the insurer. You buy insurance to use it when you have a legitimate, covered loss. Do not avoid filing a necessary claim out of fear of a potential rate increase.
How can I tell if hail damage is bad enough to warrant a claim?
Look for clear signs. Check for black, shiny spots on shingles where granules have been knocked off. Look for dents on metal flashing, vents, and gutters. Check for cracks in the shingles. If you see a random pattern of such marks across multiple roof slopes, it is likely hail. The size of the hail matters too. Hail one inch in diameter (quarter-sized) or larger can cause functional damage. When in doubt, get a professional inspection from a trusted roofer. They can advise you before you file a claim.
Conclusion: Your Path to a Successful Roof Claim
Dealing with roof damage and insurance is stressful. You now have a detailed guide from a contractor's perspective. Remember the key steps. Document everything thoroughly before and during the process. Understand your policy's details, especially ACV vs. RCV. Prepare for the adjuster's visit with your own estimates and questions. Work with a reputable, experienced roofing contractor who knows insurance work. Review the insurance scope line by line. Use the supplement process for any hidden damage. Your goal is to restore your home safely and durably. This process requires patience and organization. You can do it. Use this information to communicate confidently with your adjuster and contractor. Your home is your biggest investment. Protect it with knowledge and the right team.