
Roofing Companies and Insurance Claims: Your Complete Guide from a Contractor Who's Been There
I've spent over fifteen years in the roofing industry here in Texas. I've personally managed more than two thousand roofing projects. I hold certifications from major manufacturers like GAF and Owens Corning. I've worked directly with hundreds of homeowners navigating insurance claims after storms. This article exists because I've seen too many people struggle with this process. They feel confused and overwhelmed when their roof gets damaged. This guide solves that problem. It answers your most pressing questions. It gives you the knowledge to work effectively with both your roofing contractor and your insurance company. The information here comes from real customer projects. It's based on industry data from sources like the Insurance Information Institute. It references manufacturer specifications and local building codes. My recommendations follow proven methods that work in the field. This isn't just theory. It's practical advice from the front lines of roofing repair.
Your roof is your home's first line of defense. Storm damage can be stressful. Dealing with insurance adds another layer of complexity. Many homeowners don't know where to start. They worry about being taken advantage of. They fear their claim will be denied. This guide will walk you through every step. You'll learn how to identify damage. You'll understand how to file a claim properly. You'll discover how to choose the right roofing partner. My goal is to save you time, money, and frustration. I want you to feel confident and informed. Let's turn a stressful situation into a manageable project with a great outcome.
Understanding Roof Damage and Insurance Coverage
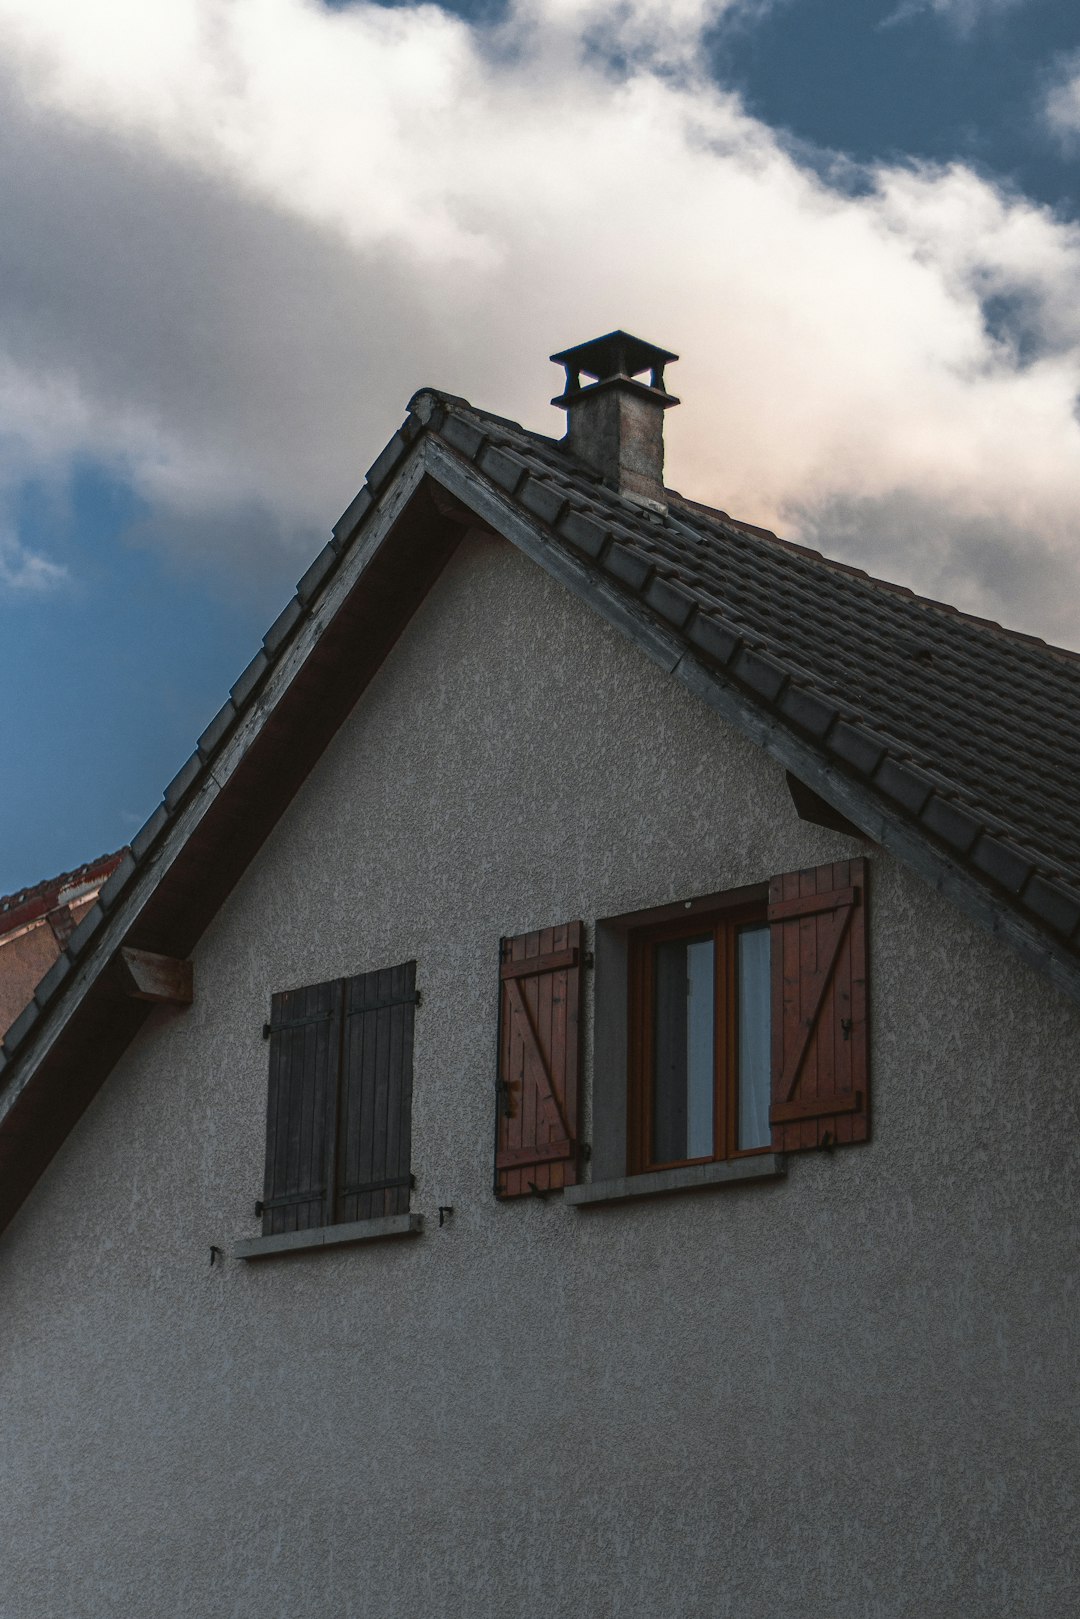
Not all roof damage is covered by insurance. Knowing the difference is crucial. Most homeowners policies cover "sudden and accidental" damage. This typically includes hail, wind, and fallen trees. Normal wear and tear is not covered. Neither is damage from lack of maintenance. The first step is a proper inspection. Look for signs after a major storm. Missing or cracked shingles are obvious. Dents in metal flashing or gutters indicate hail. Granule loss in your gutters is another clue. Water stains on your ceiling are a late sign. Always document everything with photos and videos.
Common Types of Storm Damage Covered
Hail damage is a frequent claim in our region. It creates circular dents on shingles. This damages the protective granules. Wind damage often lifts shingles or tears them off completely. It can compromise the waterproof seal. Falling tree limbs cause immediate, visible damage. They can puncture the roof deck. All these events are usually covered. The key is proving the damage was caused by the storm. This is where a professional roofer's inspection report is vital. They can correlate damage with recent weather events in your area.
What Insurance Typically Excludes
Insurance is for sudden events, not gradual failure. If your roof is twenty-five years old and leaking, that's likely wear and tear. If missing maintenance caused the leak, it may be denied. Most policies have specific exclusions. Some exclude certain wind speeds or hail sizes. Always review your policy's declarations page. Understand your deductible amount. Know if you have Actual Cash Value (ACV) or Replacement Cost Value (RCV) coverage. RCV is much better for full roof replacement. The International Building Code (IBC) sets standards for roofing. Your repair must meet these codes. Insurance should cover code upgrades required by your local jurisdiction.
The Step-by-Step Insurance Claim Process
Follow these steps after suspected storm damage. First, ensure everyone is safe. Do not go on the roof if it's wet or steep. Contact a reputable, local roofing company for a free inspection. Choose a contractor with insurance claim experience. They should provide a detailed, written report with photos. This report is your evidence. Next, contact your insurance company to file a claim. Provide them with the roofer's report. They will assign an adjuster to inspect your property. Be present for the adjuster's inspection. Have your roofing contractor there too. This ensures all damage is documented and discussed.
Working with the Insurance Adjuster
The adjuster represents the insurance company. Their job is to assess the damage and determine coverage. Be polite and cooperative. Show them the roofer's report. Point out all areas of concern. The adjuster will write their own estimate, called a scope of loss. This document lists all covered items and their costs. It's crucial to compare the adjuster's scope with your contractor's estimate. They often differ. Your roofing company can help you review the scope line by line. They can identify missing items or underestimated quantities. This is called supplementing the claim. It's a normal part of the process.
Understanding Your Claim Payout
Insurance payments usually come in multiple checks. The first check is often for the Actual Cash Value (ACV). This is the depreciated value of your roof. The final payment for the full replacement cost comes later. You receive it after the work is complete and the insurer has proof. Some policies have a recoverable depreciation clause. This means you get the full cost if you replace the roof. Your roofing contractor should understand this process. They can help you manage the payments. Never sign over your insurance check directly to a contractor. Reputable companies work with you on payment schedules. They understand how insurance works.
Choosing the Right Roofing Company for Your Claim
This is the most important decision you'll make. Not all roofing companies are equal. Look for local, established businesses with physical addresses. Check their license and insurance. In Texas, roofing contractors must be licensed. Ask for proof of liability insurance and workers' compensation. Look for manufacturer certifications. Companies certified by GAF or Owens Corning meet high standards. These manufacturers require proper training and insurance. Read online reviews on Google and the Better Business Bureau. Ask for local references you can call. Be wary of door-to-door salespeople after storms. They are often storm chasers from out of state.
Red Flags and Warning Signs
Avoid contractors who ask for full payment upfront. Steer clear of those who pressure you to sign quickly. Be suspicious of extremely low bids. They often cut corners on materials or labor. Never work with a company that suggests committing insurance fraud. This includes asking you to misrepresent the date or cause of damage. A good contractor works with your insurance, not against it. They should be transparent about their process. They should provide a detailed, written contract. The contract should specify materials, workmanship warranty, and payment terms. The National Roofing Contractors Association (NRCA) offers consumer resources.
Questions to Ask Potential Contractors
- Are you licensed and insured in this state/county?
- Can you provide copies of your insurance certificates?
- What manufacturer certifications do you hold?
- How many years have you been in business locally?
- Can you provide references from recent insurance claim jobs?
- Who will be my project manager and point of contact?
- What is your process for supplementing the insurance claim?
- Do you offer a workmanship warranty? What does it cover?
- Will you handle all necessary permits and inspections?
- What is your payment schedule?
Materials, Costs, and Real Project Examples
Your insurance claim should restore your roof to its pre-loss condition. Often, this means a full replacement with modern materials. The adjuster's estimate will include a specific type of shingle. You have the right to choose comparable or upgraded materials. Discuss options with your contractor. Asphalt shingles are most common. Architectural shingles are thicker and more durable than 3-tab. They offer better wind resistance and a longer warranty. Synthetic underlayment provides superior protection compared to traditional felt. High-quality ice and water shield is critical in vulnerable areas. Proper ventilation components are essential for roof longevity.
Breaking Down the Insurance Estimate
An insurance scope is detailed. It lists quantities and prices for every component. It includes removal of old roofing (tear-off). It lists disposal fees (dump fees). It specifies the quantity of new shingles in "squares" (100 square feet). It includes underlayment, flashing, vents, and drip edge. Labor costs for installation are included. It may list overhead and profit for the contractor. It should include code-related items like nail type and placement. Your roofer's job is to ensure every necessary item is on that list. If the adjuster missed something, your roofer will submit a supplement. This is a formal request for additional funds.
Real Project Case Study: Hail Damage in Kingwood
A homeowner contacted us after a severe hailstorm. Their 20-year-old roof had significant granule loss. The insurance adjuster initially approved only for repairs. Our inspection found widespread hail hits on all slopes. We documented this with close-up photos and a hail map. We were present for the adjuster's re-inspection. We showed the evidence. The adjuster agreed to a full roof replacement. The initial scope was $12,500. After supplements for proper ventilation and code-compliant underlayment, the final approved amount was $16,800. The homeowner paid only their deductible. They received a new GAF Timberline HDZ roof with a 50-year warranty. The project was completed in three days. The homeowner was thrilled with the outcome and process.
Practical Tips for a Smooth Claim Experience
Document everything from day one. Take photos of your roof before a storm if possible. This establishes its prior condition. After a storm, take clear pictures of any visible damage from the ground. Keep a file of all communications. Save emails and note phone call details. Get everything from your contractor in writing. The estimate, the contract, and change orders should be documented. Do not start any permanent repairs before the adjuster sees the damage. You can make temporary repairs to prevent further damage. Keep receipts for any temporary repair materials. Your policy may reimburse you.
- Be Proactive: Don't wait to file a claim. Most policies have time limits for reporting damage.
- Understand Your Policy: Know your deductible and coverage type before you need it.
- Choose Your Partner First: Select a reputable roofer before filing the claim. They will guide you.
- Attend All Inspections: Be home for the adjuster's visit. Have your contractor there too.
- Review the Scope Carefully: Don't just accept the first estimate. Compare it with your contractor's detailed quote.
- Communicate Clearly: Maintain open lines with both your roofer and your insurance claims representative.
Frequently Asked Questions (FAQ)
Will filing a claim increase my insurance premiums?
It might, but not always. A single claim for a legitimate weather event may not cause an increase. Multiple claims in a short period are more likely to affect your rates. You pay for insurance to use it when you have covered damage. Don't avoid filing a legitimate claim for fear of a rate hike. The purpose of insurance is to make you whole after a loss. Discuss potential impacts with your insurance agent directly.
Can I keep the insurance money and not repair the roof?
This is very risky and often violates your policy. If you have a mortgage, the check will likely be co-payable to you and your lender. The lender will require the repair to protect their collateral. Even without a mortgage, failing to repair documented damage can void future coverage for that area. If you have a leak later from the same storm damage, the insurer may deny the new claim. They paid you to fix it. Use the money for its intended purpose.
What if the insurance estimate is too low to cover a quality repair?
This is common. The initial estimate is often a starting point. Your roofing contractor's job is to review the scope and identify discrepancies. They will submit a supplement with supporting documentation (photos, measurements). This requests additional funds for missing items. This is a standard, expected part of the process for professional roofing companies. A good contractor will handle this negotiation on your behalf.
How long does the entire insurance claim process take?
The timeline varies. From filing to final payment can take several weeks to a few months. The inspection usually happens within a week or two of filing. The initial payment often follows within a week of the adjuster's report. The roofing installation itself typically takes 2-5 days depending on size and complexity. The final payment for recoverable depreciation comes after the work is complete and the insurer receives the final invoice and documentation. Your contractor should manage expectations and keep you updated.
What happens if my claim is denied?
First, understand the reason for denial. Request it in writing from your insurer. Common reasons include wear and tear, maintenance issues, or damage below your deductible. If you believe the denial is wrong, you can appeal. Provide additional evidence from your roofing contractor. You can also hire a public adjuster to represent you. They work for a percentage of the settlement. As a last resort, you can file a complaint with your state's department of insurance. They can review the case for fairness.
Should I get multiple estimates from roofing companies?
Yes, but be smart about it. Get two or three detailed estimates from reputable, local companies. The estimates should be based on the same scope of work. The price should not be the only factor. Compare the proposed materials, warranties, and company credentials. Beware of an estimate that is drastically lower than others. It often indicates inferior materials or inexperienced labor. Remember, your insurance company's estimate sets the budget. Your contractor's estimate shows what it actually costs to do the job right.
What warranties will I receive?
You should receive two types of warranties. The first is the manufacturer's material warranty on the shingles and accessories. This covers defects in the product. It's often 25 to 50 years for architectural shingles. The warranty requires proper installation by a certified contractor. The second is the contractor's workmanship warranty. This covers errors in installation, like leaks from poor flashing. A reputable company will offer a substantial workmanship warranty, often 5-10 years or more. Get both warranties in writing before work begins.
Conclusion: Your Path to a Successful Roof Restoration
Dealing with roof damage and insurance is challenging. You don't have to navigate it alone. Arm yourself with knowledge from this guide. Choose a professional, local roofing partner with proven insurance claim experience. A good contractor becomes your advocate. They translate the insurance process. They ensure your home is restored properly. They deliver a roof that protects your family for decades. Remember the key steps: inspect, document, file, review, and supplement. Trust the process, but verify every detail. Your home is your biggest investment. Protect it with a quality roof installed by professionals.
Your next step is simple. If you suspect storm damage, schedule a free, no-obligation inspection with a trusted local roofer. Look for certifications, reviews, and transparency. Ask the questions listed in this article. A reputable company will answer them confidently. They will provide clear next steps. They will explain how they work with insurance. Don't let fear or confusion delay necessary repairs. A small leak today can cause major structural damage tomorrow. Use your insurance coverage for its intended purpose. Restore your home's safety and value. You can handle this. With the right information and the right partner, you'll get through it successfully.