
Wind Damage to Shingles Insurance: Your Complete Guide from a 15-Year Roofing Contractor
I have been a licensed roofing contractor for over fifteen years. I have completed more than two thousand roofing projects across Texas. I hold certifications from GAF, CertainTeed, and Owens Corning. I have seen countless roofs damaged by wind. I have helped hundreds of homeowners navigate insurance claims. This article shares that hard-earned knowledge. My goal is to save you time, money, and stress. This guide exists to solve a real problem. Homeowners often feel lost after a storm. They see missing shingles but do not know what to do next. They worry about insurance denying their claim. They fear being taken advantage of by contractors. This article answers all those questions. It provides a clear, step-by-step path forward. The information here comes from real customer projects. It is based on manufacturer installation instructions and building codes. It reflects the actual process I follow on every wind damage job. My methodology is simple: be transparent, be thorough, and put the homeowner first. Let's get your roof fixed properly.
Understanding Wind Damage: What Insurance Companies Look For
Not all wind damage is obvious. Insurance adjusters look for specific signs. Understanding these helps you document your claim correctly. Wind does not just tear shingles off. It can cause subtle damage that leads to major leaks later.
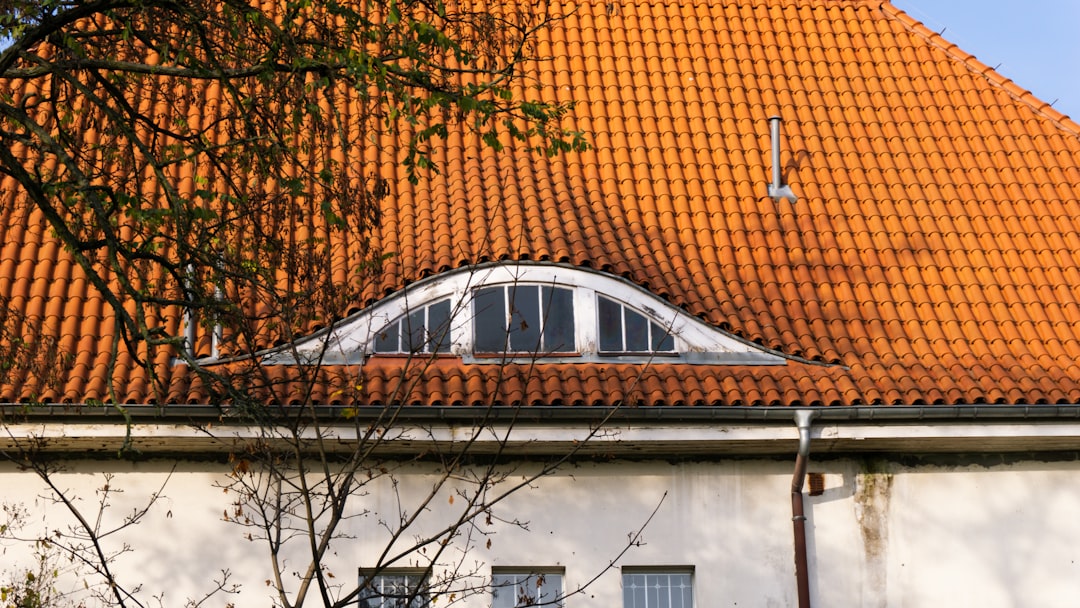
Common Types of Wind Damage on Asphalt Shingles
Creasing is the most common wind damage I see. The shingle gets lifted and bent by the wind. It creates a permanent horizontal fold or crease. This weakens the shingle's seal and structure. Tab lifting is another clear sign. The corners or edges of the shingle tabs curl upward. They are no longer flat against the roof deck. This breaks the adhesive seal. Missing shingles are the most obvious damage. High winds can rip shingles completely off the roof. This exposes the underlayment and deck to water immediately. Granule loss in specific patterns can indicate wind scour. Wind-driven rain can blast granules off the shingle surface. Look for bare spots on shingles in a windward pattern.
How Wind Speed Correlates to Shingle Damage
Most asphalt shingles are rated for specific wind speeds. Standard architectural shingles often have a 110 mph wind resistance rating. This rating assumes perfect installation per manufacturer specs. In reality, wind uplift can start at lower speeds. Sustained winds of 50-60 mph can cause tab lifting on older roofs. Gusts over 70 mph frequently cause creasing and seal failure. The Federal Emergency Management Agency (FEMA) provides detailed wind zone maps. Texas, especially coastal areas, is in high-wind zones. Always check your shingle manufacturer's wind warranty. Companies like GAF and Owens Corning have specific installation requirements for wind resistance.
The Homeowner's Immediate Action Plan After a Storm
What you do in the first 48 hours is critical. This protects your home and strengthens your insurance claim. Do not wait to take action. Follow these steps in order.
Step 1: Safety First and Initial Documentation
Never go on your roof after a storm. The surface is wet and slippery. Damaged shingles are unstable. You could fall or cause more damage. Your safety is the top priority. Document the damage from the ground. Use binoculars to get a closer look. Take clear photographs and videos from multiple angles. Get shots of the entire roof line. Zoom in on specific damaged areas. Photograph any debris in your yard, like shingle pieces. This visual evidence is crucial for your claim. Note the date and time of the storm. Check local weather reports for official wind speed records. This data supports your claim.
Step 2: Temporary Protection and Mitigation
Your duty as a homeowner is to prevent further damage. This is called "mitigation" in insurance terms. If you have missing shingles and rain is forecast, act fast. Cover exposed areas from inside your attic. Place buckets under active leaks. If safe, you can apply a tarp to the roof exterior. However, I recommend calling a professional roofer for tarping. Improper tarping can cause more damage. It can also void certain manufacturer warranties. Keep all receipts for any materials or services used for temporary repairs. Your insurance should reimburse these mitigation costs.
Step 3: Contact Your Insurance Company
Notify your insurance carrier as soon as possible. Most policies require prompt notification of a loss. Call your agent or the company's claims department. Provide your policy number and a brief description. Do not give a detailed recorded statement yet. Simply report that you suspect wind damage from the recent storm. They will open a claim and assign a claim number. Write this number down. Ask about their preferred process. Some companies want you to get an estimate first. Others will send an adjuster immediately. Understand your deductible amount. This is what you pay out-of-pocket before insurance coverage kicks in.
Working with a Roofing Contractor: The Professional Inspection
Before the insurance adjuster arrives, get a professional opinion. A reputable roofing contractor provides a free inspection. This gives you an expert assessment of the damage. It prepares you for the adjuster's visit.
How to Choose the Right Roofing Contractor
Select a local, licensed, and insured contractor. Check for credentials like GAF Master Elite or Owens Corning Platinum. These certifications require proper training and insurance. Read online reviews on Google and the Better Business Bureau. Ask for references from recent wind damage jobs. Avoid door-knockers who appear right after a storm. They are often storm chasers with no local presence. Choose a company with a physical office in your area. They will be there for warranty work later. Get everything in writing. A detailed, line-item estimate is essential. It should include material specifications, labor, and waste removal.
What a Professional Inspection Should Include
A thorough inspection is more than a visual scan. The contractor should perform a hands-on assessment. They will check for soft spots on the roof deck indicating water intrusion. They will examine the attic for stains on the sheathing. They will test the adhesive seal on shingles by gently lifting tabs. A proper seal resists lifting. They will measure the wind damage pattern. Insurance often covers damage in specific "squares" or areas. The contractor should document everything with photos and notes. They should provide you with a detailed report. This report becomes your roadmap for discussing the claim with the adjuster.
The Insurance Adjuster's Visit: What to Expect
The insurance adjuster represents the company. Their job is to assess the damage and determine coverage. Being prepared makes this meeting go smoothly.
How to Prepare for the Adjuster Meeting
Have your contractor's inspection report ready. Share the photos and videos you took initially. Be present for the adjuster's inspection. Walk around the property with them if possible. Point out all areas of concern. Have your roofing contractor present if the adjuster allows it. Many adjusters welcome a professional roofer's input. It leads to a more accurate assessment. Know your policy details. Understand your coverage for roof replacement vs. repair. Know your dwelling coverage limit and deductible.
Understanding the Adjuster's Scope of Loss
The adjuster will write a "scope of loss." This is a detailed list of what they believe needs repair or replacement. It includes quantities of materials and labor costs. They use software like Xactimate to calculate prices. The adjuster's estimate may differ from your contractor's. This is normal. The contractor's estimate is based on market rates for quality work. The adjuster's estimate is based on insurance software databases. The two parties often need to negotiate. The goal is to reach an agreement on a scope that fully repairs the home.
Navigating the Claim Settlement and Repair Process
Once the adjuster issues their report, the real work begins. You must manage the settlement and hire a contractor to do the repairs.
Types of Insurance Settlements: ACV vs. RCV
Understand your settlement type. Actual Cash Value (ACV) pays the depreciated value of your roof. It subtracts for age and wear. You get a smaller check upfront. Replacement Cost Value (RCV) pays the full cost to replace the roof. You typically receive an initial payment for the ACV amount. After the work is complete and you submit the final invoice, you get the recoverable depreciation. Most modern policies are RCV, but always verify. This distinction greatly affects your out-of-pocket cost.
Selecting Materials and Managing the Project
Your insurance settlement should allow for "like kind and quality" replacement. You can often upgrade materials if you pay the difference. Discuss options with your contractor. Consider impact-resistant shingles for better future protection. Brands like CertainTeed offer Class 4 impact ratings. Ensure the contractor follows the manufacturer's installation instructions exactly. This is required for the warranty. The contractor should obtain all necessary permits. They should schedule a city inspection for the final. Do not pay the full amount upfront. Follow a payment schedule tied to project milestones.
Frequently Asked Questions from Homeowners
Will my insurance rates go up if I file a wind damage claim?
Filing a claim for a widespread weather event may not increase your rates. This is considered an "act of God" event. If many homes in your area are damaged, it is a catastrophe claim. These are viewed differently than a single-home claim for neglect. However, filing multiple claims in a short period can affect your premiums. Always discuss the potential impact with your insurance agent before filing.
What if my insurance claim is denied?
Do not panic if you receive a denial. First, request a detailed explanation in writing. The denial letter should cite the specific policy language. Often, denials are due to insufficient evidence of sudden damage. You can appeal the decision. Submit your contractor's report and additional photos. You can also hire a public adjuster. They work for you, not the insurance company, to re-evaluate the claim. As a last resort, consult with an attorney who specializes in insurance disputes.
How long do I have to file a wind damage claim?
Check your policy for the specific time limit. Most policies require you to file a claim "promptly" or within one year of the loss. However, do not wait. Damage can worsen over time. Delaying can give the insurer reason to argue the damage was not from that specific storm. File as soon as you safely can after the event.
Does insurance cover repairing only part of the roof?
Insurance covers direct physical damage. If wind only damaged one section, they may only pay to repair that section. However, matching existing shingles can be a problem. If your shingles are old and discontinued, the insurer may need to pay to replace adjacent slopes for a uniform appearance. This is a common point of negotiation between your contractor and the adjuster.
What is my responsibility during the claims process?
You have a duty to mitigate further damage. You must cooperate with the insurance company's investigation. You must provide requested documentation. You must also pay your deductible. The contractor cannot waive your deductible. That is insurance fraud. Your job is to manage the process and hire a qualified contractor to perform the repairs.
Real Project Case Study: A Texas Windstorm Claim
Last spring, a client in Kingwood had a severe storm with 80 mph gusts. They heard banging on the roof but saw no obvious damage from the ground. They called me for an inspection. From a ladder, I saw widespread creasing on the west-facing slopes. The adhesive seals on hundreds of shingles had failed. The attic showed no leaks yet, but the roof was compromised. We documented everything with close-up photos and a drone video. The homeowner filed a claim. The initial adjuster only wanted to replace 10 "square" of shingles. We requested a re-inspection with the adjuster's supervisor present. We walked the roof together, demonstrating the widespread nature of the damage. We showed how patching would not match the 12-year-old shingles. The insurer ultimately approved a full roof replacement under the RCV policy. The project took three days. We installed GAF Timberline HDZ shingles with upgraded synthetic underlayment. The homeowner paid their deductible, and insurance covered the rest. The new roof has a 110 mph wind warranty and a 50-year material warranty.
Conclusion: Protecting Your Investment
Dealing with wind damage is stressful. A damaged roof threatens your biggest investment. The insurance process can feel overwhelming. My goal was to give you the knowledge I share with my own customers. You now understand the signs of wind damage. You have a clear action plan to follow after a storm. You know how to work with contractors and adjusters. Remember, documentation is your most powerful tool. A professional inspection is your best preparation. Do not settle for a quick patch job if your roof needs proper replacement. Use this guide to advocate for a complete and quality repair. Your home deserves it. If you are in the Texas area and need a professional assessment, reach out to local certified contractors. Check their licenses and reviews. A good roof protects everything underneath it for decades to come.