
Fireplace Flashing Guide: Prevent Leaks & Protect Your Roof - Advice From 15+ Years of Roofing Experience
My name is Michael, and I have been a roofing contractor for over fifteen years. I have completed more than two thousand roofing projects in the Kingwood area and surrounding Texas communities. I hold certifications from major shingle manufacturers like GAF and Owens Corning. This experience gives me real-world knowledge about fireplace flashing problems. I have seen how small flashing mistakes can cause big water damage issues inside homes. This article shares that practical knowledge with you.
This article exists to solve a specific problem for homeowners. That problem is water leaks around your fireplace. Many homeowners notice water stains on their ceiling near the chimney. They often do not know the cause. The cause is usually failed or improperly installed fireplace flashing. This guide will explain what fireplace flashing is. It will show you how it works to protect your home. You will learn how to identify problems. You will understand repair options and costs. My goal is to give you the information you need to protect your biggest investment: your home.
I gathered this information from real customer projects. I reviewed manufacturer specifications from companies like CertainTeed and Malarkey. I studied building codes like the International Residential Code (IRC). I also consulted with other experienced roofers. My recommendations come from seeing what works and what fails in our Texas climate. I will be transparent about costs and methods. This is not sales content. This is educational content from a professional who wants to help homeowners make informed decisions.
What Is Fireplace Flashing and Why Is It Critical?
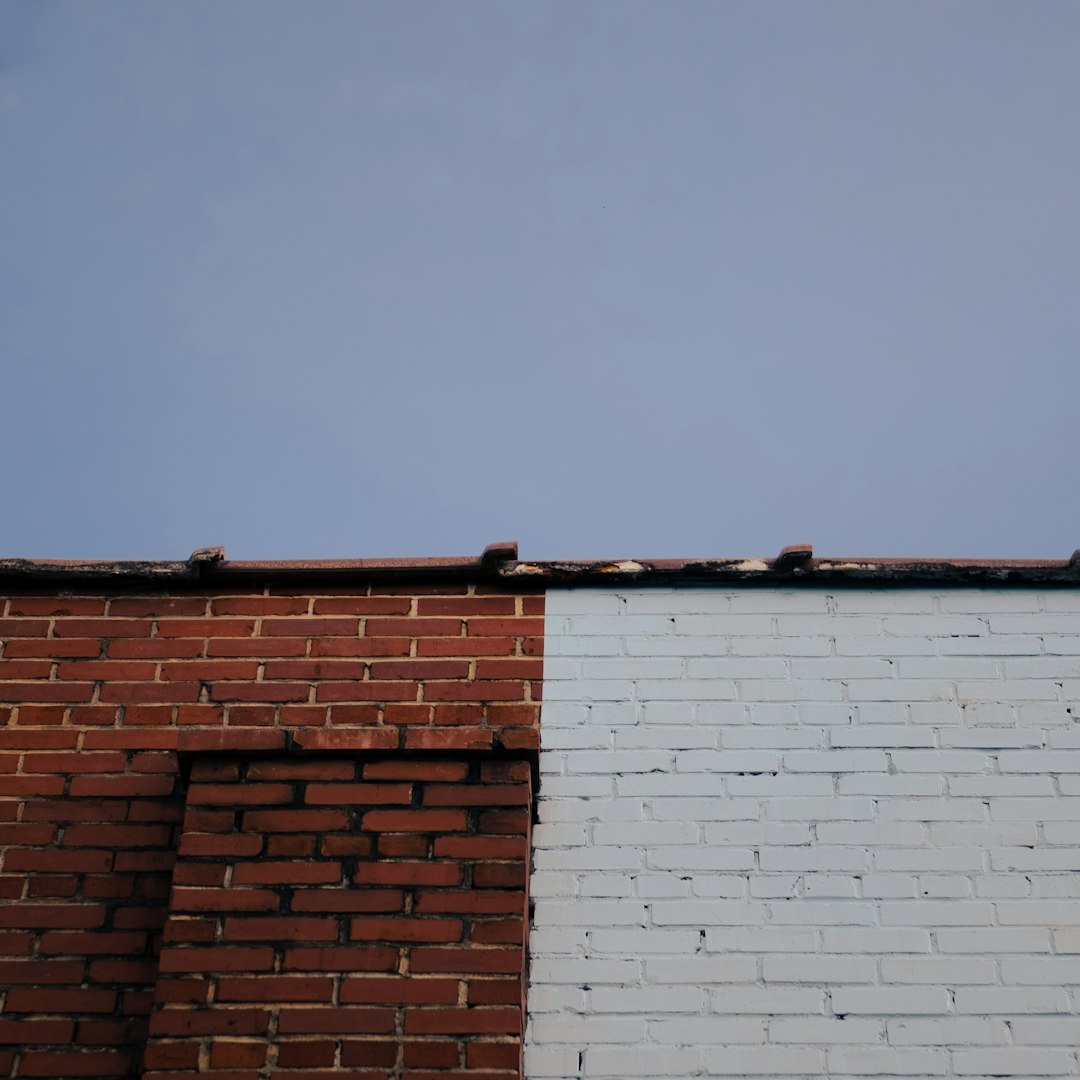
Fireplace flashing is a system of metal pieces. These pieces seal the joint where your chimney meets your roof. It is a waterproof barrier. It directs rainwater away from this vulnerable intersection. Without proper flashing, water can seep into your home. It can cause rot, mold, and structural damage. Think of it as a custom-made raincoat for your chimney.
The Anatomy of a Flashing System
A complete flashing system has several parts. The base flashing is installed under the shingles and up the chimney side. The step flashing is layered along the chimney's sides. The counter flashing is embedded into the chimney mortar. The cap flashing covers the top. All these pieces work together. They create a shingle-like overlap that sheds water downward. The National Association of Home Builders (NAHB) considers proper flashing a critical component of a weather-resistant roof.
How Flashing Prevents Catastrophic Leaks
Water is relentless. It finds the smallest gap. When wind drives rain against your chimney, flashing is the first line of defense. It channels water onto the roof shingles. From there, water flows safely into the gutters. If the flashing fails, water runs behind it. It goes into your attic. It soaks insulation and wood framing. I have seen repair bills from water damage exceed twenty thousand dollars. Proper flashing is a small investment that prevents massive costs.
Common Fireplace Flashing Problems Homeowners Face
Over years of inspections, I see the same issues repeatedly. Recognizing these problems early can save you money. The most common issue is corrosion. Galvanized steel flashing can rust over time. This is especially true in humid climates like Texas. The metal becomes weak and develops holes. Another major problem is separation. The chimney and house can settle at different rates. This movement pulls the flashing away from the chimney. It creates an open gap for water entry.
Signs Your Fireplace Flashing Is Failing
You do not need to climb on the roof to spot trouble. Look inside your home first. Water stains on the ceiling or walls near the fireplace are a red flag. You might see peeling paint or damp spots in the attic. Musty odors can indicate hidden moisture. From the outside, look for cracked or missing mortar around the flashing. Check for rust stains running down the chimney bricks. After a rainstorm, go into your attic with a flashlight. Look for daylight shining through gaps around the chimney chase. These are all warnings.
Why DIY Repairs Often Fail
Many homeowners try to fix leaks with caulk or roofing cement. This is a temporary solution at best. These materials dry out, crack, and shrink. They cannot handle the thermal expansion and contraction of the chimney. Professional flashing involves precise metal bending and integration with the roof system. A tube of sealant is not a substitute for proper metalwork. According to International Code Council (ICC) guidelines, flashings must be corrosion-resistant and integrated into the waterproofing layers.
Fireplace Flashing Materials: A Hands-On Comparison
Choosing the right material is crucial for longevity. The most common materials are aluminum, copper, galvanized steel, and lead-coated copper. Each has pros and cons. Aluminum is lightweight and rust-resistant. It is a good, cost-effective choice. However, it is soft and can be damaged by hail or ladder impacts. Copper is the premium option. It is extremely durable and forms a protective patina. It can last as long as the roof itself. The initial cost is higher, but it rarely needs replacement.
Galvanized Steel vs. Modern Alternatives
Many older homes have galvanized steel flashing. It is coated with zinc to prevent rust. Over time, this coating wears off. Once the bare steel is exposed, rust begins. In my experience, galvanized steel lasts 10-15 years in our climate. Modern alternatives like aluminum-zinc alloy coated steel (like Galvalume) perform much better. They offer superior corrosion resistance. I recommend homeowners upgrading their roof to invest in a longer-lasting material. The Metal Construction Association provides excellent technical data on these materials.
Compatibility with Roofing Materials
Your flashing must work with your roof type. For asphalt shingle roofs, step flashing is standard. For tile or metal roofs, the flashing design is different. Using the wrong profile can trap water. Always consult your roofing material manufacturer's installation instructions. For example, GAF's roofing system requirements specify how flashings should be installed with their shingles. Mismatched materials can void your roof warranty.
The Professional Installation Process: What to Expect
A proper flashing installation is a multi-step process. It requires skill and attention to detail. First, the roofer must carefully remove the shingles around the chimney. They must not damage the surrounding roof deck. Next, they inspect the chimney structure and roof deck for rot. Any damaged wood must be replaced. Then, they measure and custom-bend the flashing pieces on-site. Pre-formed flashings rarely fit perfectly. Custom bending ensures a tight seal.
Step-by-Step Field Installation
The installer lays the base flashing first. It is sealed to the roof deck with roofing cement or ice and water shield. Step flashing pieces are then woven in with each course of shingles. This creates a laminated barrier. The counter flashing is then set into a reglet (a cut groove) in the chimney mortar. Finally, new mortar is applied to lock it in place. The entire area is then sealed with a high-quality urethane or elastomeric sealant designed for masonry. This process typically takes a skilled two-person crew four to six hours.
Critical Details That Make the Difference
Several small details separate a good job from a great one. The step flashing pieces must overlap by at least two inches. The counter flashing must extend down over the base flashing by at least three inches. All fasteners should be placed high on the flashing so water runs over them, not into the holes. On the high side of the chimney (where water piles up), a cricket or saddle is often needed. This is a small peaked structure that diverts water around the chimney. The Asphalt Roofing Manufacturers Association (ARMA) provides detailed technical bulletins on these best practices.
Cost Analysis: Repair vs. Replacement with Real Examples
Costs vary based on material, chimney size, and roof pitch. A simple repair of a small section might cost $300-$500. A complete flashing replacement on a standard chimney typically ranges from $800 to $2,000. If the roof deck is rotten and needs replacement, add $500-$1,500. Using copper instead of aluminum adds 50-100% to the material cost. Let me share two real project examples from last year.
Case Study 1: The Partial Repair
A homeowner in Atascocita had water stains in their upstairs bedroom. The chimney was on a steep, two-story roof. Inspection showed one section of counter flashing had pulled out of the mortar. The base flashing was still sound. We removed the damaged counter flashing. We cleaned the reglet and installed a new copper counter flashing section. We sealed it with new mortar and high-grade sealant. The total cost was $475. The leak was fixed, and the interior damage was minimal.
Case Study 2: The Full System Replacement
Another home in Kingwood had a 30-year-old roof. The galvanized flashing was completely rusted through. There was extensive rot in the roof deck around the chimney. We replaced a 4x8 foot section of roof decking. We installed a new aluminum flashing system with a proper cricket. We then re-shingled the affected area to match the existing roof. The total project cost was $2,200. This was a wise investment, as it prevented further structural damage.
Practical Homeowner Tips From Real Projects
You can take steps to maintain your flashing and catch problems early. First, perform a visual inspection twice a year. Use binoculars from the ground. Look for obvious gaps, rust, or missing pieces. Keep tree branches trimmed away from the chimney. Falling branches can damage flashing. Ensure your attic ventilation is adequate. Poor ventilation leads to condensation, which can mimic a flashing leak. After any major storm, especially hail, check for new water stains indoors.
When to Call a Professional Roofer
Do not ignore signs of water intrusion. If you see a stain, call a pro. If your chimney is over 20 years old and has original flashing, have it inspected. If you are replacing your roof, always replace the flashing at the same time. The small added cost is worth it. When hiring a contractor, ask for proof of insurance and local references. Ask if they will obtain a permit for the work, as many municipalities require one for flashing replacement. A reputable roofer will not mind these questions.
Questions to Ask Your Contractor
- What specific material do you recommend for my home and why?
- Will you custom-bend the flashing on-site or use pre-formed pieces?
- Do you include a cricket/saddle if needed, and is there an extra charge?
- What is your warranty on the flashing workmanship?
- Will you provide before-and-after photos of the installation?
Frequently Asked Questions About Fireplace Flashing
Can I just caulk the leak myself?
Caulk is a temporary emergency fix only. It will dry and crack within a year or two. It does not address the root cause, which is usually failed metal or improper installation. Relying on caulk can allow hidden damage to continue growing inside your walls.
How long should fireplace flashing last?
It depends on the material. Aluminum can last 20-30 years. Copper can last 50+ years. Galvanized steel may only last 10-15 years. Proper installation is just as important as the material choice for achieving maximum lifespan.
Will my homeowner's insurance cover flashing repairs?
It depends on the cause of damage. If a storm (like hail or wind) directly damages the flashing, it is likely covered. If the flashing fails due to normal wear and tear or poor installation, it is typically not covered. Always document the damage with photos and contact your insurer. The Insurance Information Institute offers guidance on filing property claims.
Is flashing replacement a messy job inside my home?
A professional job should create minimal mess inside. All work is done on the exterior roof and chimney. However, if there is existing water damage inside your walls, repairing that drywall will create dust. A good contractor will use drop cloths and contain the work area.
Can bad flashing cause a fire hazard?
Directly, no. Flashing is not part of the fire-containing system of the fireplace. However, persistent water leaks can rot wooden framing around the chimney. This can compromise the structural support. It is always a safety issue to have rotten wood in your home's structure.
What's the difference between step flashing and counter flashing?
Step flashing is the L-shaped pieces layered with the shingles. Counter flashing is the piece embedded into the chimney mortar that covers the top of the step flashing. They work as a pair: the step flashing sheds water onto the roof, and the counter flashing protects the top edge of the step flashing from water running down the chimney.
How do I know if I need a chimney cricket?
If your chimney is more than 30 inches wide (as measured parallel to the roof slope), most building codes require a cricket. Even on smaller chimneys, if you have persistent leaks on the uphill side, a cricket is a highly effective solution to divert water around the chimney.
Industry Statistics and Why They Matter to You
Data helps us understand common failures. According to a National Roofing Contractors Association (NRCA) survey, flashing failures account for over 70% of all roof-related leaks. Not all are chimney flashing, but it is a major category. Another study found that improper flashing installation is the leading cause of callbacks for roofing contractors. This shows how critical proper technique is. In regions with freeze-thaw cycles, like Texas can experience, the failure rate of sealant-only fixes is nearly 100% within five years. Investing in proper metal flashing is statistically the wise choice.
Conclusion: Protecting Your Home Starts at the Top
Your fireplace should provide warmth and comfort, not water damage and stress. Fireplace flashing is a small but vital component of your roof system. Ignoring it can lead to expensive repairs. Understanding what it is, how it fails, and how to fix it empowers you as a homeowner. Regular inspections and timely professional repairs are the keys to longevity.
Your next step is simple. If you have concerns about your fireplace flashing, schedule a professional inspection. Look for a local, licensed, and insured roofing contractor with specific experience in chimney work. Ask for a detailed written estimate that outlines the materials and scope of work. Use the information in this guide to have an informed conversation. Protecting your home is an ongoing process, and a sound roof is your first defense against the elements.
I hope this guide has been helpful. The goal was to share real-world knowledge from the roof to your screen. If you have further questions, consult with a trusted professional in your area. A small investment in maintenance today can prevent a major headache tomorrow. Stay dry and take care of your home.