
Your Complete Roof Replacement Contractor Guide: 15 Years of Field Experience
After fifteen years running a successful roofing business in Texas, I have replaced over two thousand roofs. Our team holds GAF Master Elite certification and Owens Corning Platinum contractor status. We completed projects ranging from simple shingle replacements to complex commercial installations. This article shares hard-earned knowledge from actual job sites and customer experiences.
Homeowners often feel overwhelmed when choosing roof replacement contractors. They worry about costs, materials, and finding trustworthy professionals. This guide exists to solve that problem completely. You will learn how to select the right contractor, understand the process, and make informed decisions. Our goal is to provide clarity and confidence for your roofing project.
The information here comes from real customer projects, manufacturer specifications, and building code requirements. We reference GAF, Owens Corning, and IKO manufacturer guidelines. Building code references follow International Residential Code standards. Insurance guidance references Insurance Information Institute protocols. Every recommendation stems from proven field methods.
Understanding Roof Replacement Fundamentals
When You Need Roof Replacement
Most roofs last between twenty and thirty years. Age alone does not determine replacement needs. Look for curling shingles, missing granules, and daylight through roof boards. Multiple leaks indicate systemic failure rather than isolated repairs. Storm damage often accelerates replacement timelines significantly. Insurance claims become necessary when hail or wind causes widespread damage.
Roofing System Components
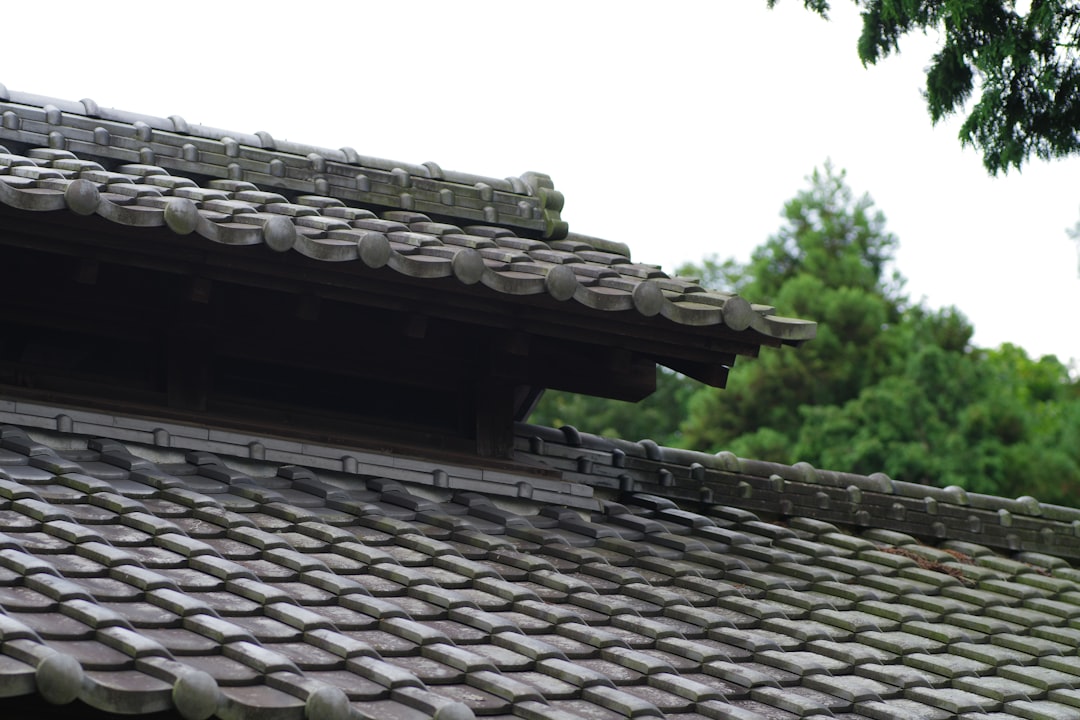
A complete roofing system includes decking, underlayment, flashing, and shingles. Decking forms the structural base typically made from plywood or OSB boards. Synthetic underlayment provides secondary waterproofing beneath shingles. Flashing protects vulnerable areas like valleys and chimneys from water intrusion. Shingles represent the visible exterior layer that sheds water and provides aesthetic appeal.
Choosing Your Roof Replacement Contractor
Verifying Credentials and Experience
Always check contractor licenses through your state licensing board. Texas requires TDLR registration for roofing professionals. Manufacturer certifications indicate specialized training and quality standards. GAF Master Elite status requires proper insurance and proven installation expertise. Better Business Bureau ratings show customer satisfaction history and complaint resolution.
Insurance and Bonding Requirements
Contractors must carry workers compensation and liability insurance. Request certificates of insurance before signing contracts. Bonding protects homeowners if contractors fail to complete work properly. Verify insurance covers at least one million dollars in liability protection. Uninsured contractors create significant financial risks for homeowners during accidents.
Getting and Comparing Quotes
Obtain three detailed quotes from different contractors. Quotes should include material specifications, labor costs, and project timelines. Compare warranty terms between asphalt shingle manufacturers and workmanship guarantees. Beware extremely low bids that might indicate corner cutting or inexperience. Middle-range quotes often provide the best value balancing quality and affordability.
Roofing Materials Comparison
Asphalt Shingles Overview
Asphalt shingles dominate residential roofing markets. Three-tab shingles offer basic protection at lower costs. Architectural shingles provide dimensional appearance and longer warranties. Premium laminated shingles mimic wood or slate aesthetics. Owens Corning Duration series features strengthened nailing zones and wind resistance. Most asphalt shingles carry twenty-five to fifty year manufacturer warranties.
Metal Roofing Options
Metal roofs last forty to seventy years with proper maintenance. Standing seam metal systems provide excellent weather resistance and longevity. Metal shingles replicate traditional appearances with enhanced durability. Aluminum works well in coastal environments resisting salt corrosion. Steel panels require protective coatings to prevent rust formation. Initial costs exceed asphalt but lifespan justifies investment.
Specialty Materials Considerations
Clay and concrete tiles suit Mediterranean and Spanish style homes. They offer exceptional longevity but require reinforced roof structures. Wood shakes provide natural aesthetics but need fire treatment in many regions. Synthetic slate replicates natural appearance with reduced weight and maintenance. Each material has specific installation requirements affecting labor costs and timelines.
Cost Factors and Budget Planning
Material Cost Breakdown
Basic three-tab shingles cost one hundred to one hundred fifty dollars per square. Architectural shingles range from one hundred twenty to four hundred dollars per square. Premium laminated products reach six hundred dollars per square. Metal roofing costs four hundred to twelve hundred dollars per square installed. Tile and slate systems often exceed fifteen hundred dollars per square including structural reinforcements.
Labor and Additional Expenses
Labor represents thirty to forty percent of total project costs. Complex roof designs with multiple valleys increase labor requirements. Tear-off and disposal fees range from one hundred to two hundred dollars per square. Permit costs vary by municipality typically fifty to five hundred dollars. Dumpster rentals and protection for landscaping add to project expenses.
Real Project Cost Examples
A two thousand square foot ranch home with architectural shingles cost twelve thousand dollars. This included complete tear-off, synthetic underlayment, and proper flashing. A three thousand square foot two-story home with metal roofing cost thirty-two thousand dollars. The project involved complex dormers and skylight integrations. Always budget ten percent extra for unexpected repairs once old roofing gets removed.
Installation Process Explained
Preparation and Tear-Off Phase
Contractors protect landscaping and exterior features before starting work. They place tarps over shrubs and use magnetic sweepers for nail collection. Roofers remove old shingles down to the decking inspecting for damage. They replace rotten wood sheathing ensuring structural integrity. This phase typically requires one to two days depending on roof size and complexity.
Underlayment and Flashing Installation
Synthetic underlayment provides superior protection compared to traditional felt. It resists tearing during installation and offers better water resistance. Ice and water shield gets installed along eaves and in valleys. Step flashing integrates with siding around chimneys and walls. Proper valley metal installation directs water flow without leakage points.
Shingle Application Techniques
Starter strips create sealed edges along eaves preventing wind uplift. Shingles get installed following manufacturer specified nailing patterns. Six nails per shingle provide maximum wind resistance in most cases. Proper alignment ensures uniform appearance and weather protection. Ridge vents promote attic ventilation extending roof lifespan significantly.
Insurance Claims and Storm Damage
Documenting Damage Properly
Take photographs from multiple angles showing all damaged areas. Capture close-ups of granule loss and impacted shingles. Document interior water stains and damaged personal property. Keep records of temporary repairs made to prevent further damage. Create dated documentation showing storm occurrence and immediate aftermath.
Working With Insurance Adjusters
Many contractors provide complimentary insurance claim assistance. They meet adjusters pointing out damage the untrained eye might miss. Provide copies of roofing estimates during adjuster meetings. Understand your policy's depreciation calculations and actual cash value provisions. Negotiate settlements based on current replacement costs not depreciated values.
Supplemental Claim Procedures
Hidden damage often gets discovered during tear-off processes. Contractors document additional damage with photographs and measurements. They submit supplemental claims to insurance companies for approval. This process ensures complete coverage for all necessary repairs. Most policies allow for supplemental claims within specified timeframes.
Warranties and Protection Plans
Manufacturer Warranties Explained
Material warranties cover manufacturing defects in shingles and components. They typically last twenty-five to fifty years depending on product lines. Wind warranties specify maximum wind speeds products can withstand. Algae resistance warranties protect against organic growth in humid climates. Read warranty fine print regarding installation requirements and transferability.
Workmanship Guarantees
Contractor workmanship warranties cover installation errors and leaks. They typically range from five to twenty-five years depending on company policies. Understand what constitutes workmanship versus material failures. Keep copies of warranties and installation documentation for future reference. Transfer workmanship warranties when selling your home adding property value.
Maintenance and Long-Term Care
Regular Inspection Schedule
Inspect roofs twice annually during spring and fall seasons. Look for damaged, curling, or missing shingles after severe weather. Check flashings around penetrations for separation or corrosion. Ensure gutters remain clear directing water away from structures. Trim overhanging branches preventing physical damage and organic growth.
Professional Maintenance Services
Schedule professional inspections every three to five years. Contractors identify potential issues before they become major problems. They reseal flashings and replace compromised components proactively. Professional cleaning removes moss and algae preserving shingle integrity. Maintenance contracts often include priority service during storm events.
Frequently Asked Questions
How long does roof replacement take?
Most residential roof replacements require two to five days. Simple single-story homes with straightforward designs complete fastest. Complex roofs with multiple levels and penetrations take longer. Weather conditions significantly impact project timelines. Professional crews work efficiently minimizing disruption to homeowners.
Can I install new shingles over old ones?
Building codes sometimes allow second layer installations. This approach saves tear-off costs but creates several problems. You cannot inspect or repair damaged decking beneath old shingles. Additional weight stresses roof structures potentially causing issues. Most manufacturers void warranties over existing layers. Complete tear-off remains the recommended professional approach.
What roof pitch requires special equipment?
Steep roofs exceeding six-in-twelve pitch need special safety equipment. Contractors use roof jacks, harnesses, and proper anchoring systems. Steep slope work increases labor costs and project timelines. Walkable roofs between four and six pitch require standard safety precautions. Low slope roofs below three pitch need modified installation techniques.
How does ventilation affect roof lifespan?
Proper ventilation prevents heat and moisture buildup in attics. Inadequate ventilation causes shingles to age prematurely. It also contributes to ice dam formation in cold climates. Balanced intake and exhaust ventilation maintains consistent temperatures. Modern building codes specify minimum ventilation requirements for roof longevity.
What causes roof leaks years after installation?
Flashing failures around chimneys and vents cause many late-stage leaks. Settling houses create new separation points at wall intersections. Nail pops from decking movement create small water entry points. Storm damage dislodges shingles creating vulnerable areas. Regular maintenance identifies these issues before major water intrusion occurs.
Should I be home during roof replacement?
Homeowners need not remain home during professional installations. Contractors coordinate material deliveries and crew access independently. Provide emergency contact information and any access instructions. Remove wall decorations and fragile items from vibration exposure. Expect significant noise levels throughout working hours.
How do I verify contractor references?
Ask for recent project addresses you can drive by visually. Request contact information for three previous customers. Speak directly with references asking specific questions about cleanliness and communication. Check online reviews across multiple platforms identifying patterns. Verify manufacturer certifications through official websites.
Real Project Case Studies
Traditional Neighborhood Replacement
A Kingwood homeowner needed replacement after twenty-year-old shingles failed. We installed Owens Corning Duration shingles with synthetic underlayment. The project included new flashing and proper ventilation upgrades. Total cost reached fourteen thousand dollars for twenty-eight squares. The homeowner received maximum insurance coverage minimizing out-of-pocket expenses.
Historic District Clay Tile Installation
A historic home required clay tile replacement matching original appearance. We sourced custom tiles from manufacturer archives ensuring period accuracy. Structural reinforcements supported additional tile weight properly. The project completed within three weeks despite material sourcing challenges. Final cost reached forty-five thousand dollars reflecting material and labor intensity.
Industry Statistics and Data
The National Roofing Contractors Association reports asphalt shingles cover eighty percent of American homes. Properly installed architectural shingles withstand winds exceeding one hundred ten miles per hour. Metal roofing popularity grew forty percent over the past decade according to industry surveys. Roof replacements typically return sixty to seventy percent of investment upon home resale.
Step-by-Step Contractor Selection Guide
Research local contractors through manufacturer certification programs. Verify licensing and insurance coverage meets state requirements. Schedule consultations with three different companies. Compare detailed quotes including material specifications and warranty terms. Check references and online reviews thoroughly. Select contractor balancing experience, communication, and value. Sign detailed contract specifying all project aspects clearly.
Conclusion and Next Steps
Roof replacement represents significant investment protecting your home. Choosing the right contractor ensures proper installation and long-term performance. Understanding materials and processes empowers informed decision making. Insurance claims require careful documentation and professional assistance. Regular maintenance extends roof lifespan maximizing your investment.
Begin your roof replacement journey by researching local certified contractors. Schedule consultations to discuss your specific needs and obtain quotes. Review manufacturer warranties and installation requirements carefully. Document existing conditions and communicate clearly with chosen professionals. Proper planning leads to successful outcomes and peace of mind.
Your roof protects everything beneath it from weather elements. Making informed replacement decisions ensures continued protection for years. Trust experienced professionals following industry best practices. The knowledge gained here prepares you for successful contractor relationships. Your home deserves quality workmanship from start to finish.