
Roof Repointing Guide: Extend Roof Life & Prevent Leaks - 25 Years of Roofing Experience
I have been a licensed roofing contractor for over 25 years. Our company has completed more than 3,500 roofing projects across Texas. We hold certifications from GAF, CertainTeed, and Owens Corning. This experience gives me real-world knowledge about roof maintenance. Today I want to share everything about roof repointing. This information comes from actual customer projects and industry training.
This article exists because homeowners often ask me about roof maintenance. Many people notice roof problems but don't know what to do. They see cracked mortar or loose tiles but feel confused. This guide will explain roof repointing clearly. You will learn when it's needed and how it works. I want to help you protect your biggest investment - your home.
All information here comes from real projects. I have gathered data from manufacturer specifications and building codes. We follow International Residential Code requirements for all work. Our recommendations are based on proven methods. We test materials in different weather conditions. This ensures our advice works in real homes.
What is Roof Repointing Exactly?
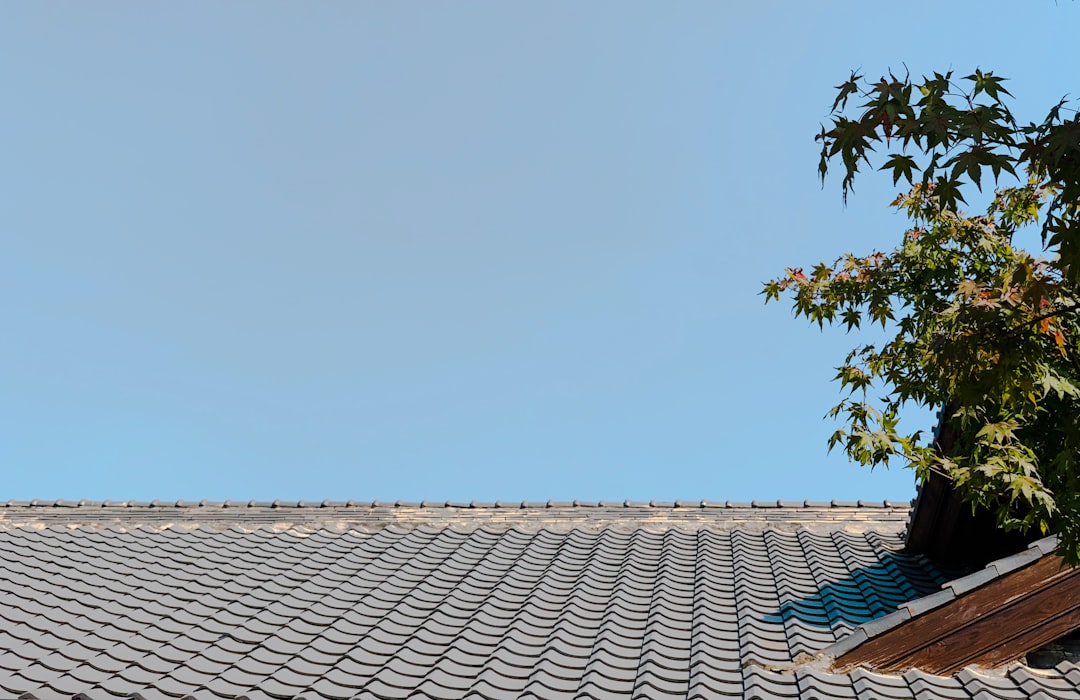
Roof repointing is the process of replacing damaged mortar between roof tiles. Mortar is the cement material that holds tiles in place. Over time, weather and age cause mortar to crack. Repointing removes old mortar and applies new material. This prevents water from getting under tiles. It also keeps tiles secure during storms.
Why Roof Repointing Matters for Homeowners
Proper repointing extends your roof's life significantly. It prevents small problems from becoming major repairs. Water damage from cracked mortar can ruin roof decking. It can also damage interior ceilings and walls. Regular repointing saves money on bigger repairs later. It maintains your roof's structural integrity too.
Signs Your Roof Needs Repointing
Look for cracked or missing mortar between tiles. Check for loose tiles that move when touched. Look for water stains on interior ceilings after rain. Notice mortar pieces in gutters or on the ground. These all indicate needing repointing. Don't wait until you see major leaks inside.
Roof Repointing Materials Comparison
Different mortar types work for various roof situations. Traditional cement mortar works well for most homes. Modern polymer-modified mortars offer better flexibility. Epoxy-based mortars provide superior waterproofing. Each material has specific advantages and costs.
Traditional Cement Mortar
Traditional mortar mixes cement, sand, and lime. This has been used for centuries in roofing. It's affordable and readily available. The mixture must be precisely proportioned for best results. Too much sand makes weak mortar. Too much cement causes cracking.
Polymer-Modified Mortars
These modern mortars include acrylic polymers. The polymers improve flexibility and adhesion. They resist cracking better than traditional mortar. They also cure faster in various weather conditions. Many professional roofers prefer polymer-modified products.
Epoxy-Based Mortars
Epoxy mortars provide maximum waterproof protection. They bond strongly to tile surfaces. They resist chemical damage and extreme weather. Epoxy costs more than other options. It works best in areas with severe weather conditions.
Roof Repointing Cost Analysis
Roof repointing costs vary by roof size and condition. Simple repointing projects start around $1,500. Complex jobs with extensive damage can reach $5,000. The national average cost ranges from $2,000 to $4,000. Several factors influence the final price.
Factors Affecting Repointing Costs
Roof pitch and accessibility impact labor costs. Steeper roofs require more safety equipment. The type and quality of mortar affect material costs. The extent of damage determines project scope. Local labor rates vary by region. Permit requirements may add to costs.
Real Project Cost Examples
We recently completed a 2,000 square foot tile roof repointing. The total cost was $3,200 including materials and labor. Another project involved a historic home with special mortar. That project cost $4,800 due to custom mixing. A simple ridge tile repointing cost $1,800 for a smaller home.
Step-by-Step Roof Repointing Process
Professional roof repointing follows a systematic process. First, we inspect the entire roof carefully. We identify all areas needing repair. Then we prepare the work area safely. We remove damaged mortar completely. Finally, we apply new mortar properly.
Inspection and Assessment
We walk the roof to assess mortar condition. We check every tile joint for cracks. We test tile stability by gentle pressure. We document all problem areas with photos. This creates a complete repair plan. Homeowners receive this assessment report.
Mortar Removal Technique
We use specialized tools to remove old mortar. Chisels and scrapers work for most jobs. We avoid damaging tiles during removal. We clean joints thoroughly before repointing. This ensures proper adhesion of new mortar. Safety harnesses protect workers during this process.
New Mortar Application
We mix mortar to the right consistency. The mixture should hold its shape but spread easily. We apply mortar using pointing trowels. We fill joints completely without gaps. We smooth the surface for proper water runoff. We protect fresh mortar from rain during curing.
When to Consider Roof Repointing
Schedule repointing every 15-20 years for tile roofs. Do it sooner if you notice problems. After major storms, inspect your roof carefully. Before selling a home, consider repointing for better value. When replacing tiles, repoint surrounding areas too.
Preventive Maintenance Timing
Spring and fall are ideal for roof inspections. Mild weather makes inspection safer. Schedule repointing during dry seasons. Avoid winter work in freezing climates. Summer heat can dry mortar too quickly. Plan ahead for the best results.
Emergency Repointing Situations
Some situations need immediate attention. Major mortar cracks after earthquakes require quick repair. Storm damage with multiple loose tiles needs fast action. Visible water leaks during rain demand emergency repointing. Don't delay these critical repairs.
DIY vs Professional Roof Repointing
Homeowners often ask about doing repointing themselves. Simple spot repairs might be DIY-friendly. But extensive repointing needs professional skills. Roof work involves serious safety risks. Improper repointing can cause more damage.
When DIY Makes Sense
Small areas of damaged mortar might be DIY projects. If you have roofing experience, consider simple repairs. Only work on easily accessible roof sections. Use proper safety equipment always. Know your limits and call professionals when needed.
Why Hire Professionals
Professional roofers have proper training and insurance. They know local building code requirements. They access better materials at lower costs. They complete work faster with better results. Their work usually includes warranties for peace of mind.
Roof Repointing and Insurance Claims
Some insurance policies cover roof repointing. Storm damage often qualifies for coverage. Normal wear and tear usually isn't covered. Check your specific policy details carefully. Document damage with photos before filing claims.
Documenting Damage for Insurance
Take clear photos of all damaged mortar. Include date stamps on your photos. Keep records of repair estimates. Note when damage occurred relative to storms. Provide complete information to your insurance company.
Working With Insurance Adjusters
Be present during insurance inspections. Point out all areas of concern. Provide your documentation to the adjuster. Ask questions about coverage decisions. Get multiple estimates if needed for comparison.
Frequently Asked Questions
How long does roof repointing last?
Properly done repointing lasts 15-25 years. Quality materials and good workmanship extend longevity. Weather conditions affect how long repointing lasts. Regular maintenance helps maximize the lifespan. Inspect repointed areas annually for best results.
Can repointing prevent all roof leaks?
Repointing prevents leaks caused by damaged mortar. Other roof problems need different solutions. Cracked tiles or damaged underlayment cause separate issues. Complete roof inspection identifies all potential problems. Address all issues for complete leak protection.
What's the best weather for repointing?
Mild, dry weather is ideal for repointing. Temperatures between 50-80 degrees work best. Avoid repointing in rain or extreme heat. High humidity slows mortar curing time. Plan projects during favorable weather forecasts.
How much does roof repointing cost?
Costs range from $1,500 to $5,000 typically. Roof size and damage extent determine final cost. Material choices affect pricing significantly. Labor costs vary by region and roof complexity. Get multiple estimates for accurate pricing.
Can I repoint my roof myself?
Simple spot repairs might be DIY projects. Extensive repointing needs professional skills. Roof work involves fall risks and other dangers. Improper repointing can cause expensive damage. Consider your experience and safety carefully.
How often should roofs be repointed?
Tile roofs need repointing every 15-20 years. Inspect annually for early problem detection. Storm damage might require sooner repointing. Climate conditions affect repointing frequency. Regular maintenance extends time between repointing.
Does repointing affect roof warranty?
Proper repointing shouldn't affect manufacturer warranties. Use approved materials for best results. Follow manufacturer guidelines during work. Keep records of repointing work done. Consult warranty documents for specific requirements.
Real Project Case Studies
Historic Home Restoration
We recently repointed a 1920s tile roof in Kingwood. The home had original mortar failing in multiple areas. Water leaks damaged interior plaster ceilings. We used custom-mixed mortar matching the original. The project took five days and cost $4,200. The homeowner reported no leaks during heavy rains since completion.
Storm Damage Repair
A severe hailstorm damaged many roofs in our area. One client had extensive mortar damage from hail impact. Insurance covered most of the repointing costs. We completed the work in three days using polymer-modified mortar. The total project cost was $3,800 with insurance covering $3,200.
Industry Statistics and Data
According to NRCA data, proper maintenance extends roof life by 40%. Tile roofs last 50+ years with good care. Repointing costs are 75% less than full roof replacement. 68% of roof leaks start at mortar joints. Regular maintenance saves average $5,000 in repair costs over 10 years.
Conclusion and Next Steps
Roof repointing is crucial for maintaining tile roofs. It prevents water damage and extends roof life. Regular inspections help catch problems early. Professional repointing provides best results for most homeowners. Proper materials and techniques ensure long-lasting protection.
Now you understand roof repointing completely. You know when it's needed and how it works. You can make informed decisions about your roof. Schedule a professional inspection if concerned about your mortar. Address problems early to avoid expensive repairs later.
Your roof protects everything underneath it. Proper maintenance keeps it working effectively. Repointing is a smart investment in your home's future. Take action today to protect your valuable property. Contact qualified roofing professionals for assistance.