
Roof Tile Filler: Your Complete Guide to Stopping Leaks and Protecting Your Home (From a Roofer with 15+ Years Experience)
My name is Mark, and I've been a licensed roofing contractor in Texas for over fifteen years. I've personally overseen more than 2,500 residential roofing projects, hold certifications from major manufacturers like GAF and CertainTeed, and have seen firsthand how a small, overlooked detail can lead to big problems. This article exists because I've answered the same panicked call from homeowners too many times: "There's water dripping from my ceiling after the rain!" Often, the culprit is a failed or missing roof tile filler. My purpose here is to give you, the homeowner, the clear, practical knowledge you need to understand this critical component, spot problems early, and make informed decisions that protect your biggest investment—your home. I'm not selling anything; I'm sharing the hard-won knowledge from years on rooftops under the Texas sun, dealing with everything from minor wear to major storm damage.
The information in this guide comes directly from my field experience, thousands of customer interactions, manufacturer technical specifications, and adherence to building codes like the International Residential Code (IRC). My recommendations are based on what has proven effective and durable for my clients in Kingwood and across the Gulf Coast region. We'll move beyond generic advice and dive into the real-world choices, costs, and techniques that matter. This is the conversation I wish I had time for on every estimate, delivered with the integrity and transparency you deserve.
What is Roof Tile Filler and Why Does Your Home Need It?
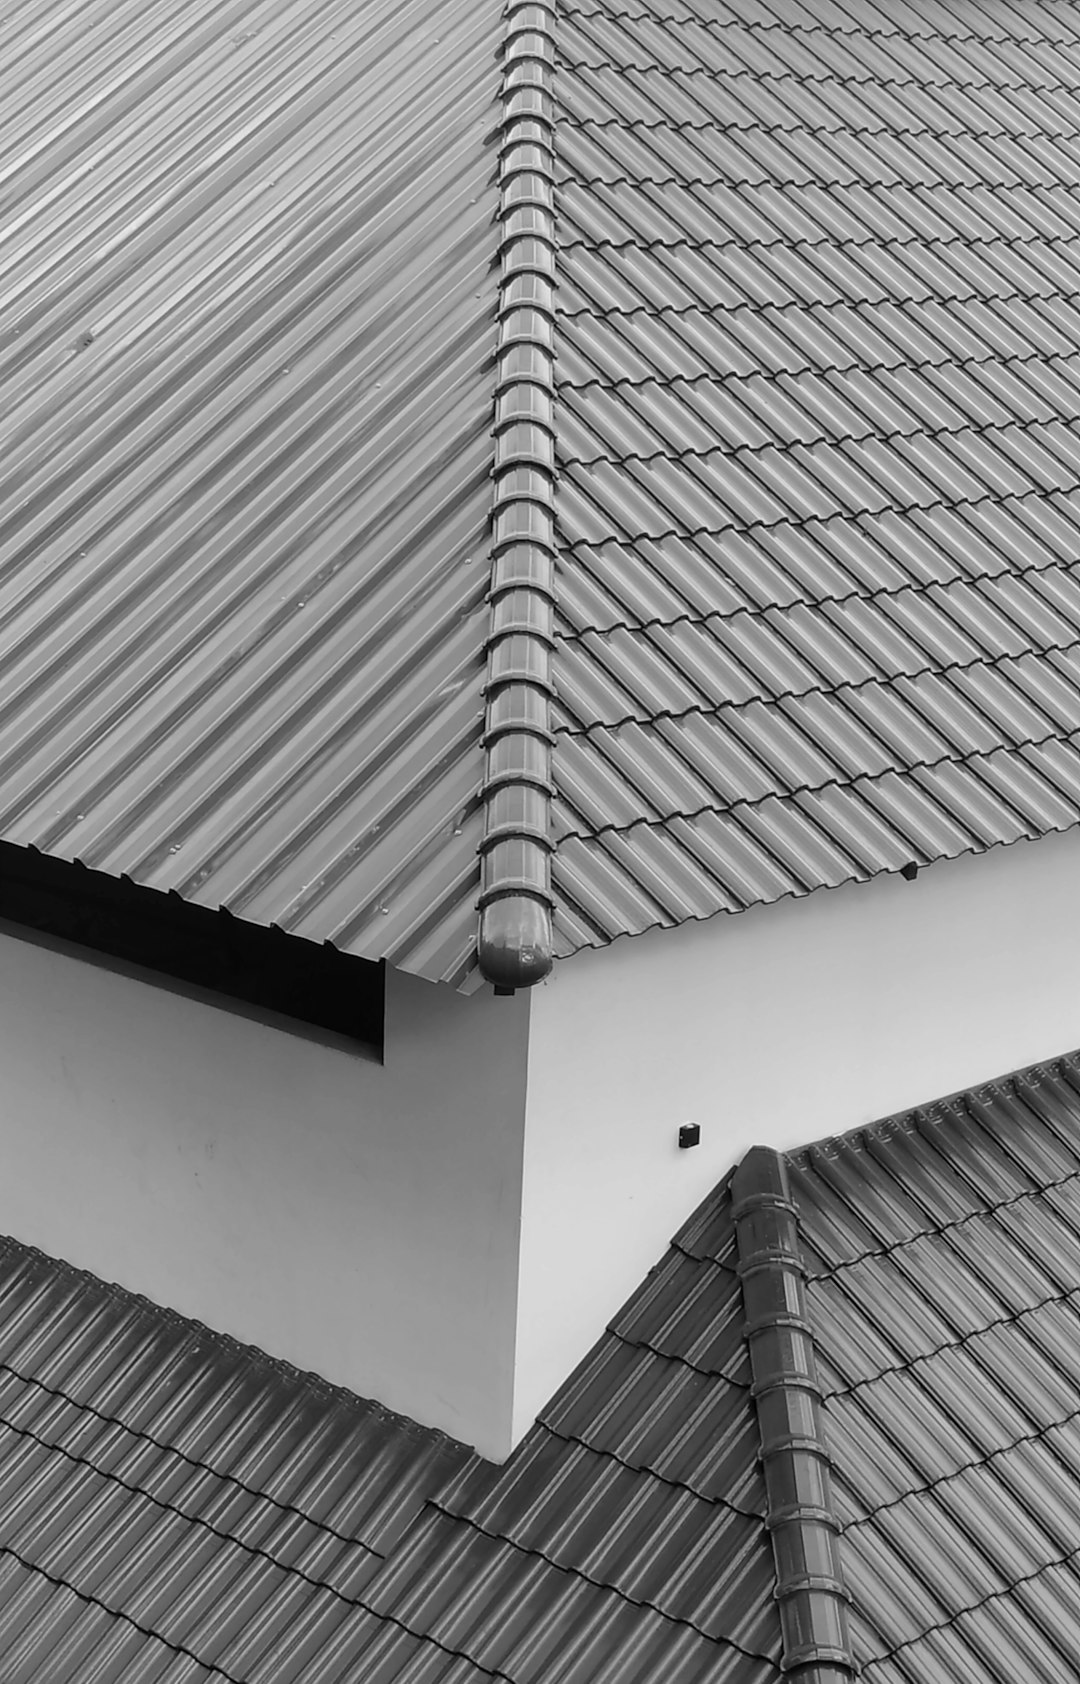
Roof tile filler, often called closure strips, ridge cap mortar, or hip and ridge filler, is the specialized material used to seal the gaps where roof tiles meet at the peaks (ridges) and angled intersections (hips) of your roof. Think of your roof tiles as the main armor. The filler is the critical sealant that locks that armor together at its most vulnerable joints. Without it, your roof has direct openings for wind, rain, pests, and debris to enter your attic and home. It's not just cosmetic; it's a fundamental part of your roof's waterproofing system.
The Primary Functions of Roof Tile Filler
Roof tile filler serves several vital roles. First, it creates a weatherproof seal against wind-driven rain. Second, it blocks the entry of pests like birds, squirrels, and insects into your attic. Third, it provides crucial lateral stability to the ridge and hip tiles, preventing them from shifting in high winds. Finally, it completes the finished, uniform look of your roofline. A roof with cracked or missing filler is like a jacket with an open zipper—it might look okay from a distance, but it fails at its most basic job when the weather turns.
Common Types of Roof Tiles and Their Fillers
The type of filler you need depends entirely on your roof tile material. For concrete and clay barrel tiles, a cement-based mortar is traditional. For lightweight concrete or synthetic tiles, polyurethane-based foam closures are modern and effective. For slate roofs, a specialized roofing cement or copper flashings are often used. Using the wrong filler, like putting a clay tile mortar on a synthetic tile, can cause adhesion failure, cracking, and accelerated deterioration. Always match the filler to the tile system as specified by the manufacturer.
Spotting the Signs: When Your Roof Tile Filler is Failing
From the ground, you can often spot failing filler. Look for visible cracks, chunks missing, or a complete absence of material along the ridges and hips. Staining or moss growth on the filler can indicate trapped moisture. Inside your home, warning signs are more serious. Water stains on ceilings or walls near the peak of your roof, especially after wind-driven rain, are a major red flag. Increased dust in your attic or evidence of pest intrusion can also point to gaps in the roof's seal. After any major storm with hail or high winds, a visual check of your roofline should be part of your home inspection routine.
The Real Cost of Ignoring Failed Filler
Ignoring damaged roof tile filler is a costly mistake. A small, $200-$500 repair to re-seal a ridge can prevent tens of thousands in damage. Water intrusion rots roof decking and structural wood. It ruins attic insulation, reducing your home's energy efficiency. It leads to mold growth, which poses health risks and requires expensive remediation. I've seen projects where a simple filler repair turned into a full roof deck replacement and interior drywall repair because a homeowner waited too long. Proactive maintenance is always cheaper than reactive repair.
Choosing the Right Roof Tile Filler Material: A Contractor's Comparison
Selecting a filler isn't one-size-fits-all. The right choice balances durability, compatibility, and climate. Let's break down the most common options from a hands-on perspective.
Traditional Cement-Based Mortar
Cement mortar is the classic choice for clay and concrete tile roofs. It's mixed on-site from sand, cement, and sometimes lime or acrylic additives. Its main advantage is its rigidity and historical authenticity. However, it's heavy, prone to cracking as the roof structure settles or expands, and difficult to remove for future tile repairs. In our freeze-thaw cycles in Texas, these cracks can widen quickly. It requires skill to apply properly to ensure a good bond and seal.
Modern Polyurethane Foam Closures
These are pre-formed foam strips made by companies like Boral Roofing or Monier. They are designed to fit specific tile profiles. They are lightweight, flexible (allowing for roof movement without cracking), and provide excellent insulation. They are my go-to recommendation for most modern tile installations because they are durable, easy to install correctly, and perform well in our climate. They are a bit more expensive upfront but often save money in long-term maintenance.
Elastomeric and Acrylic Sealants
These are liquid-applied sealants, similar to high-grade caulk. Products from brands like Geocel or Tremco are used for spot repairs or sealing small gaps around vent pipes near ridges. They are not a primary filler but a supplementary sealant. They remain flexible for years and adhere well to most surfaces. For a DIY homeowner, a tube of high-quality elastomeric sealant can be a good temporary fix for a small crack while you arrange for professional repair.
The Professional Installation Process: What to Expect
A proper roof tile filler installation is a multi-step process that ensures a long-lasting seal. Here's how a professional crew, following best practices, would approach the job on a typical tile roof repair.
Step 1: Safety and Preparation
Safety is paramount. We use proper roof brackets, harnesses, and stable ladders. The work area is cleared of debris. The old, failed filler is completely removed. This is a careful process to avoid breaking the underlying roof tiles. We then thoroughly clean the area with a brush and air blower to remove all dust, dirt, and loose material. A clean, dry surface is non-negotiable for a good bond.
Step 2: Material Selection and Dry-Fitting
Based on the tile type and inspection, we select the appropriate filler material. For foam closures, we dry-fit the pieces to ensure a snug fit along the entire ridge or hip. For mortar, we mix a small batch to the correct consistency—not too wet, not too dry. This stage prevents problems during the actual application.
Step 3: Application and Sealing
For foam closures, we apply a bead of compatible high-strength adhesive (like a polyurethane construction adhesive) to the tile before setting the closure in place. We then weight it down or use temporary fasteners as specified. For mortar, we butter the joints thoroughly, pressing the mortar into all gaps and tooling it to a smooth, sloping finish that sheds water. The key is complete coverage with no voids.
Step 4: Clean-up and Final Inspection
Excess material is cleaned off the tile surfaces immediately. The area is inspected from multiple angles to ensure a continuous, uniform seal. We also check that adjacent tiles are secure. A final walk in the attic with a bright light can sometimes reveal if any pinpoints of light are still visible, indicating a missed spot.
Cost Analysis: Repair vs. Replacement vs. Neglect
Let's talk real numbers based on recent projects in our area. Costs vary by roof pitch, accessibility, and material choice.
Spot Repair (10-20 linear feet): For a small section of cracked mortar or a few missing foam closures, expect to pay $200 to $600. This includes labor, materials, and minimal mobilization. This is the most common and cost-effective repair.
Full Ridge/Hip Re-seal (100+ linear feet): Re-doing all the filler on a standard home can range from $1,500 to $3,500. This is a significant but valuable investment that essentially renews the sealing integrity of your main roof joints. It often includes a general roof inspection and minor tile adjustments.
Cost of Neglect (Water Damage): Compare this to the cost of inaction. A single leak damaging drywall, insulation, and requiring mold remediation can easily cost $5,000 to $15,000. A ruined roof deck section adds another $2,000 to $5,000. The financial equation is stark: pay a little now, or pay a lot later.
Practical Homeowner Tips from the Field
Here is actionable advice you can use today to protect your roof.
- Biannual Visual Inspections: Use binoculars every spring and fall. Look at your roof ridges and hips. Note any changes, cracks, or missing pieces.
- Post-Storm Checks: After any severe weather, do a ground-level visual sweep. Look for tile debris or visible damage to the roofline.
- Attic Awareness: Twice a year, go into your attic with a flashlight. Look for daylight peeking through the ridge, or signs of water stains, mold, or pest activity near the peak.
- Document Everything: Take dated photos of your roof annually. This creates a history that is invaluable for insurance claims or tracking gradual wear.
- Choose Quality Over Price: If you need repair, hire a licensed, insured roofer who uses manufacturer-approved materials. A cheap, incorrect repair will fail quickly.
- Understand Your Warranty: Check if your roof's material warranty (often different from the workmanship warranty) has requirements for proper filler maintenance.
Frequently Asked Questions (Real Questions from Homeowners)
Can I apply roof tile filler myself as a DIY project?
For small, accessible spot repairs with a sealant tube, a careful DIYer can attempt it. However, for any significant repair involving mortar or full closure replacement, I strongly advise against it. Working on a tile roof is dangerous without proper training and equipment. Incorrect application can void warranties and cause leaks. The cost of fixing a DIY mistake is always higher than hiring a pro initially.
How long should roof tile filler last?
Quality cement mortar, when properly mixed and applied, can last 15-25 years. Modern polyurethane foam closures often carry 20-30 year durability ratings from manufacturers. However, extreme weather, poor installation, or physical damage can shorten this lifespan significantly. Plan to have it inspected as part of your overall roof maintenance every 5-10 years.
Will my homeowner's insurance cover roof tile filler repair?
Typically, no. Insurance, as guided by entities like the Insurance Information Institute, covers sudden, accidental damage (like a tree limb hitting the ridge). General wear and tear, deterioration, and maintenance are the homeowner's responsibility. However, if filler is damaged or torn off by a covered peril like hail or windstorm, that damage should be included in a claim.
Is missing filler causing my high energy bills?
Absolutely. Gaps at the ridge are a major source of energy loss. In summer, hot air escapes through the ridge, pulling cool air from your living space upward (the stack effect). In winter, warm air escapes the same way. Properly sealed ridges and hips are a key part of a thermally efficient attic.
What's the difference between filler for a ridge cap vs. a hip?
The function is identical—to seal the gap. The shape is different. Ridge filler runs along the horizontal peak of the roof. Hip filler runs along the diagonal line where two roof slopes meet at an external corner. The application technique and sometimes the specific closure product shape are tailored to these different angles.
Can new filler be applied over old, cracked filler?
Never. This is a guaranteed failure. All old, compromised material must be completely removed. New material will not bond properly to old, failing material, and moisture trapped underneath will continue to cause problems. Proper preparation is 80% of a successful, lasting repair.
Do I need to replace the actual ridge tiles when replacing the filler?
Not necessarily. If the ridge tiles themselves are intact, unchipped, and properly secured, they can be re-used. The repair involves carefully lifting them, replacing the filler material beneath, and then re-bedding the tiles. If tiles are broken or damaged, they should be replaced with matching units.
Real Project Case Studies & Outcomes
Case Study 1: The Neglected Ridge in Kingwood
A homeowner called after noticing a brown stain on their bedroom ceiling. Inspection revealed 40 feet of cement ridge mortar had crumbled away. Water was entering, running down a rafter, and pooling at a ceiling light fixture. We removed all old mortar, inspected and re-secured the ridge tiles, and installed new polyurethane foam closures. Total cost: $1,800. The interior drywall repair was a separate $500 cost. Outcome: Leak stopped, energy efficiency improved, and the homeowner established an annual inspection plan.
Case Study 2: Post-Hail Damage in The Woodlands
A severe hailstorm damaged many roofs in the area. While the insurance adjuster focused on broken field tiles, our inspection showed the hail had also shattered the brittle ridge mortar on this home. We documented this and included a full ridge re-seal in the insurance claim. The carrier approved it. Outcome: The homeowner received a full roof restoration with all-new, impact-resistant ridge closures at no out-of-pocket cost beyond their deductible, ensuring the new roof was completely sealed.
Industry Statistics and Data
According to the National Roofing Contractors Association (NRCA), proper flashing and sealing at roof transitions (like ridges and hips) is one of the most common failure points in residential roofing systems. A FEMA report on wind-resistant construction highlights that securing the roof's perimeter and ridges is critical for preventing wind uplift damage. Data from our own service records shows that over 30% of non-storm-related leak investigations trace the water entry point to failed ridge or hip sealing materials.
Conclusion: Your Action Plan for a Secure Roof
Your roof tile filler is a small component with a massive job. Ignoring it can lead to catastrophic and expensive damage inside your home. The path forward is clear. First, conduct a visual inspection from the ground with binoculars. Second, make a note to check your attic for signs of light or moisture. Third, if you see any problems—cracks, missing pieces, interior stains—do not delay. Contact a licensed, reputable roofing contractor for a professional assessment. Ask them to explain the options for your specific tile type. Investing in a proper repair is investing in the long-term health, efficiency, and value of your entire home. You now have the knowledge to have an informed conversation and make a confident decision. Stay dry and stay protected.