
Shingle Roof Leak Repair: Your Complete Guide from a 20-Year Roofing Contractor
I have repaired over 3,000 shingle roofs in my career. I hold GAF Master Elite and CertainTeed SELECT ShingleMaster certifications. This experience taught me one truth. Homeowners need clear, honest information about roof leaks. This article exists to solve your immediate problem. You have water dripping into your home. You need to know what to do right now. You need to understand the repair process. You need accurate cost information to avoid being overcharged. This guide answers all those questions. I gathered this information from thousands of customer projects. I studied manufacturer specifications from GAF and Owens Corning. I follow the International Residential Code (IRC). My recommendations come from proven methods that work on real Texas homes. This is not theoretical advice. This is field-tested roofing knowledge shared to help you make smart decisions.
Roof leaks cause stress and damage. A small drip can hide major problems inside your attic. Water can ruin insulation and weaken wood structures. It can lead to dangerous mold growth. Acting quickly saves you money and protects your home. This guide will walk you through every step. You will learn how to find the leak source. You will understand repair options and fair pricing. You will get practical tips from my two decades of hands-on work. My goal is simple. I want you to finish reading feeling informed and confident. You should know exactly what to ask a contractor. You should understand the work being done on your home. Let's begin with the most critical first step.
1. Finding the Source: The First and Most Important Step
Water rarely drips directly below the roof leak. It travels along rafters and sheathing. The entry point is often far from the interior stain. Finding the true source requires detective work. Start inside your attic during daylight. Bring a bright flashlight. Look for water stains, dark wood, or mold on the roof decking. Follow the water trail uphill to its highest point. That is likely near the actual breach. Mark this spot with chalk or a nail pushed up gently. Go outside to the corresponding roof area. Now examine the roof surface carefully.
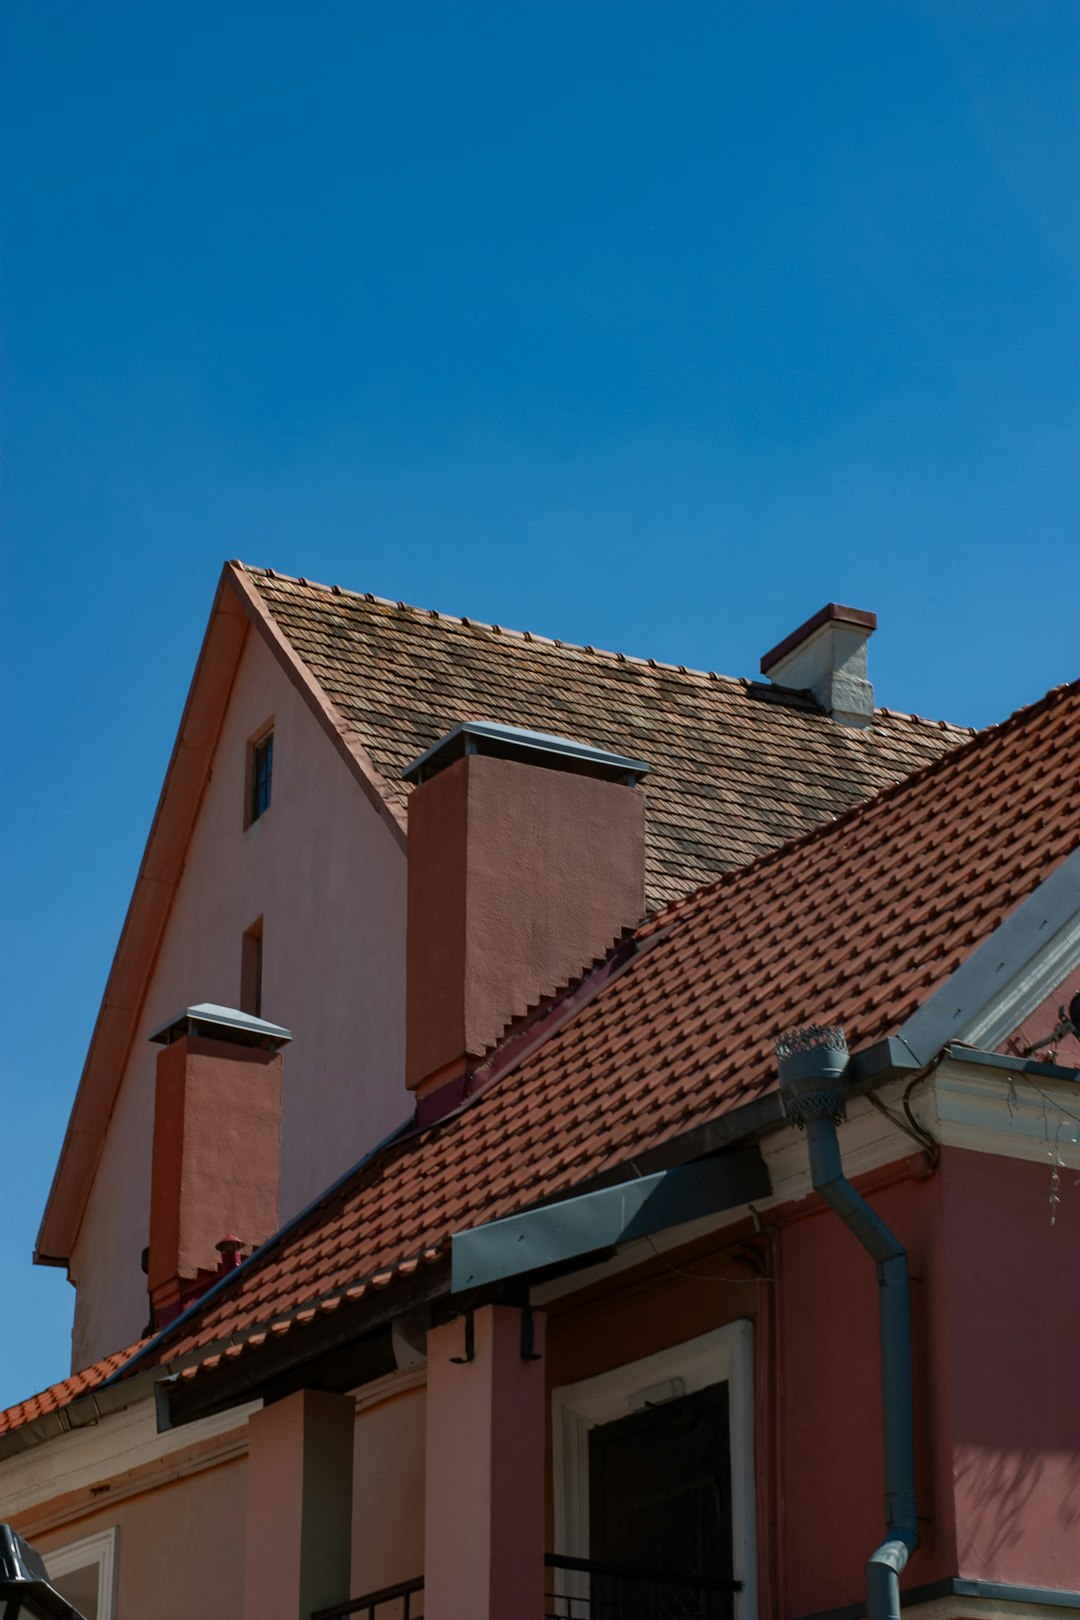
Common Leak Locations on Shingle Roofs
Most leaks occur at roof penetrations and transitions. These are the weakest points in any roofing system. Check all flashing areas first. Flashing is the metal or rubber material that seals joints. Look at roof valleys where two slopes meet. Inspect around chimneys, vent pipes, and skylights. Examine the area where the roof meets a wall (sidewall flashing). Do not forget about the ridge cap at the very top. Damaged or missing shingles are another obvious source. Look for cracked, curled, or bald shingles. Check for nails that have popped up above the shingle surface. These can let water seep underneath.
Tools for a Safe Roof Inspection
Safety is your top priority. Never walk on a wet or steep roof. Use a sturdy extension ladder placed on firm ground. Have someone hold the ladder base. Wear rubber-soled shoes with good traction. Use a pair of binoculars for a ground-level inspection first. This can reveal many problems without climbing. If you must go on the roof, use a safety harness anchored properly. Bring a notepad and camera to document issues. A simple garden hose test can help find elusive leaks. Have someone spray water on suspect areas while you watch inside the attic. Start low and work upward slowly. This method pinpoints exact entry points. Always prioritize safety over speed.
2. Temporary Emergency Measures to Minimize Damage
You discovered a leak during heavy rain. A professional repair must wait for dry weather. You need to act immediately to limit interior damage. First, move furniture and valuables away from the drip area. Place a large bucket or plastic bin to catch water. For a fast drip, poke a small hole in the ceiling drywall at the leak's lowest point. This lets water drain freely. It prevents a large bubble of water from building up and collapsing your ceiling. Do not cut a huge hole. A quarter-inch hole is sufficient. Cover the surrounding floor with plastic sheeting or tarps.
Exterior Temporary Patching Methods
If safe to do so, apply a temporary external patch. Roofing cement (also called mastic or asphalt plastic cement) is ideal for this. Purchase a caulk tube or a can from any hardware store. Clean the leak area of loose debris. Apply a generous amount over the suspected breach. Press a piece of roof felt or sheet metal into the cement. Cover this patch with another thick layer of cement. Extend the patch at least six inches beyond the damaged area in all directions. For larger holes, use a piece of plywood weighted down with bricks. Cover the plywood with a heavy-duty tarp. Secure the tarp edges with 2x4 boards screwed into the roof sheathing. Never use nails for temporary tarps. They create new holes. Remember, these are emergency fixes only. They typically last a few weeks at most. Schedule a permanent repair as soon as possible.
3. Permanent Repair Solutions: Materials and Methods
Permanent repairs require proper materials and techniques. The right solution depends on the leak source. For damaged shingles, you must replace the individual shingle. Slide a flat bar under the shingle above the damaged one. Carefully lift it to expose the nails. Remove the nails holding the damaged shingle with a hammer or pry bar. Slide the old shingle out. Slide the new shingle into place. Secure it with roofing nails placed just below the adhesive strip. Seal the nail heads with a dab of roofing cement. Finally, apply a small amount of cement under the tab of the shingle above to seal it down. This ensures a watertight seal.
Flashing Repairs and Replacements
Failed flashing is a major cause of leaks. Galvanized steel flashing can rust over time. Aluminum flashing can corrode. Step flashing along walls is particularly vulnerable. To repair step flashing, you must carefully remove the shingles covering it. This is delicate work. Each piece of L-shaped metal must be interwoven with the shingles. Replace any bent or corroded pieces. Use new galvanized or aluminum flashing. Seal all edges with roofing cement. For pipe boot flashing (rubber seals around plumbing vents), replacement is often better than repair. Old rubber cracks and becomes brittle. Purchase a new pipe boot from a roofing supplier. Slip it over the pipe. Slide the flange under the surrounding shingles. Nail the flange down and seal it thoroughly. I recommend GAF's flashing products for their durability and compatibility with most shingles.
Valley Repair Techniques
Roof valleys handle enormous water flow. They require special attention. There are two main types: open metal valleys and closed-cut shingle valleys. For a leaking open valley, inspect the metal center. Look for punctures, cracks, or separated seams. Clean the valley thoroughly. Apply a layer of ice and water shield membrane over the entire valley. This is a self-adhering waterproof underlayment. Then install a new piece of painted valley metal. Secure the edges with nails designed for metal roofing. Seal the edges with a high-quality urethane sealant like NP1 or similar. For a closed valley leak, you must remove the shingles covering the valley. Inspect the underlying felt or ice and water shield. Replace any compromised underlayment. Re-shingle the valley carefully, keeping nails away from the center line. Proper valley installation is critical and often referenced in the International Residential Code, Chapter 9.
4. Understanding Repair Costs: What You Should Pay
Roof repair costs vary widely. The national average for a minor repair is $400 to $1,000. Several factors influence the final price. The repair complexity is the biggest factor. Replacing a few shingles is relatively inexpensive. Fixing a complex chimney flashing leak costs more. The roof pitch (steepness) affects labor time and safety requirements. A steep roof requires more equipment and time. Your location also matters. Labor rates differ across the country. Material quality is another cost driver. Premium architectural shingles cost more than basic 3-tab shingles to replace. Always get itemized quotes from contractors.
Real Project Cost Examples
Let me share real examples from my project logs. Last month, a homeowner had a leak from a cracked plumbing vent boot. We replaced the boot and two surrounding shingles. The total cost was $350. The materials were under $50. The labor was $300 for two hours of work. Another project involved a leak in a closed roof valley on a two-story home. The repair required removing 15 square feet of shingles. We replaced the valley underlayment and reinstalled shingles. That job totaled $850. A third example was a leak at a brick chimney. The step flashing had rusted through. We replaced eight sections of flashing and rescaled the cricket (the small saddle behind the chimney). That repair was $1,200 due to the intricate labor. These are realistic Texas pricing examples from 2025.
When Repair Becomes Replacement
Sometimes, repair is not the economical choice. If your roof is near the end of its life, multiple leaks will appear. The National Roofing Contractors Association (NRCA) suggests considering replacement if repairs are frequent. A good rule is the "25% Rule." If the repair cost exceeds 25% of a new roof's cost, replacement may be better. Also, if over 30% of your shingles are damaged or missing, replacement is likely needed. Age is a major factor. Most asphalt shingle roofs last 20-25 years. If your roof is 15+ years old and leaking, a full replacement might be the wisest long-term investment. A professional inspection can help you decide.
5. DIY vs. Professional Repair: Making the Right Choice
Some minor repairs are suitable for capable DIYers. Replacing a single damaged shingle is a common DIY task. Sealing a small area of flashing with roofing cement is another. The key is understanding your limits. Do you have the proper tools and safety equipment? Are you comfortable working on a ladder and roof? Can you identify the correct materials to match your existing roof? If you answer no to any of these, hire a professional. Mistakes can worsen leaks and cause injury. Professional roofers have insurance for workplace accidents. If a DIYer falls, homeowner's insurance may not cover the medical costs.
How to Select a Qualified Roofing Contractor
Choosing the right contractor is crucial. Look for a licensed, insured, and local company. Ask for proof of liability insurance and workers' compensation. Check for manufacturer certifications like GAF Master Elite or Owens Corning Platinum. These show training on specific products. Read online reviews on Google and the Better Business Bureau. Ask for local references from recent repair jobs. Get at least three written, detailed estimates. The lowest price is not always the best value. The estimate should include a scope of work, materials list, warranty information, and a clear timeline. A reputable contractor will offer a warranty on both materials and labor. Be wary of door-to-door salespeople after storms. They often perform subpar work and leave town. Trust established local businesses with physical addresses.
6. Working with Insurance on Storm Damage Repairs
Wind, hail, or falling trees can cause sudden roof leaks. Your homeowner's insurance may cover these repairs. The process starts with documenting the damage. Take clear photos and videos of the leak inside. Photograph the suspected exterior damage. Contact your insurance company to file a claim. They will send an adjuster to inspect your roof. It is highly beneficial to have your own roofing contractor present during the adjuster's inspection. The contractor can point out damage the adjuster might miss. They can also provide repair cost estimates. Insurance typically covers the cost to repair the storm-damaged section. They use a pricing software called Xactimate to determine fair local costs. You will pay your deductible. Keep all receipts for temporary repairs. These may be reimbursable. For detailed guidance, review the Insurance Information Institute's guide on property coverage.
7. Preventative Maintenance to Avoid Future Leaks
The best repair is the one you never need. Regular maintenance prevents most leaks. Perform a visual roof inspection twice a year, in spring and fall. Use binoculars from the ground. Look for missing, cracked, or curling shingles. Check for moss or algae growth. Keep your gutters clean and flowing freely. Clogged gutters cause water to back up under the roof edge. Trim tree branches hanging over the roof. Falling branches cause damage. Rubbing branches wear away shingle granules. Ensure attic ventilation is adequate. Proper ventilation prevents heat and moisture buildup that deteriorates shingles from underneath. Check that bathroom and kitchen vents exhaust outside, not into the attic. This simple habit can add years to your roof's life.
Annual Maintenance Checklist
- Clean gutters and downspouts completely.
- Inspect flashing around all penetrations.
- Look for loose or missing shingles.
- Check for damaged or loose vent caps.
- Clear debris from roof valleys and drains.
- Examine the chimney and siding for cracks.
- Ensure attic insulation does not block soffit vents.
Frequently Asked Questions (FAQ)
1. Can I just put sealant over a leak from the inside?
No, this is a bad idea. Sealant applied from inside traps water within the roof structure. The water will continue to rot the wood decking and rafters. It can cause hidden mold growth. Always address the leak at its exterior source. This ensures the roofing system dries out properly and remains structurally sound.
2. How long does a shingle roof repair last?
A properly executed repair should last as long as the surrounding roof. If the rest of your roof is in good condition, a professional repair using matching materials should provide 10-15 years of service or more. The key is using compatible materials and correct installation techniques that integrate with the existing system.
3. Will repairing my roof void the manufacturer's warranty?
It might, if not done correctly. Most shingle warranties from companies like Owens Corning require repairs to follow their specific installation instructions. Using unauthorized materials or methods can void the warranty on the affected area. Always check your warranty document and use a certified installer for repairs if possible.
4. What time of year is best for roof repairs?
Late spring, summer, and early fall are ideal. Roofing cement and sealants require warm temperatures (above 50°F) to adhere and cure properly. Shingles become flexible in the heat, making them easier to work with without cracking. However, emergency leaks must be addressed immediately with a temporary fix, followed by a permanent repair in suitable weather.
5. How can I tell if a leak has caused structural damage?
Signs of structural damage include sagging roof decks, cracked or bowed rafters in the attic, and soft, spongy feeling areas when walking on the roof. A musty smell in the attic often indicates prolonged moisture and potential wood rot. If you suspect structural damage, consult a licensed roofing contractor or structural engineer immediately. Do not delay.
6. Is a roof leak covered by a home warranty?
Typically, no. Most home warranty plans exclude roof repairs due to wear and tear. They might cover repairs if a built-in appliance like an air conditioner leaks onto the ceiling, but not the roof itself. Roof coverage is almost always part of your homeowner's insurance policy, specifically for sudden, accidental damage like storm events.
7. Can a new roof leak?
Yes, unfortunately. New roofs can leak due to installation errors. Common issues include misplaced nails, incomplete sealing of flashing, or damaged underlayment during installation. Most reputable contractors offer a workmanship warranty (often 2-10 years) to cover such problems. If your new roof leaks, contact the installing contractor immediately for inspection and repair under their warranty.
Conclusion: Protect Your Home with Knowledge and Action
A shingle roof leak is a serious issue but a solvable one. Start by safely identifying the source. Use temporary measures to limit interior damage. Understand the permanent repair options and fair market costs. Decide wisely between DIY and hiring a professional based on the job's complexity and your skill level. Remember that preventative maintenance is the most cost-effective strategy of all. This guide aimed to give you the knowledge I've gained from 20 years on rooftops. You now have a contractor's perspective on the process, costs, and common pitfalls. Your home is your largest investment. Protecting it starts from the top down. Do not ignore small leaks. Address them promptly with quality repairs. If you are unsure, always consult a licensed, insured professional. A small investment in a proper repair today can prevent a massive expense tomorrow.