
Storm Damage Roof Repair Guide: What Every Homeowner Must Know (From a 15-Year Roofing Contractor)
I have been repairing and replacing roofs for fifteen years. I have completed over two thousand roofing projects. I hold certifications from GAF, CertainTeed, and Owens Corning. I have seen every type of storm damage imaginable. This guide comes from real experience on rooftops across Texas. I wrote this to solve a specific problem for homeowners. After a storm, you are often confused and stressed. You do not know what to look for on your roof. You do not understand the insurance process. You worry about being taken advantage of. This article answers all those questions clearly. It gives you the knowledge to protect your home and your wallet. The information here comes from my own project files. It uses manufacturer installation instructions. It references Texas building codes. My recommendations are based on what actually works to keep homes dry and safe. This is not generic advice. This is field-tested wisdom from fixing roofs after real storms.
My goal is simple. I want to save you time, money, and stress. A damaged roof is a serious threat to your home. Water intrusion can cause mold and rot quickly. You need to act fast but also act smart. This guide will walk you through the entire process. You will learn how to spot damage. You will understand how to work with insurance. You will know what questions to ask a contractor. By the end, you will feel confident and prepared. You will be able to make informed decisions about your most important asset. Let's get started with the most critical first step after any storm.
1. Immediate Actions After a Storm: Safety First, Assessment Second
The moments after a severe storm are crucial. Your safety is the absolute priority. Do not go outside if there are downed power lines. Wait until the weather has completely passed. Once it is safe, you can begin a visual inspection from the ground. Use binoculars if you have them. Look for obvious signs of major damage. These include missing shingles, large branches on the roof, or visible holes. Check your gutters and downspouts for debris. Look for granules from asphalt shingles in your yard or driveway. A pile of granules looks like coarse black sand. This is a key sign of hail or wind damage.
Document Everything for Your Insurance Claim
Start taking photographs immediately. Use your smartphone. Take wide shots of your entire property. Take close-up shots of any damage you see. Photograph damaged shingles, dented gutters, and soaked interior ceilings. Create a detailed written list of all observations. Note the date and time of the storm. This documentation is vital for your insurance company. It creates a timeline of the damage. Do not attempt to make permanent repairs yourself. You can place a tarp over leaks to prevent further water entry. Use boards to secure the tarp edges. Do not nail anything into undamaged shingles. This could void your roof's warranty. Your goal is temporary protection only.
2. Identifying Different Types of Storm Damage
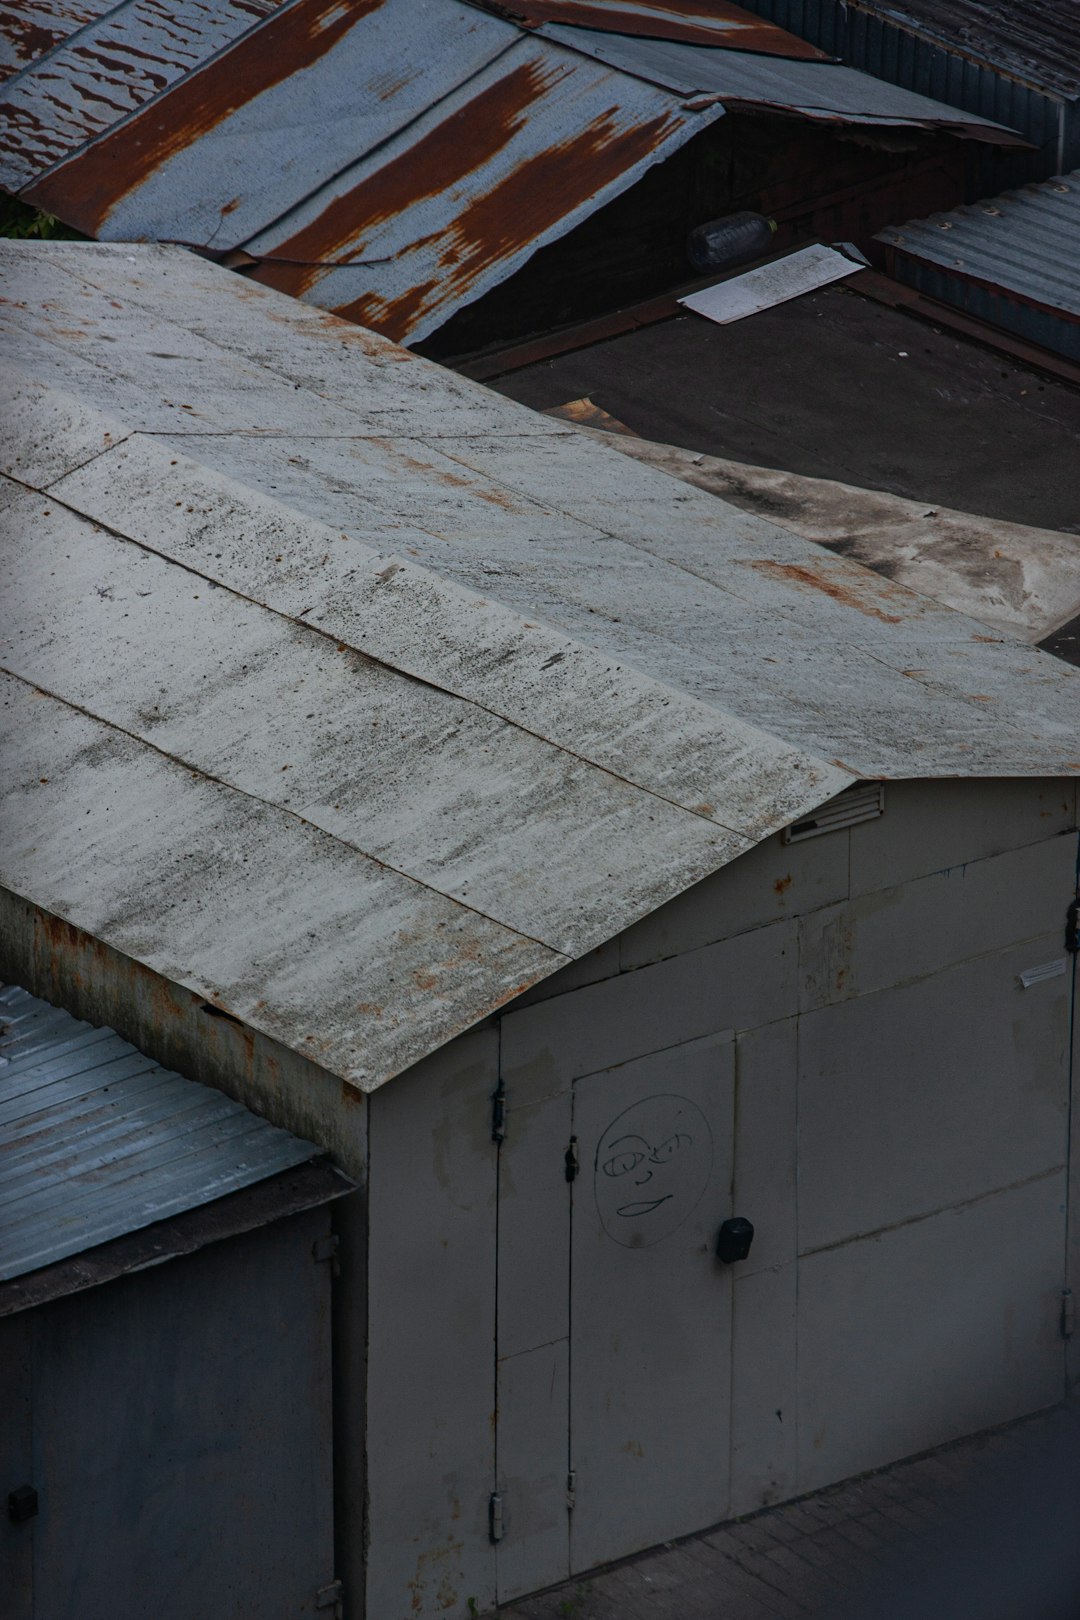
Not all storm damage looks the same. Different weather events cause unique problems. Understanding the type of damage helps with repairs and insurance. Hail damage is often subtle. It causes small, circular bruises on asphalt shingles. The granules are knocked off, exposing the black mat underneath. This weakens the shingle's ability to shed water. High winds cause lifting and tearing. Shingles can be completely torn off. The adhesive strips can fail, leaving tabs flapping. Wind can also damage the roof's edge, called the drip edge. Debris impact from flying branches creates punctures. These are direct holes that need immediate patching.
Water Damage and Leak Tracing
Water damage is the most destructive result. A leak on your ceiling may not be directly under the roof damage. Water travels along rafters and sheathing. It can enter at a high point and drip far away. Look for stains, sagging drywall, and mold growth. In the attic, use a flashlight to look for wet spots on the wood. Check for daylight coming through the roof deck. The National Roofing Contractors Association (NRCA) provides excellent resources on leak detection. Persistent leaks lead to rot and structural issues. They must be addressed quickly by a professional.
3. The Roofing Insurance Claim Process Demystified
Filing an insurance claim can feel overwhelming. I have helped hundreds of homeowners through this process. The first step is to call your insurance company. Report the damage promptly. They will assign a claim number and an adjuster. The adjuster will contact you to schedule an inspection. Before the adjuster arrives, have your documentation ready. Show them your photos and notes. A reputable roofing contractor can meet the adjuster at your home. This is called a joint inspection. The contractor can point out damage the adjuster might miss. This often leads to a more accurate and fair assessment.
Understanding Your Policy and Depreciation
Review your homeowner's insurance policy. Understand your deductible amount. This is what you pay out-of-pocket before insurance pays. Know the difference between Actual Cash Value (ACV) and Replacement Cost Value (RCV). ACV pays the current value of your roof, minus depreciation. RCV pays the full cost to replace it with new materials. Most policies are RCV, but you must read yours. The insurance company will issue an estimate, often called a scope of loss. This document lists all repairs needed and the associated costs. You will receive an initial payment, minus your deductible and any depreciation. Once repairs are complete, you submit final invoices to receive the recoverable depreciation.
4. Choosing the Right Roofing Contractor
This is the most important decision you will make. After a storm, many "storm chaser" contractors appear. They are often from out of state. They may offer deals that seem too good to be true. They usually are. You need a local, established, and licensed contractor. Always verify their credentials. Check for a physical business address in your community. Ask for proof of liability insurance and worker's compensation insurance. This protects you if someone is injured on your property. Look for manufacturer certifications. These show the contractor is trained to install specific products correctly. A GAF Master Elite or CertainTeed Select ShingleMaster contractor has passed rigorous testing.
- Get Multiple Estimates: Obtain at least three written estimates.
- Check References: Ask for and contact recent customer references.
- Review Online Reputation: Check the Better Business Bureau and Google reviews.
- Avoid High-Pressure Sales: Be wary of anyone demanding you sign a contract immediately.
- Understand the Contract: The contract should detail materials, labor, timeline, payment schedule, and warranty.
Your contractor should pull all necessary permits from the local building department. This ensures the work meets International Residential Code (IRC) standards. Never pay the full amount upfront. A reasonable deposit is common, with payments tied to project milestones.
5. Roof Repair vs. Complete Replacement: Making the Call
Not all storm damage requires a full roof replacement. The decision depends on the extent, age, and type of damage. Repairs are suitable for isolated damage. This could be a few missing shingles or a small section of flashing. If the roof is relatively new and the damage is minimal, repair is the best option. A full replacement is necessary when damage is widespread. If over 25-30% of the roof is compromised, replacement is often more cost-effective. The age of the roof is a major factor. Matching old shingles for a repair can be impossible if the product is discontinued. A patch may look bad and not perform as well.
Considering Underlayment and Decking
The visible shingles are only the top layer. Storm damage often affects the underlying materials. The waterproof underlayment can be torn. The roof deck (usually plywood or OSB) can be softened by water. During an inspection, a contractor will check the decking for soft spots. Any compromised wood must be replaced. This is a critical part of the repair. Simply nailing new shingles over rotten wood is not a proper fix. The Asphalt Roofing Manufacturers Association (ARMA) provides technical guidelines for proper reroofing procedures.
6. Material Choices for Storm-Resistant Roofs
If you need a replacement, you have an opportunity to upgrade. You can choose materials better suited for your climate. In hail-prone areas, consider impact-resistant shingles. These are rated by Underwriters Laboratories (UL) with a Class 4 rating. They are tested to withstand a 2-inch steel ball dropped from 20 feet. Brands like GAF Timberline HDZ and CertainTeed Landmark PRO offer these durable options. Metal roofing is another excellent choice for storm resistance. It sheds hail and withstands high winds exceptionally well. While initially more expensive, its longevity can make it cost-effective over time.
Synthetic slate or shake offers the beauty of natural materials with greater durability. It is lighter and more impact-resistant. Your choice affects not just durability but also insurance premiums. Many insurance companies offer discounts for installing Class 4 impact-resistant roofing. Ask your agent about potential savings. The right material is an investment in long-term peace of mind.
7. The Professional Installation Process: What to Expect
A proper roof installation is a multi-day process with a skilled crew. Day one typically involves preparation and tear-off. The old shingles and underlayment are removed down to the bare deck. The crew will use tarps and magnets to protect your landscaping and clean up nails. They will inspect the decking and replace any rotten wood. Next, they install new drip edge metal around the roof's perimeter. Then, they roll out a synthetic or felt underlayment. This is the critical water-resistant barrier. In valleys and around chimneys, they install ice and water shield. This is a self-adhering membrane for extra protection in vulnerable areas.
Shingle Installation and Ventilation
The shingles are installed according to manufacturer specifications. Starter shingles go on first at the eaves. Then, the field shingles are laid in courses from the bottom up. Proper nail placement is essential. Nails must be driven straight and to the correct depth. Flashing is installed around all penetrations like vents, pipes, and skylights. Proper attic ventilation is a non-negotiable part of the system. Soffit vents allow cool air in. Ridge vents allow hot, moist air out. This balance prevents ice dams in winter and extends shingle life. The final step is a thorough cleanup. The site should be left cleaner than they found it, with all debris hauled away.
Real Project Case Studies and Outcomes
Let me share two real examples from my work. The first was a home after a major hailstorm. The homeowner saw no leaks but had heavy granule loss. The insurance adjuster initially denied the claim, calling it "normal wear." We performed a formal hail damage assessment. We documented dozens of confirmed hail hits per square. We provided the evidence to the insurance company. They reversed their decision and approved a full replacement. The homeowner got a new, Class 4 impact-resistant roof. Their insurance premium decreased because of the upgrade.
The second case involved wind damage. High winds lifted the shingles along the roof's rake edge. Water was getting underneath, causing attic moisture. The damage was localized. We were able to perform a section repair. We replaced the damaged area and seamlessly blended the new shingles with the old. The repair cost was a fraction of a replacement. It solved the leak and preserved the rest of the roof's life. The key was an accurate diagnosis and the right repair strategy.
Frequently Asked Questions (FAQ)
How long do I have to file an insurance claim for storm damage?
Most insurance policies require you to file a claim promptly after discovering damage. There is often a clause about "timely notice." It is best to file within one year of the storm event. However, you should check your specific policy language. Delaying can give the insurance company grounds to deny your claim. Act as soon as you suspect damage.
Will filing a claim make my insurance rates go up?
Not necessarily. Storm damage is typically considered an "act of God" event. These are events beyond your control. A single weather-related claim is less likely to cause a rate increase than a claim for negligence. However, insurance laws vary by state. Multiple claims in a short period can affect your rates. Discuss this concern openly with your insurance agent.
Can I repair my roof myself?
I strongly advise against DIY roof repair after a storm. The work is dangerous. Falls from roofs cause serious injuries every year. An improper repair can void manufacturer warranties. It can also lead to more extensive hidden damage. The cost to fix a botched DIY job is often much higher than hiring a pro initially. Your safety and your home's integrity are worth the investment in a professional.
What if my insurance claim is denied?
Do not accept the first denial as final. Ask for a detailed explanation in writing. You have the right to request a re-inspection. You can hire a public adjuster to represent your interests. A public adjuster works for you, not the insurance company. They can often find additional damage and negotiate a better settlement. You can also file a complaint with your state's department of insurance.
How long should a new roof installation take?
For a typical single-family home, a full tear-off and reroof takes 2-3 days with a full crew. Complex roofs with multiple levels, steep pitches, or many penetrations can take longer. Weather is always a factor. Repairs for isolated damage can often be completed in a single day. A reputable contractor will provide a clear timeline upfront.
What warranty should I expect?
You should receive two warranties. The first is the manufacturer's warranty on the materials. This can range from 25 years to a lifetime, often prorated over time. The second is the contractor's workmanship warranty. This covers installation errors. A reliable contractor will offer a warranty of at least 5-10 years on their labor. Get both warranties in writing.
How can I prevent future storm damage?
While you cannot stop storms, you can improve your roof's resilience. Keep trees trimmed back from your roof. Ensure your attic ventilation is balanced to prevent ice dams. After installation, have your roof inspected annually by a professional. They can spot loose flashing or worn sealant before they become leaks. Choose impact-resistant materials when it is time for replacement.
Conclusion: Your Path Forward After Storm Damage
Dealing with a storm-damaged roof is challenging. It disrupts your life and worries you about your home. However, with the right knowledge, you can navigate the process successfully. Remember the key steps. First, ensure safety and document everything. Second, understand your insurance policy and rights. Third, choose a qualified, local contractor with care. Do not rush into a decision with the first person who knocks on your door. Use this guide as a reference during each phase. A properly repaired or replaced roof is more than just shingles. It is the system that protects everything inside your home. It is your family's shelter. Investing the time to do it right pays off for decades. If you take away one thing, let it be this: you are not alone in this process. Ask questions, demand clarity, and trust professionals with proven expertise. Your home deserves nothing less.