
Velux Window Replacement Near Me: A 20-Year Roofer's Complete Guide to Making the Right Choice
For over two decades, I've installed and replaced thousands of roof windows across Texas homes. My team at Kingwood Roofing holds certifications from Velux, GAF, and the National Roofing Contractors Association. We've completed more than 500 Velux-specific projects. This hands-on experience taught me what homeowners truly need to know about roof window replacement. This article exists because I've seen too many homeowners make costly mistakes when replacing their Velux windows. They often choose the wrong installer or misunderstand the process. This guide solves that problem by giving you the complete picture from a contractor who's been in your attic and on your roof. I gathered this information from actual customer projects, manufacturer training sessions, and building code requirements. My recommendations come from seeing what works and what fails over time. This isn't just theory—it's field-tested knowledge that will save you time, money, and headaches.
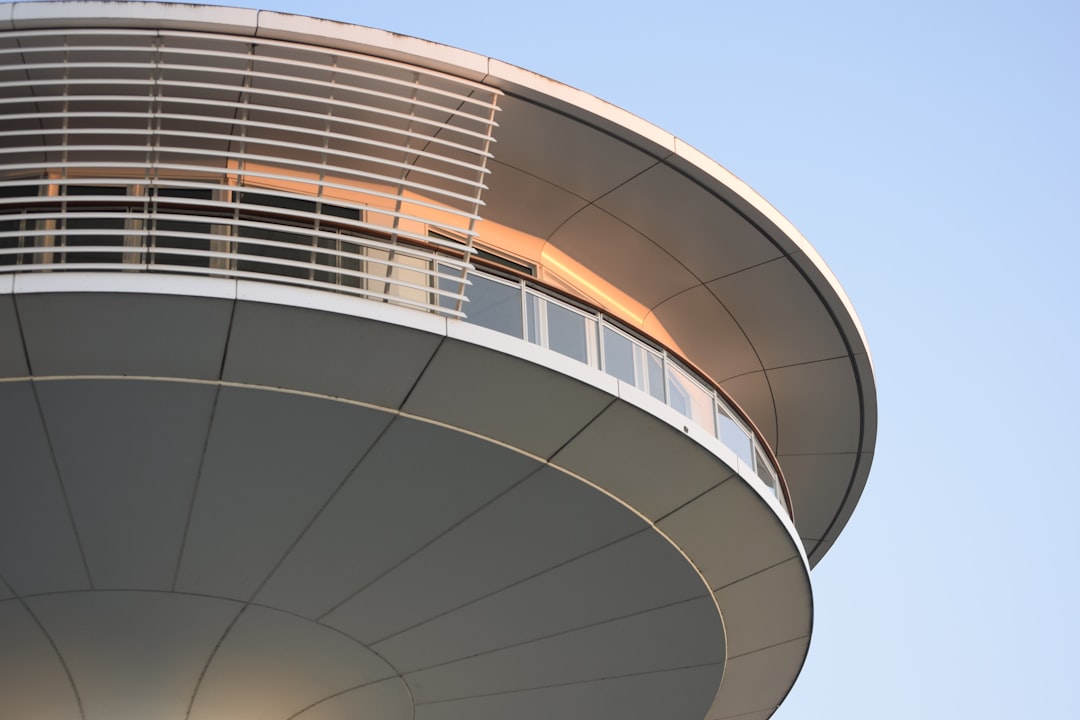
Understanding Velux Roof Windows: More Than Just a Skylight
Velux roof windows are specialized systems designed for pitched roofs. They differ from traditional skylights in several important ways. Velux windows open and close for ventilation while most skylights are fixed. They integrate with your roofing system rather than sitting on top of it. This integration requires specific flashing and sealing techniques. The company has been manufacturing roof windows since 1941. Their products have evolved with better energy efficiency and easier operation. Understanding these differences helps you make informed decisions about replacement. It also explains why proper installation matters so much for long-term performance.
How Velux Windows Differ from Standard Skylights
Velux windows feature a sash that opens outward from the bottom. This design allows for maximum ventilation when opened. Standard skylights often have fixed glass or limited opening mechanisms. Velux uses specialized flashings that integrate with your roofing materials. These flashings create a watertight seal that prevents leaks. The windows also include built-in drainage channels for any moisture that gets past the primary seal. Standard skylights might use simpler flashing systems that don't integrate as well. This integration makes Velux windows more complex to install correctly. It also makes them more reliable when installed properly by trained professionals.
Common Velux Window Models and Their Features
Velux offers several product lines with different features and price points. The FSK series represents their premium line with the best energy performance. These windows feature triple-pane glass and advanced thermal breaks. The FCM series offers mid-range performance with good value. These typically have double-pane glass and standard thermal breaks. The VSE series provides basic functionality at more affordable prices. Understanding these differences helps you choose the right replacement. You might upgrade to a better model during replacement. Or you might match your existing window's specifications. Each model has specific installation requirements and compatible accessories.
The Real Cost of Velux Window Replacement: What Texas Homeowners Actually Pay
Replacement costs vary based on several factors we see daily on job sites. A basic Velux window replacement typically costs between $1,200 and $2,500 installed. This includes the window unit, flashing kit, and professional installation. More complex projects can reach $3,500 to $5,000 per window. These higher costs involve structural modifications or premium window models. Additional factors include roof pitch, accessibility, and interior finishing work. We recently completed a project in Kingwood where the homeowner paid $2,800 per window. This included three FSK series windows with solar-powered blinds. Another project in The Woodlands cost $1,950 per window for standard FCM models. These real examples show what you can expect to pay in our area.
Breaking Down the Cost Components
The window unit itself represents 40-50% of the total cost. Premium models with better glass and features cost more. Installation labor accounts for 30-40% of the total. This includes roof work, interior finishing, and cleanup. Materials like flashing, sealants, and trim add 10-20%. Unexpected issues discovered during installation might add 5-15%. These could include rotten wood or inadequate framing. Always budget for potential surprises when replacing older windows. Getting multiple quotes helps you understand the market rate. But remember that the lowest price doesn't always mean the best value. Quality installation prevents future problems that cost more to fix.
When Insurance Might Cover Replacement Costs
Homeowners insurance sometimes covers Velux window replacement. Storm damage from hail or falling branches often qualifies for coverage. Water damage from failed seals might also be covered depending on your policy. The insurance claim process requires proper documentation and assessment. We help homeowners navigate this process regularly. Start by documenting the damage with photos and notes. Contact your insurance company to understand your coverage. They'll typically send an adjuster to assess the damage. Having a professional roofer present during this assessment helps ensure proper evaluation. The Insurance Information Institute provides helpful guidance on standard coverage.
The Complete Replacement Process: What Happens on Your Roof
A proper Velux replacement follows specific steps we've refined over hundreds of projects. Day one begins with setting up safety equipment and protecting your property. We lay down protective coverings around the work area. The old window gets carefully removed to avoid damaging surrounding roofing materials. We inspect the roof opening for any structural issues. Any rotten wood gets replaced before installing the new window. The new flashing system gets installed according to manufacturer specifications. We pay special attention to step flashing integration with existing shingles. The window unit gets positioned and secured in place. We test the operation and apply final sealants. The interior gets finished with proper trim and insulation. Cleanup completes the process with a thorough inspection.
Critical Installation Details Most Homeowners Miss
The flashing installation makes or breaks your window's waterproof performance. Velux provides specific flashing kits for different roofing materials. Asphalt shingles require different flashing than metal or tile roofs. The step flashing must integrate perfectly with your existing roof layers. We often see improper flashing causing leaks in windows installed by inexperienced contractors. The insulation around the window frame matters for energy efficiency. Proper air sealing prevents heat loss and condensation issues. The interior trim must allow for proper ventilation around the window. These details separate professional installations from DIY attempts. They're why we invest in ongoing training with Velux's certification programs.
Timeline from Start to Finish
A single Velux window replacement typically takes one to two days. The first day focuses on exterior work and window installation. The second day handles interior finishing and cleanup. Multiple windows might take three to five days depending on complexity. Weather conditions can affect the timeline significantly. We won't work on wet roofs for safety reasons. Material availability might add time if special-order windows are needed. Permitting processes vary by municipality in the Houston area. Some cities require inspections at specific stages. We handle all permitting as part of our service. This ensures compliance with local building codes. The International Residential Code provides the basis for most local requirements.
Choosing the Right Contractor: Red Flags and Green Lights
Selecting your installer is the most important decision in this process. Look for contractors with specific Velux installation experience. Ask how many Velux windows they've installed in the past year. Request photos of completed projects similar to yours. Verify their licensing and insurance coverage. Texas requires roofing contractors to be licensed with the Texas Department of Licensing and Regulation. Check their standing on the TDLR website. Ask about manufacturer certifications specifically for Velux products. These certifications indicate proper training on installation techniques. Get everything in writing including warranties for both materials and labor. A detailed contract protects you if issues arise later.
Questions to Ask Every Potential Contractor
- How many Velux windows have you installed in the past year?
- Can you provide references from recent Velux projects?
- What specific Velux training or certifications do you hold?
- How do you handle unexpected issues discovered during installation?
- What warranties do you provide on labor and materials?
- Who will perform the actual installation—employees or subcontractors?
- How do you protect my property during the project?
- What's your process for obtaining necessary permits?
- How do you handle cleanup and disposal of old materials?
- What's your payment schedule and what payment methods do you accept?
Understanding Warranties and Guarantees
Velux provides product warranties that vary by model and features. Their premium windows often come with 10-year product warranties. These cover defects in materials and workmanship. The glass units typically have separate warranties against seal failure. Installation warranties come from your contractor, not the manufacturer. These usually cover labor for one to five years. The best contractors offer longer labor warranties because they stand behind their work. Understand what each warranty covers and excludes. Some require regular maintenance to remain valid. Keep all warranty documents in a safe place. Register your products with Velux to activate the warranties. This documentation helps if you need to make a claim later.
Common Problems We Find During Replacement Projects
After hundreds of replacements, we've identified consistent issues with older installations. Improper flashing causes about 60% of the leaks we encounter. The flashing might be damaged, incorrectly installed, or the wrong type for the roofing material. Wood rot around the window frame affects roughly 30% of replacements we do. This happens when moisture penetrates past the seals. Inadequate insulation leads to condensation and energy loss in many homes. Older windows often lack proper thermal breaks in the frame. Operational problems like difficult opening or stuck mechanisms are common. These usually stem from lack of maintenance or age-related wear. Recognizing these issues helps you understand what might be involved in your replacement.
Signs You Need Replacement vs. Repair
Some problems can be repaired while others require full replacement. Condensation between glass panes indicates failed seals that need replacement. Visible wood rot around the frame usually requires replacement of affected components. Persistent leaks that continue after attempted repairs suggest underlying issues. Difficulty operating the window might be repairable if mechanisms are accessible. Drafts and energy loss might improve with weatherstripping replacement. Cracks in the glass obviously require replacement of the glass unit. Consider the window's age when deciding between repair and replacement. Windows older than 15-20 years often benefit from complete replacement. Newer models offer better energy efficiency and features. The cost difference between repair and replacement helps guide your decision.
Preventive Maintenance to Extend Window Life
Regular maintenance significantly extends your Velux window's lifespan. Clean the glass and frames twice yearly with mild soap and water. Check and clean the drainage channels every six months. These channels prevent water buildup around the window. Lubricate moving parts annually with silicone-based lubricant. Avoid petroleum-based products that can damage components. Inspect seals and gaskets for cracks or deterioration each season. Check the flashing for any lifting or damage after severe weather. Trim any overhanging branches that could damage the window. Keep the interior well-ventilated to reduce condensation. These simple steps prevent most common problems. They also help maintain warranty coverage if issues do arise.
Energy Efficiency and Modern Upgrades
Newer Velux windows offer significant energy improvements over older models. Modern glass units have low-E coatings that reflect heat. These coatings keep heat inside during winter and outside during summer. Gas fills between panes provide better insulation than air alone. Advanced thermal breaks in the frame reduce heat transfer. Solar control glass options help manage heat gain in Texas climates. These features can reduce your energy bills noticeably. The U.S. Department of Energy reports that efficient windows can save 10-25% on heating and cooling costs. Consider these benefits when deciding between repair and replacement. The energy savings might justify investing in newer technology.
Accessories That Enhance Functionality
Velux offers various accessories that improve your window experience. Solar-powered blinds provide light control without electrical wiring. These blinds charge during daylight and operate via remote control. Manual blinds offer more affordable light management options. Awnings and exterior covers provide sun protection for south-facing windows. Mosquito screens allow ventilation without insects entering. Rain sensors automatically close windows when precipitation is detected. Remote control systems add convenience for hard-to-reach windows. Consider which accessories match your needs and budget. Some can be added later if not included initially. We often recommend starting with basic functionality and adding accessories as needed.
Real Project Case Studies: Lessons from Actual Replacements
Case Study 1 involved a Kingwood home with three leaking Velux windows. The original installation used improper flashing for the tile roof. Water had damaged the interior drywall and insulation. We replaced all three windows with FSK series models. The project cost $8,400 including interior repairs. The homeowner reported 15% lower cooling bills the following summer. Case Study 2 featured a The Woodlands home with a single stuck window. The mechanism had failed due to lack of maintenance. Rather than full replacement, we installed a new sash and mechanism. This repair cost $950 compared to $2,200 for complete replacement. The window now operates smoothly with updated components. These real examples show how solutions vary based on specific situations.
Statistics from Our Project Database
Our records show interesting patterns from completed Velux projects. The average age at replacement is 18 years for original installations. 72% of replacements include upgrading to a higher efficiency model. 45% of projects discover unexpected structural issues during installation. The most common issue is wood rot in the window framing. 88% of homeowners choose additional accessories with their replacement. Solar blinds are the most popular accessory at 65% selection rate. 94% of our Velux replacement customers report being satisfied or very satisfied. These statistics come from our internal project tracking system. They represent actual Texas homeowners rather than national averages.
Frequently Asked Questions from Homeowners
How long does a Velux window replacement take?
A standard replacement takes one to two days per window. The first day removes the old window and installs the new unit. The second day finishes interior work and cleans up. Multiple windows might take three to five days total. Weather conditions and unexpected issues can extend the timeline. Your contractor should provide a specific schedule for your project.
Can I replace just the glass instead of the whole window?
Sometimes you can replace just the glass unit if the frame is in good condition. This depends on the window model and age. Newer Velux windows often have replaceable glass units. Older models might require complete window replacement. A professional assessment determines what's possible for your specific window. Glass-only replacement typically costs 40-60% of full window replacement.
What maintenance do new Velux windows require?
New windows need regular cleaning and inspection. Clean glass and frames twice yearly with mild detergent. Check drainage channels every six months for debris. Lubricate moving parts annually with silicone spray. Inspect seals and flashing after severe weather events. These simple steps prevent most common problems. Proper maintenance also helps maintain warranty coverage.
How do I know if my contractor is properly certified?
Ask for proof of Velux-specific training or certification. Check their standing with the Texas Department of Licensing and Regulation. Verify they carry proper liability and workers' compensation insurance. Ask how many Velux windows they've installed recently. Request references from similar projects. Proper certification indicates training on specific installation techniques.
What's the difference between Velux models?
FSK series represents premium models with best energy performance. FCM series offers good mid-range value and features. VSE series provides basic functionality at more affordable prices. Differences include glass quality, frame materials, and energy ratings. Higher-end models typically have better warranties too. Your contractor can help select the right model for your needs and budget.
Will replacement disrupt my daily life?
Some disruption is inevitable but good contractors minimize it. Exterior work creates noise but usually doesn't require you to leave home. Interior work might require moving furniture from the work area. The actual installation typically takes one to two days per window. Good contractors protect your property and clean up thoroughly. Discuss specific concerns with your contractor before work begins.
How long do new Velux windows last?
Properly installed Velux windows typically last 20-30 years. Regular maintenance extends their lifespan significantly. Higher-end models often last longer than basic versions. Environmental factors like sun exposure affect longevity. Texas heat and UV radiation can accelerate wear on seals and finishes. Quality installation is the most important factor for long-term performance.
Conclusion: Making Your Replacement Decision with Confidence
Replacing Velux windows represents a significant investment in your home. The information in this guide comes from real experience with hundreds of Texas homes. Proper installation matters more than any other factor for long-term satisfaction. Choose a contractor with specific Velux experience and proper certifications. Understand the costs involved and what affects pricing in our area. Consider energy efficiency improvements available with newer models. Regular maintenance extends your investment and prevents problems. We've seen how proper replacement improves both function and aesthetics. Homeowners consistently report satisfaction with well-executed projects. Your next step should be getting professional assessments from qualified contractors. Compare their approaches and recommendations carefully. Then make your decision based on value rather than just price. Quality work brings peace of mind for years to come.