
In Roof Solar Panels Cost: Your Complete Guide from a Roofing Contractor with 15 Years Experience
I have been installing and repairing roofs for over fifteen years. My team has completed more than two thousand roofing projects. We hold certifications from GAF, CertainTeed, and Owens Corning. We are also certified solar installers. This experience gives me a unique perspective. I understand both roofing systems and solar technology. Homeowners often ask me about solar panel costs. They want to know if solar panels are worth the investment. This article answers that important question. I will share real project examples from our work. I will explain the true costs of in-roof solar systems. You will learn about materials, installation, and long-term value. My goal is to help you make an informed decision. You will understand what to expect before you start your project.
This guide exists to solve a specific problem. Homeowners receive confusing quotes for solar installations. They do not understand the roofing components involved. They worry about damaging their roof or voiding warranties. This article provides clear, honest information. I gathered this data from actual customer projects. I reviewed manufacturer specifications and building codes. I analyzed industry cost data from sources like EnergySage. My recommendations come from hands-on experience. I will show you how to evaluate costs properly. You will learn what factors affect your final price. This knowledge will help you choose the right system. It will also help you work effectively with contractors.
What Are In-Roof Solar Panels? Understanding the Technology
In-roof solar panels are different from traditional rack-mounted systems. They integrate directly into your roof structure. They replace conventional roofing materials like shingles or tiles. The solar panels become part of the waterproofing layer. This creates a sleek, low-profile appearance. The system looks like part of the roof itself. It does not sit on top of mounting rails. This integration offers several advantages. It improves aesthetics and reduces wind uplift risk. It can also provide better weather protection when installed correctly.
Key Differences from Standard Rack-Mounted Systems
Standard solar panels use metal racks. These racks attach to your existing roof. The panels sit several inches above the shingles. In-roof systems sit flush with the roof surface. They use special mounting frames and flashing. These components create a continuous waterproof barrier. The electrical wiring runs underneath the panels. This hides the wires from view. The overall look is much cleaner. Many homeowners prefer this integrated appearance. It is especially popular for visible roof areas.
How In-Roof Systems Work with Your Roof Structure
In-roof systems require careful structural planning. The panels must support weather loads just like shingles. They must handle wind, rain, and snow. The installation process is more complex. Contractors must create proper drainage paths. They must install waterproof underlayment correctly. All penetrations need special flashing details. The system must meet local building codes. It must also comply with manufacturer requirements. Proper installation is critical for long-term performance. A mistake can lead to serious roof leaks. That is why choosing an experienced installer matters so much.
Complete Cost Breakdown: What You Actually Pay
The total cost of an in-roof solar system includes many components. Most homeowners focus only on panel prices. They forget about roofing materials and labor. A complete system involves solar panels, mounting hardware, electrical equipment, and roofing integration. You also need permits, inspections, and potential roof repairs. The average cost ranges from $20,000 to $40,000 for a typical home. This depends on system size, roof complexity, and location. Federal tax credits can reduce this cost by thirty percent. Some states offer additional incentives.
Solar Panel and Equipment Costs
Solar panel prices have decreased significantly in recent years. High-efficiency panels cost more but produce more power. You need to consider watts per panel and total system size. A typical home needs a six to eight kilowatt system. This requires about twenty to twenty-five panels. Panel costs range from $250 to $400 each. You also need inverters to convert DC power to AC power. Microinverters cost more but offer better performance. They attach to each panel individually. String inverters are less expensive but less flexible. Battery storage adds substantial cost but provides backup power.
Roofing Integration and Labor Expenses
Roofing integration is where costs can surprise homeowners. Installing in-roof systems requires skilled roofing labor. Contractors must remove existing roofing materials in panel areas. They must install waterproof underlayment and flashing. They must integrate the panels seamlessly with the surrounding roof. This labor is more intensive than standard rack mounting. It requires expertise in both roofing and solar installation. Labor costs typically represent thirty to forty percent of the total project. Complex roof designs increase labor time dramatically. Multiple roof planes, skylights, and chimneys add complexity.
Additional Costs Homeowners Often Forget
Several hidden costs can impact your budget. Permit fees vary by municipality but average $500 to $1,500. Electrical upgrades may be necessary if your panel is outdated. Roof repairs often become apparent during installation. Rotted decking needs replacement before solar installation. Tree removal might be required for proper sun exposure. Monitoring systems help track energy production. Maintenance contracts ensure long-term performance. You should budget for these potential expenses. A contingency fund of ten percent is wise for unexpected issues.
Real Project Examples: Costs from Actual Installations
Let me share three real projects from our company. These examples show how costs vary based on specific situations. All prices are before tax credits and incentives. They reflect Texas market conditions from the past year. Names and addresses have been changed for privacy. These cases illustrate common scenarios homeowners face.
Case Study 1: Simple Gable Roof with New Shingles
The Johnson family had a straightforward roof. Their home featured a simple gable design with asphalt shingles. The roof was only five years old and in excellent condition. We installed a seven kilowatt in-roof system with twenty-four panels. The total project cost was $28,500. This included complete roofing integration with new underlayment. We used GAF Timberline HDZ shingles around the solar array. The electrical panel required a minor upgrade. The project took four days to complete. The system now covers ninety percent of their electricity needs. Their payback period is estimated at eight years.
Case Study 2: Complex Roof with Multiple Repairs
The Martinez home presented more challenges. Their roof had multiple valleys and dormers. During inspection, we discovered water-damaged decking in two areas. The existing shingles were near the end of their lifespan. We recommended a complete reroof before solar installation. The total project included roof replacement and a six kilowatt system. The final cost was $38,200. This covered new decking, premium shingles, and twenty solar panels. The complex roof design added two extra days of labor. The family qualified for both solar and roofing tax benefits. Their energy savings will be substantial despite the higher initial cost.
Case Study 3: Tile Roof Integration with Aesthetic Focus
The Thompson family valued aesthetics highly. They had a concrete tile roof that was fifteen years old. They wanted solar panels that blended seamlessly. We used special in-roof mounting systems designed for tile. The process involved carefully removing and reinstalling tiles around the panels. We installed a five kilowatt system with eighteen panels. The total cost was $32,800. The higher price reflected the specialized labor for tile work. The result was visually stunning with minimal disruption to the roof profile. The homeowners were extremely pleased with the integrated appearance.
Material Comparisons: Solar Panels and Roofing Components
Choosing the right materials affects both cost and performance. Solar panels come in different technologies with varying efficiency ratings. Monocrystalline panels are most efficient but most expensive. Polycrystalline panels offer good value for moderate efficiency. Thin-film panels are less common for residential roofs. You must also consider roofing materials that work with the system. Compatibility between solar mounting and roofing is crucial.
Solar Panel Types and Efficiency Ratings
Monocrystalline panels have a uniform dark appearance. They typically achieve eighteen to twenty-two percent efficiency. They perform better in low-light conditions. They also have longer warranties often twenty-five years. Polycrystalline panels have a blue speckled look. Their efficiency ranges from fifteen to eighteen percent. They cost ten to fifteen percent less than monocrystalline. Thin-film panels are lightweight and flexible. They are less efficient at ten to thirteen percent. They work well on unusual roof shapes. Most homeowners choose monocrystalline for maximum power production.
Roofing Material Compatibility
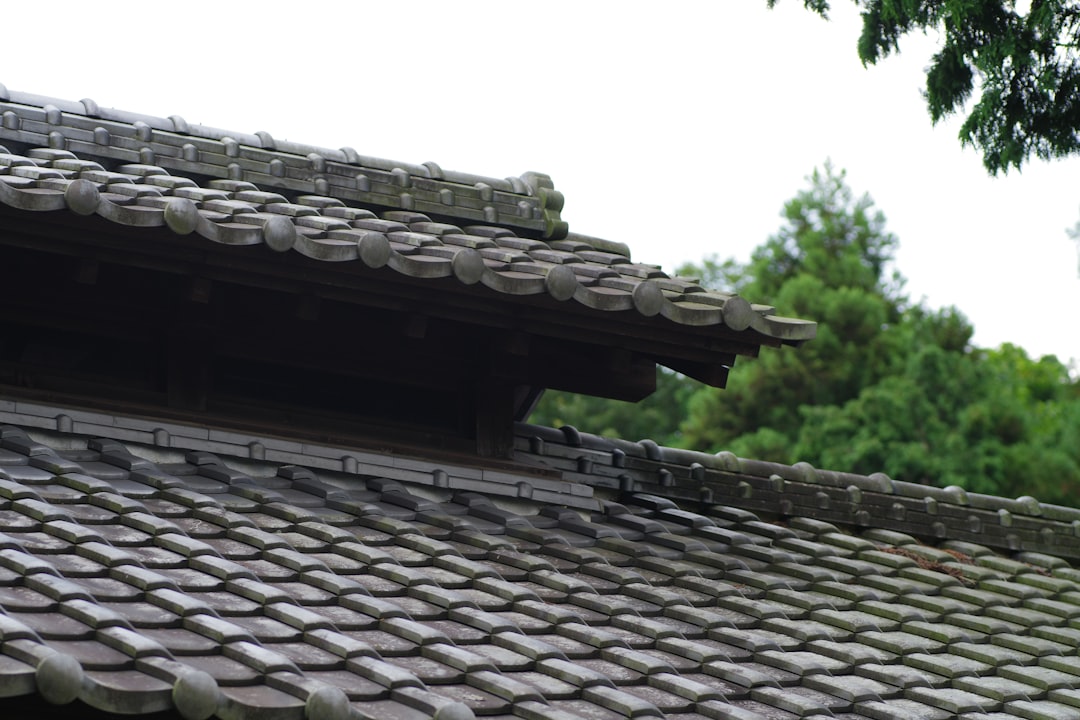
Not all roofing materials work equally well with in-roof systems. Asphalt shingles are the most common and compatible. They allow easy integration with standard flashing methods. Metal roofs work well with special clamp-on systems. They do not require roof penetrations in many cases. Tile roofs need careful handling to avoid breakage. Special mounting brackets are required. Flat roofs require different approaches with tilt frames. The roofing material affects installation method and cost. Always verify compatibility with your solar installer.
Warranty Considerations and Overlap
Warranties become complex with integrated systems. You have separate warranties for roofing materials and solar panels. You also have warranties for workmanship from the installer. These warranties must work together properly. Roofing manufacturers may have specific requirements for solar installations. Some require certified installers to maintain the roof warranty. Solar panel warranties typically cover twenty-five years for performance. They cover ten years for materials and workmanship. The installation warranty should cover both roofing and solar integration. A single-source installer simplifies warranty claims.
The Installation Process: What Happens on Your Roof
Understanding the installation process helps manage expectations. A proper in-roof installation follows specific steps. Each step ensures system performance and roof integrity. The process typically takes three to seven days. Weather conditions can affect the timeline. Here is what happens during a typical installation.
Day 1: Site Preparation and Roof Assessment
The crew arrives early with all necessary equipment. They set up safety systems including fall protection. They conduct a final roof inspection. They verify measurements and panel layout. They remove existing roofing materials in the installation areas. They inspect the roof decking for damage. They make any necessary repairs to the decking. They install waterproof underlayment according to manufacturer specifications. This creates the primary water barrier for the system.
Day 2-4: Panel Installation and Electrical Work
The crew installs the mounting frames for the solar panels. These frames create a level surface for the panels. They install flashing around the frames for waterproofing. They place the solar panels into the frames. They connect the panels electrically using weatherproof connectors. They run wiring through conduit to the inverter location. They install the inverter and electrical disconnects. They connect the system to your main electrical panel. They test all electrical connections for safety and performance.
Final Day: Roof Integration and Cleanup
The crew integrates the solar array with the surrounding roof. They install roofing materials around the edges of the panels. They ensure proper water drainage away from the system. They conduct a thorough water test to check for leaks. They clean the entire work area completely. They remove all debris and materials from your property. They provide a system orientation showing how to monitor production. They schedule final inspections with the building department and utility company.
Financial Analysis: Return on Investment and Payback Period
The financial return makes solar panels attractive for many homeowners. You need to calculate your specific payback period. This depends on your electricity rates, system cost, and incentives. The average payback period ranges from six to twelve years. After that, you enjoy essentially free electricity for the system's life. Solar panels can increase your home's value significantly.
Calculating Your Energy Savings
Start by examining your electricity bills from the past year. Calculate your average monthly kilowatt-hour usage. Determine your current electricity rate per kilowatt-hour. Estimate your system's annual production based on location and size. Multiply production by your electricity rate for annual savings. Include expected rate increases over time. Electricity rates typically rise three to five percent annually. These increases make solar more valuable each year. Online calculators from EnergySage can help with estimates.
Understanding Tax Credits and Incentives
The federal solar tax credit is the most significant incentive. It allows you to deduct thirty percent of system cost from federal taxes. This credit applies to both equipment and installation costs. Many states offer additional rebates or tax credits. Texas has property tax exemptions for solar installations. Some utilities offer performance-based incentives for energy production. Research available programs in your area. The Database of State Incentives for Renewables & Efficiency provides current information. Always consult a tax professional about eligibility.
Impact on Home Value and Insurance
Solar panels typically increase home value. Studies show a premium of about four percent for homes with solar. This varies by market and system size. The increase often exceeds the system's net cost after incentives. You should notify your insurance company about the installation. Most policies cover solar panels under dwelling coverage. You may need increased coverage limits. Premiums might increase slightly. Provide your insurer with system specifications and cost. Keep all documentation for future claims or sales.
Practical Homeowner Tips from Real Projects
Based on hundreds of installations, I have learned what makes projects successful. These tips come from direct experience with homeowners. They will help you navigate the process smoothly. They can save you time, money, and frustration.
- Get Multiple Detailed Quotes: Obtain at least three quotes from qualified installers. Compare equipment, warranties, and installation methods. Look for detailed line-item breakdowns. Avoid quotes that seem too good to be true.
- Check Credentials Thoroughly: Verify contractor licenses, insurance, and certifications. Check references from recent solar projects. Look for complaints with the Better Business Bureau. Confirm North American Board of Certified Energy Practitioners certification.
- Understand Your Roof's Condition: Have a professional roof inspection before committing. Address any existing issues before solar installation. Consider roof age and remaining lifespan. It is often economical to replace an aging roof simultaneously.
- Plan for Future Roof Maintenance: Solar panels can make roof repairs more complex. Ensure your contract includes removal and reinstallation for roof work. Understand who is responsible for leaks around panels. Keep access pathways clear for maintenance.
- Monitor System Performance Regularly: Use monitoring software to track energy production. Check daily or weekly for significant drops. Address performance issues promptly to maximize savings. Keep records of production for warranty claims.
Frequently Asked Questions from Real Customers
How long do in-roof solar panels last?
Solar panels typically last twenty-five to thirty years. Most manufacturers guarantee eighty percent production at twenty-five years. The roofing components should match your roof's lifespan. Proper installation ensures both systems work together. Regular maintenance helps maximize longevity. Panels degrade slowly at about half a percent annually.
Will solar panels damage my roof?
Properly installed solar panels will not damage your roof. In fact, they can protect the covered areas from weather. The key is quality installation by experienced professionals. Improper installation can cause leaks and structural issues. Always choose certified installers with roofing experience. They understand proper flashing and waterproofing techniques.
What happens if my roof needs repair?
Solar panels can be removed for roof repairs. Your contract should include removal and reinstallation costs. Typically, this costs $300 to $500 per panel. Some installers offer service plans for this situation. Plan ahead for this possibility with older roofs. It is often more economical to replace the roof before installation.
Do solar panels work during power outages?
Standard grid-tied systems shut down during power outages. This is for utility worker safety. You need battery storage for backup power during outages. Systems with batteries can power essential circuits. The cost increases significantly with battery storage. Consider your needs and budget when deciding.
How much maintenance do solar panels require?
Solar panels require minimal maintenance. Occasional cleaning removes dust and debris. Monitoring system performance is important. Have a professional inspection every three to five years. Check for loose connections or damaged components. Most systems have no moving parts to maintain.
Can I install solar panels myself?
I strongly advise against DIY solar panel installation. The electrical work requires licensed professionals. Roofing integration needs specialized knowledge. Improper installation can void warranties and cause leaks. It can also create electrical hazards. Always hire qualified, insured professionals.
How do I choose the right system size?
Your system size depends on energy usage and roof space. Analyze twelve months of electricity bills first. Consider future needs like electric vehicles. Your installer will perform a shade analysis. They will calculate optimal panel placement. Aim to offset seventy to ninety percent of your usage.
Industry Statistics and Market Trends
The solar industry continues to grow rapidly. Understanding trends helps with decision-making. Costs have decreased seventy percent in the past decade. Efficiency has increased significantly during the same period. The average system size has grown as panels become more powerful. Battery storage adoption is increasing for backup power. These trends affect system costs and benefits.
According to the Solar Energy Industries Association, Texas ranks second in solar capacity. Residential installations grew forty-five percent last year. The average system cost in Texas is $2.70 per watt before incentives. The federal tax credit extends through 2034 at thirty percent. Electricity rates in Texas have increased twenty percent over five years. These factors make solar increasingly attractive for homeowners.
Step-by-Step Guide to Getting Started
Follow this proven process for a successful solar project. These steps come from our experience with hundreds of installations. They will help you avoid common pitfalls. They ensure you get the best system for your needs.
- Evaluate Your Energy Needs: Gather twelve months of electricity bills. Calculate your average monthly usage. Identify patterns in your consumption. Consider future changes like electric vehicles or pool heaters.
- Assess Your Roof's Suitability: Check your roof's age and condition. Note the direction and pitch of roof planes. Identify shading from trees or buildings. Consider structural capacity for additional weight.
- Research Local Incentives: Check the Database of State Incentives for Renewables & Efficiency. Look for utility rebates in your area. Understand property tax implications. Consult a tax professional about credits.
- Get Multiple Quotes: Contact at least three certified installers. Provide each with the same information. Request detailed proposals with equipment specifications. Compare warranties, timelines, and total costs.
- Review Contracts Carefully: Ensure all promises are in writing. Verify warranty terms and transferability. Understand payment schedules and milestones. Clarify responsibilities for permits and inspections.
- Prepare for Installation: Clear access to your electrical panel and roof. Protect valuable items in your attic. Make arrangements for pets during work. Plan for potential noise and disruption.
- Monitor Installation and Inspections: Be available for crew questions without micromanaging. Verify all inspections are completed. Keep copies of all documentation. Learn how to monitor system performance.
Conclusion: Making Your Solar Decision with Confidence
In-roof solar panels represent a significant investment in your home. The costs are substantial but manageable with proper planning. The benefits include energy independence, environmental impact, and increased property value. Your decision should balance immediate costs with long-term savings. Consider your roof's condition, energy needs, and financial situation.
From my fifteen years of roofing experience, I can tell you this: quality installation matters most. The difference between a good installation and a poor one is not visible initially. It appears years later as leaks or performance issues. Choose your installer as carefully as your equipment. Look for experience with both roofing and solar integration. Verify credentials and check references thoroughly.
Your next step should be a professional roof assessment. Contact a qualified roofing contractor with solar experience. They can evaluate your roof's condition honestly. They can recommend whether to repair or replace before installation. Then obtain detailed quotes from certified solar installers. Compare proposals carefully before making your decision. With proper planning, your solar investment will provide decades of clean energy and savings.