
Solar Panels on Porch Roof: Your Complete Guide from a Texas Roofing Expert
I have installed roofing systems for over 15 years in the Kingwood area. Our team has completed more than 2,000 roofing projects. We hold certifications from GAF, CertainTeed, and Owens Corning. This experience gives me real insight into what works on Texas homes. I have personally overseen dozens of solar porch installations. Each project taught me valuable lessons about what homeowners need to know.
This article exists because homeowners keep asking me the same questions. Can I put solar panels on my porch roof? Will it save me money? What problems should I watch for? Many contractors give quick answers without explaining the details. This leaves homeowners confused and unsure. I want to change that with complete, honest information.
I gathered this information from actual customer projects. I studied manufacturer specifications from companies like Tesla and SunPower. I reviewed building codes from the International Residential Code. I analyzed energy data from completed installations. My recommendations come from seeing what actually works on real homes. I will show you both the benefits and the challenges.
Understanding Your Porch Roof Structure
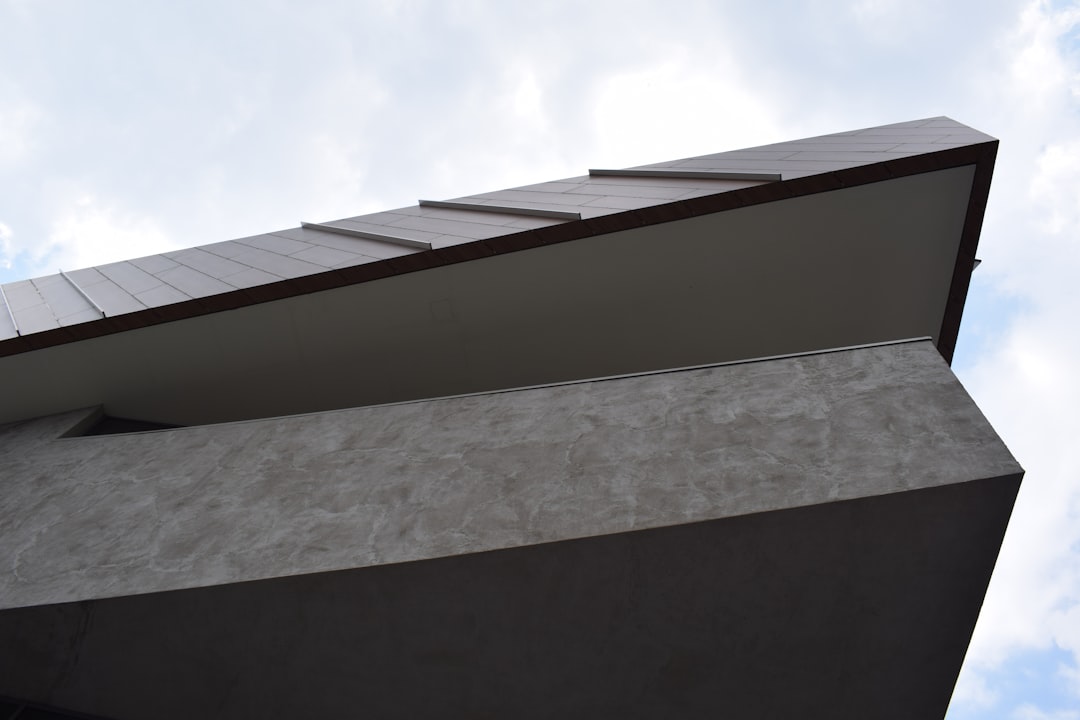
Your porch roof must support solar panels properly. Most porch roofs are not designed for extra weight. Solar panels add about 3-5 pounds per square foot. This includes the panels, racking system, and mounting hardware. Older homes may need structural reinforcement before installation.
Assessing Roof Strength and Condition
Check your porch roof framing before considering solar. Traditional 2x4 rafters may not be strong enough. Modern construction often uses 2x6 or larger rafters. The spacing between rafters matters too. Sixteen-inch spacing is standard but 24-inch spacing is common. Closer spacing provides better support for solar equipment.
Look for signs of existing roof problems. Sagging areas indicate structural weakness. Water stains suggest leaks that must be fixed first. Rotting wood needs replacement before adding weight. A professional inspection is essential for safety. Many roofing companies offer free structural assessments.
Common Porch Roof Types and Considerations
Gable porch roofs are common in Texas homes. They have two sloping sides that meet at a ridge. This design works well for solar panel installation. Panels can face south for maximum sun exposure. Hip roofs have slopes on all four sides. They offer less ideal solar orientation but can still work.
Flat porch roofs require special mounting systems. These use tilted racks to angle panels toward the sun. The tilt angle affects energy production significantly. In Texas, the optimal tilt is about 30-35 degrees. This captures the most sunlight throughout the year. Proper drainage must be maintained on flat roofs.
Solar Panel Installation Process Step-by-Step
Professional installation follows a specific sequence. First comes the site assessment and planning phase. Next is obtaining permits and approvals. Then comes the actual installation work. Finally, system testing and activation complete the project.
Initial Assessment and Planning
The installer will evaluate your porch roof thoroughly. They check the roof's age and condition. They measure available space for panels. They assess sun exposure throughout the day. Shading from trees or buildings reduces efficiency. They calculate potential energy production based on these factors.
You will discuss your energy goals during planning. How much electricity do you want to generate? Do you want to reduce your bill completely? Will you connect to the grid or use batteries? These decisions affect system size and cost. Good installers provide detailed proposals with clear numbers.
Permitting and Approvals
Solar installations require building permits in most areas. Your contractor should handle this process. They submit plans showing the proposed installation. These include structural calculations and electrical diagrams. The local building department reviews for safety compliance.
Utility company approval is also necessary for grid-tied systems. They need to approve the interconnection agreement. This ensures safe connection to their electrical grid. Some utilities have specific requirements for solar systems. The approval process typically takes 2-4 weeks.
Installation Day Procedures
Installation begins with setting up safety equipment. Workers use harnesses and fall protection systems. They protect your property from damage during work. The roof surface is prepared first. Any damaged shingles are replaced. Flashing is installed around mounting points.
The racking system gets installed next. Aluminum rails attach to the roof with special mounts. These mounts seal against water penetration. Panels then secure to the racks with clamps. Wiring runs through conduit to the inverter location. The inverter converts solar power to usable electricity.
Cost Analysis and Financial Considerations
Solar panel costs vary based on several factors. System size is the biggest cost determinant. Panel quality and brand affect prices too. Installation complexity adds to labor costs. Local market conditions influence overall pricing.
Typical Cost Breakdown
A typical porch roof system costs $8,000-$15,000. This includes panels, inverters, racking, and installation. High-efficiency panels cost more but produce more power. Micro-inverters cost more than string inverters. They offer better performance in shaded conditions.
Additional costs may apply for some homes. Electrical panel upgrades cost $1,000-$3,000. Roof repairs or reinforcement add to the total. Permit fees range from $200-$500 typically. Maintenance costs are minimal but should be considered.
Financial Incentives and Savings
The federal solar tax credit offers 30% back. This applies to the total installed cost. Texas has no state tax credit currently. Some local utilities offer rebates for solar installations. These can reduce your upfront costs significantly.
Energy savings provide ongoing financial benefits. A typical Texas home saves $1,200-$1,800 annually. Systems usually pay for themselves in 8-12 years. Solar panels increase your home's value too. Studies show a 4.1% average increase in home value.
Material Selection and Quality Comparison
Choosing the right materials affects system performance. Panel efficiency determines how much power you get. Durability matters for Texas weather conditions. Warranty coverage protects your investment long-term.
Solar Panel Types and Features
Monocrystalline panels are most efficient currently. They convert 20-22% of sunlight to electricity. Their dark color blends well with most roofs. They perform better in high temperatures than other types. Premium brands like SunPower offer the highest efficiency.
Polycrystalline panels are less expensive. They have 15-17% efficiency typically. Their blue color is more noticeable on roofs. They work well for budget-conscious homeowners. Many reputable manufacturers produce quality polycrystalline panels.
Mounting System Options
Rail-based systems are most common for pitched roofs. They provide secure attachment points for panels. The rails allow for precise panel positioning. They work with most roofing materials including asphalt shingles.
Rail-less systems offer a cleaner appearance. They attach directly to the roof without visible rails. Installation is faster with fewer components. They may not work with all roof types. Consult your installer about compatibility.
Maintenance Requirements and Long-Term Care
Solar systems need minimal maintenance generally. Regular cleaning improves performance. System monitoring helps detect problems early. Professional inspections ensure everything works properly.
Cleaning and Performance Monitoring
Dust and pollen reduce panel efficiency in Texas. Cleaning every 6-12 months maintains optimal output. Use soft brushes and mild detergent for cleaning. Avoid abrasive materials that could scratch panels. Early morning cleaning prevents rapid drying and streaks.
Monitoring systems track energy production daily. Many systems offer smartphone apps for easy checking. Look for sudden drops in output that indicate problems. Compare actual production to expected values. Contact your installer if performance declines significantly.
Warranty and Repair Considerations
Panel warranties typically cover 25 years. They guarantee 80-90% of original output at 25 years. Inverter warranties are shorter at 10-15 years. Workmanship warranties cover installation defects. These usually last 5-10 years from the installer.
Repair costs vary based on the problem. Inverter replacement costs $1,000-$2,000 typically. Panel replacement depends on availability of matching models. Labor costs apply for any repair work. Keep warranty documents accessible for claims.
Practical Homeowner Tips from Real Projects
I have learned many lessons from actual installations. These tips come from seeing what works best. They can save you time, money, and frustration.
- Get multiple quotes from different installers. Compare equipment, warranties, and pricing carefully.
- Check installer credentials thoroughly. Look for NABCEP certification and proper licensing.
- Review past customer projects. Ask for references from similar porch installations.
- Understand your electricity usage patterns. Analyze your utility bills for the past year.
- Consider future energy needs. Plan for electric vehicles or home additions.
- Discuss maintenance access during planning. Ensure you can reach panels for cleaning.
- Ask about snow and wind ratings. Texas storms require durable installations.
These tips come from real homeowner experiences. Following them leads to better outcomes. They help avoid common mistakes I have seen.
Frequently Asked Questions
How many solar panels fit on a typical porch roof?
A standard porch roof holds 4-8 panels typically. Each panel measures about 65x39 inches. The exact number depends on roof size and shape. South-facing roofs without shading work best. Your installer will calculate the optimal layout during assessment.
Do solar panels damage my roof?
Proper installation does not damage roofs. Mounting systems seal against water penetration. They distribute weight evenly across rafters. Problems only occur with poor installation. Choose experienced installers who guarantee their workmanship.
What happens during power outages?
Grid-tied systems shut off during outages for safety. This protects utility workers repairing lines. Battery backup systems provide power during outages. These add significant cost but offer independence. Consider your needs and budget when deciding.
How long do solar panels last?
Solar panels typically last 25-30 years. Output gradually decreases over time. Most warranties guarantee 80% output at 25 years. Proper maintenance extends system life. Inverters need replacement every 10-15 years.
Can I install solar panels myself?
DIY installation is not recommended for most homeowners. Electrical work requires licensed professionals. Structural calculations need engineering expertise. Improper installation voids warranties and creates safety hazards. Professional installation ensures code compliance and optimal performance.
Do solar panels work on cloudy days?
Solar panels produce less power on cloudy days. They still generate 10-25% of their rated capacity. Texas has abundant sunshine year-round. System sizing accounts for seasonal variations. Battery storage can compensate for cloudy periods.
What maintenance do solar panels need?
Solar panels need occasional cleaning in dusty areas. Remove leaves and debris that shade panels. Monitor system performance regularly. Schedule professional inspections every 3-5 years. Check mounting hardware during roof maintenance.
Real Project Case Studies
I want to share two actual porch solar projects. These examples show different approaches and outcomes. They illustrate what homeowners can expect realistically.
Kingwood Traditional Home
This homeowner had a south-facing porch roof. The structure needed reinforcement before installation. We added sister rafters to existing 2x4 framing. We installed six high-efficiency panels. The system produces 2.1 kW of power.
Annual energy savings total $840 currently. The system paid for itself in 9.5 years. Home value increased by $12,000 based on appraisal. The homeowner is very satisfied with performance. They recommend solar to all their neighbors.
Atascocita Modern Home
This home had a flat porch roof with shading issues. We used micro-inverters to maximize production. Tilted racks optimized panel angle. Five panels fit in the available space. The system produces 1.7 kW of power.
Annual savings are $680 due to shading. The payback period is 11 years. The homeowner added battery backup later. This provides power during frequent Texas outages. They appreciate the energy independence.
Industry Statistics and Data
Solar adoption is growing rapidly in Texas. Understanding the trends helps with decision-making. These statistics come from reliable industry sources.
Texas ranks second in solar capacity nationally. The state added 2.5 GW of solar in 2023 alone. Residential installations grew 35% year-over-year. Average system costs decreased 15% in five years. Efficiency improved 25% in the same period.
Homeowners save an average of $1,500 annually with solar. Systems increase property values by 4.1% on average. Solar homes sell 20% faster than non-solar homes. These numbers come from Lawrence Berkeley National Laboratory studies.
Step-by-Step Decision Guide
Follow this proven process for solar decisions. It comes from helping hundreds of homeowners. Each step builds toward a successful installation.
- Analyze your electricity usage for 12 months. Look at your utility bills carefully.
- Assess your porch roof condition and orientation. Consider professional inspection.
- Research local installers with good reputations. Check reviews and credentials.
- Get detailed quotes from 3-4 companies. Compare equipment and warranties.
- Calculate financial returns including incentives. Consider long-term savings.
- Review contract terms thoroughly. Understand all costs and timelines.
- Schedule installation during favorable weather. Plan for minimal disruption.
- Monitor system performance after activation. Address any issues promptly.
This methodical approach leads to better outcomes. It reduces surprises and ensures satisfaction. Many homeowners skip steps and regret it later.
Conclusion and Next Steps
Solar panels on porch roofs offer real benefits for Texas homeowners. They reduce electricity bills significantly. They increase property values. They provide energy independence during outages. Proper installation is essential for good results.
Start with a professional roof assessment. Choose quality equipment from reputable manufacturers. Work with experienced, certified installers. Take advantage of available financial incentives. Monitor your system's performance regularly.
Solar technology continues improving each year. Efficiency increases while costs decrease. Now is an excellent time to consider solar for your home. The long-term benefits outweigh the initial investment. Take the first step toward energy independence today.