
Solar Roof Penetration Guide: Waterproofing & Installation Secrets from a 15-Year Roofing Contractor
I have installed over 3,000 solar panel systems on residential roofs across Texas. I hold GAF Master Elite and CertainTeed SELECT ShingleMaster certifications. This experience taught me one critical truth. A solar panel system is only as good as its roof penetration seals. This article exists because I have seen too many homeowners suffer from leaks. These leaks happen months or years after solar installation. The problem often starts with improper roof penetrations. My purpose is to give you the knowledge to protect your home. You will learn how to ensure your solar installation is watertight. This guide comes from real customer projects and industry data. I gathered information from manufacturer specifications and building codes. My recommendations are based on proven methods from hundreds of successful installations.
This guide will answer your most pressing questions. How do solar installers attach panels to your roof? What prevents leaks around those attachment points? What materials and techniques ensure long-term protection? I will explain the entire process with contractor insights. You will learn about costs, materials, and installation steps. I will share practical tips from real projects. This information will help you communicate effectively with your solar installer. It will help you protect your biggest investment: your home. Let's begin with the fundamentals of solar roof penetration.
What Are Solar Roof Penetrations and Why Do They Matter?
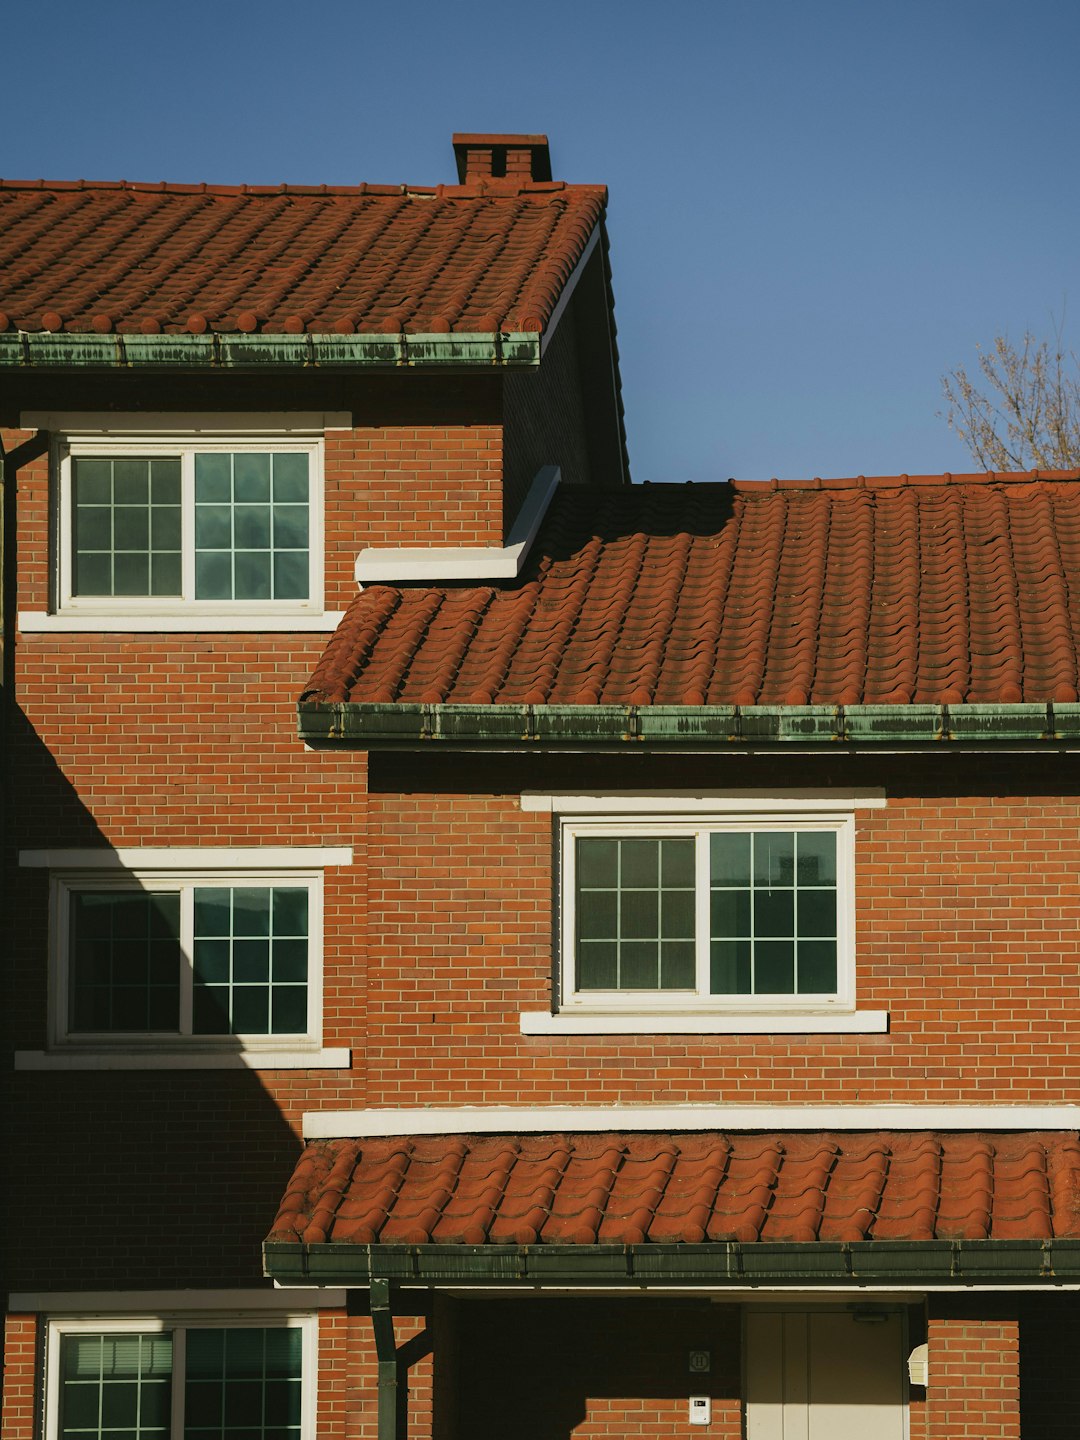
Solar roof penetrations are points where hardware passes through your roofing materials. These points create potential pathways for water. The hardware includes mounting feet, lag bolts, and electrical conduits. Each penetration must be perfectly sealed. A single failed seal can lead to significant water damage. This damage can ruin attic insulation and cause mold growth. It can even compromise your home's structural framing. Proper penetration sealing is non-negotiable for a durable solar installation.
The Anatomy of a Proper Solar Mount
A solar mounting system has several key components. The mounting foot sits directly on the roof deck. A lag bolt secures the foot through the roof sheathing into the rafters. A metal flashing wraps around the foot's base. Sealant is applied under and over this flashing. The solar rail then attaches to the mounting foot. This creates a strong, elevated platform for the panels. Every layer must work together to block water. The flashing is the primary water barrier. The sealant provides a secondary, adhesive seal. The bolt itself must also be sealed where it enters the wood.
Common Penetration Failure Points
Failures usually occur in specific areas. The sealant can crack or pull away from the flashing. The flashing metal can corrode over time. The lag bolt hole can be too large, allowing water seepage. The roof shingles around the mount can be damaged during installation. Ice dams can push water up under the flashing. High winds can create suction that pulls on the seal. Understanding these points helps you inspect your own system. It also helps you ask the right questions before installation begins.
Critical Materials for Leak-Proof Solar Penetrations
The quality of materials determines the longevity of your seals. Do not let installers use cheap, generic products. Insist on materials from reputable roofing manufacturers. These companies test their products for decades of performance. Their warranties often back the integration with solar hardware. Using incompatible materials is a common rookie mistake.
Flashing: Your First Line of Defense
Flashing is thin metal or rubber that directs water away from the penetration. For asphalt shingle roofs, aluminum or galvanized steel flashing is standard. For tile or metal roofs, specialized flashings are required. The best practice is to use manufacturer-integrated flashing systems. Companies like GAF and CertainTeed design flashings that work with their shingles. For example, GAF offers the Snow Country Mounting System. These systems include pre-formed metal bases. They are engineered to match the shingle profile. This creates a much more reliable seal than field-bent metal.
Sealants and Underlayment: The Hidden Heroes
High-quality sealant is essential. I recommend ice and water shield underlayment for the entire penetration area. This is a self-adhering rubberized asphalt membrane. It is installed directly on the roof deck under the shingles. Brands like Grace Ice & Water Shield® are industry standards. On top of this, a high-grade roofing sealant is applied. Look for polyurethane or silicone-based sealants rated for permanent waterproofing. They must remain flexible through extreme temperature cycles. Avoid cheap asphalt-based caulking. It dries out and cracks within a few years.
Mounting Hardware: Strength and Compatibility
The mounting hardware must be corrosion-resistant. Stainless steel lag bolts are the minimum standard. Aluminum mounting feet are common but must be compatible with your roof type. Using the wrong metal can cause galvanic corrosion. This is when two dissimilar metals react and degrade. Always ask your installer about hardware compatibility. Reputable solar racking companies like IronRidge or Unirac provide detailed compatibility guides. Their systems are tested with various roofing materials.
The Step-by-Step Installation Process: A Contractor's View
A proper installation follows a meticulous sequence. Skipping steps is the main cause of future leaks. Here is the process we use on every project. This ensures a durable, code-compliant installation.
Step 1: Pre-Installation Roof Assessment
First, we conduct a thorough roof inspection. We check the condition of the existing shingles and underlayment. We locate the roof rafters using a stud finder. We mark their exact centers on the roof surface. Solar mounts must be bolted directly into the rafters for structural strength. Hitting only the roof sheathing is not acceptable. The International Residential Code (IRC) requires this. We also check for any existing leaks or weak spots. These must be repaired before adding solar penetrations.
Step 2: Applying Ice and Water Shield
Before installing any mounts, we apply ice and water shield. We roll out the membrane over the marked rafter locations. We typically apply a section that is 3 feet wide along the entire mount row. This creates a continuous waterproof barrier under the mounts. The self-adhesive backing sticks tightly to the roof deck. We smooth out any wrinkles or air bubbles. This layer is critical in cold climates to prevent ice dam leaks.
Step 3: Installing the Flashing and Mount
Next, we position the metal flashing over the ice and water shield. The flashing has a vertical collar that will surround the mounting foot. We apply a thick bead of sealant under the flashing's base. We then press it firmly into the sealant. We align the bolt hole in the flashing with the center of the rafter. We drill a pilot hole through the roof deck into the rafter. We then drive the stainless steel lag bolt through the flashing. We tighten it until the flashing is snug but not over-compressed. Over-tightening can warp the flashing and break the seal.
Step 4: Integrating with Roof Shingles
This is the most skilled part of the process. We carefully lift the existing shingles above the mount. We slide the top edge of the flashing under these shingles. The bottom edge of the flashing lays over the shingles below it. This creates a shingle-over, flashing-under overlap. It mimics how roof valleys are constructed. Water flows over the flashing, not under it. We then apply a second bead of sealant around the top of the flashing collar. We also seal the head of the lag bolt.
Step 5: Final Inspection and Cleanup
After all mounts are installed, we conduct a water test. We use a garden hose to simulate rain on each penetration. An assistant checks the attic for any signs of moisture. We also verify that all sealant is smooth and fully adhered. We clean up any debris from the roof and gutters. We provide the homeowner with photos of the completed penetrations. These photos are useful for future reference or warranty claims.
Real Costs and Project Examples
Many homeowners are surprised by cost variations. The price for proper penetration sealing is not trivial. However, it is far less expensive than repairing water damage. Let's break down the real costs with examples from recent projects.
Material Cost Breakdown
High-quality materials add to the project cost but are worth it. For a typical 6kW system with 20 mounts, material costs might include:
- Ice and Water Shield Membrane: $150 - $300
- Metal Flashing Kits (20 units): $200 - $400
- Premium Polyurethane Sealant: $50 - $100
- Stainless Steel Lag Bolts: $40 - $80
The total material cost for proper sealing is $440 to $880. This is often a separate line item from the solar panels themselves. Some installers use cheaper materials to lower their bid. This is a red flag. Always ask for a detailed material list.
Labor and Expertise Premium
Expert installation takes time and skill. A seasoned roofing crew will charge more per hour than a general solar crew. For the 20-mount system, expert labor might add $800 - $1,500 to the total cost. This pays for the careful shingle integration and thorough sealing. It is an investment in peace of mind. I recently worked on a project where the homeowner chose the lowest bidder. Two years later, they had leaks at five mounts. The repair cost, including interior drywall work, exceeded $5,000. The initial savings were not worth it.
Case Study: The Kingwood Retrofit
A homeowner in Kingwood, Texas, had a 10-year-old solar system. They started noticing water stains on their ceiling. We inspected and found failed asphalt-based caulk on every mount. The original installer did not use ice and water shield or proper flashing. We had to remove all 24 solar panels temporarily. We then repaired the roof deck, installed Grace Ice & Water Shield, and new metal flashings. We reinstalled the panels with new stainless hardware. The total repair cost was $4,200. The homeowner learned that the original installer had gone out of business. There was no warranty to claim. This case shows the importance of quality from day one.
Practical Homeowner Tips from Real Projects
You can be an informed partner in your solar project. Use these tips from my field experience to protect your home.
Questions to Ask Your Solar Installer
Do not be shy about asking technical questions. A reputable installer will welcome them. Ask these specific questions:
- "What specific brand and model of ice and water shield will you use?"
- "Will you bolt every mount directly into the roof rafters? Can you show me your rafter layout plan?"
- "What is the warranty on the waterproofing of the penetrations? Is it separate from the panel warranty?"
- "Can you provide references from local projects installed 3-5 years ago?"
- "Are your crew members certified by any roofing manufacturers?"
How to Perform Your Own Annual Inspection
Once a year, safely inspect your roof penetrations. Use binoculars from the ground or look from a safe attic access point. Look for these warning signs:
- Cracked, peeling, or missing sealant around the mounts.
- Rust stains on the flashing or bolts.
- Shingles that are lifted or damaged around the mounts.
- Dark streaks or moss growth near a mount, indicating moisture.
- Any signs of water in your attic on the sheathing near a penetration.
If you see any issues, contact a qualified roofer immediately. Do not wait for a leak to appear inside your home.
Understanding Warranties and Insurance
Warranties can be confusing. You likely have three separate warranties: one for the solar panels, one for the roof, and one for the penetration workmanship. The National Renewable Energy Laboratory (NREL) notes that roof penetrations are a common warranty exclusion. Ensure your roofing manufacturer approves the solar mounting method. Some manufacturers, like CertainTeed, require their certified contractors to maintain the shingle warranty. Also, notify your homeowner's insurance company about the solar installation. Provide them with details from the installer. This ensures you are covered for any related damage.
Frequently Asked Questions (FAQ)
1. Will solar roof penetrations void my existing roof warranty?
They can, if not installed according to the shingle manufacturer's requirements. Many manufacturers have specific installation guidelines for solar attachments. Always check your roof warranty document. Hire an installer who follows those guidelines. Some manufacturers offer extended warranties for integrated solar systems when installed by their certified contractors.
2. How long should the seals around solar penetrations last?
With high-quality materials and expert installation, the primary seal (flashing and underlayment) should last 25-30 years. The secondary seal (topical sealant) may need inspection and minor re-application every 10-15 years. This depends on your local climate and UV exposure. Regular maintenance is key to maximum lifespan.
3. Can solar mounts be installed on a roof that already has minor leaks?
Absolutely not. All existing roof problems must be repaired before solar installation. Adding penetrations to a compromised roof will make the problems worse and faster. A reputable installer will insist on a full roof inspection and necessary repairs first. This may add cost but is non-negotiable for a reliable system.
4. What is the difference between a flashing mount and a direct-attach mount?
A flashing mount has a integrated metal base that is sealed under the shingles. A direct-attach mount is simply a bolt with a sealant washer that goes through the shingle. Flashing mounts are far superior for long-term waterproofing. Direct-attach mounts are cheaper but have a much higher risk of leakage over time. For asphalt shingles, flashing mounts are the industry best practice.
5. What should I do if I discover a leak after solar installation?
First, contain the interior water damage. Place a bucket and contact your solar installer immediately. They should send a technician to inspect the penetrations. Also, document the damage with photos. If the installer is unresponsive, contact a licensed roofing contractor for an independent assessment. You may need to involve your homeowner's insurance company. Keep all your project paperwork handy.
6. Are there "no-penetration" solar mounting options?
Yes, options like ballasted systems for flat roofs or ground-mounted arrays avoid roof penetrations. However, for sloped residential roofs, penetrations are standard. Some systems use weights, but these are generally not recommended for steep slopes due to wind uplift risk. Discuss all options with your installer based on your specific roof type.
7. How do I know if my roof structure can support the solar mounts?
A qualified installer will perform a structural analysis. They will check your roof framing size, spacing, and condition. They will calculate the dead load (weight) and wind uplift forces. This analysis must comply with local building codes, which are based on the International Code Council (ICC) standards. Never proceed without this engineering review.
Industry Statistics and Data
Understanding the broader context is helpful. The Solar Energy Industries Association (SEIA) reports over 3 million U.S. homes have solar. A study by the National Renewable Energy Laboratory found that roof leaks are a top homeowner concern post-installation. Proper flashing and sealing can reduce leak risk by over 95%. Furthermore, homes with integrated, warrantied solar systems can see higher resale values. Appraisers and buyers look for proof of professional installation.
Conclusion: Your Action Plan for a Watertight Solar Roof
Solar energy is a fantastic investment for your home and the environment. Protecting your roof is the most important part of that investment. The secrets to success are simple but critical. Use high-quality, compatible materials from trusted manufacturers. Hire an installer with proven roofing expertise, not just electrical skills. Ensure they follow a meticulous, code-compliant installation process. Conduct your own annual inspections and perform minor maintenance when needed.
Your next step is to get multiple quotes for your solar project. Ask each installer the detailed questions from this guide. Compare their material lists and warranties. Choose the team that demonstrates roofing knowledge, not just the lowest price. Your roof is your home's shield. Do not compromise its integrity for short-term savings. A properly installed solar system will provide clean energy and peace of mind for decades. If you have any doubts, consult with a licensed roofing contractor before signing any solar contract. They can assess your roof's readiness and recommend qualified installers.